Blog
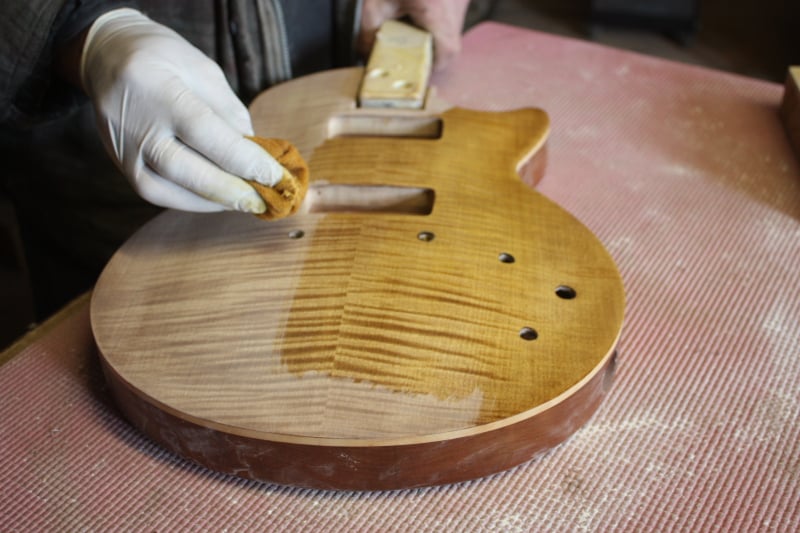
Build your own custom guitar- day 3
…Another day in the Bailey workshop…
Day 3
10am till 7:30pm
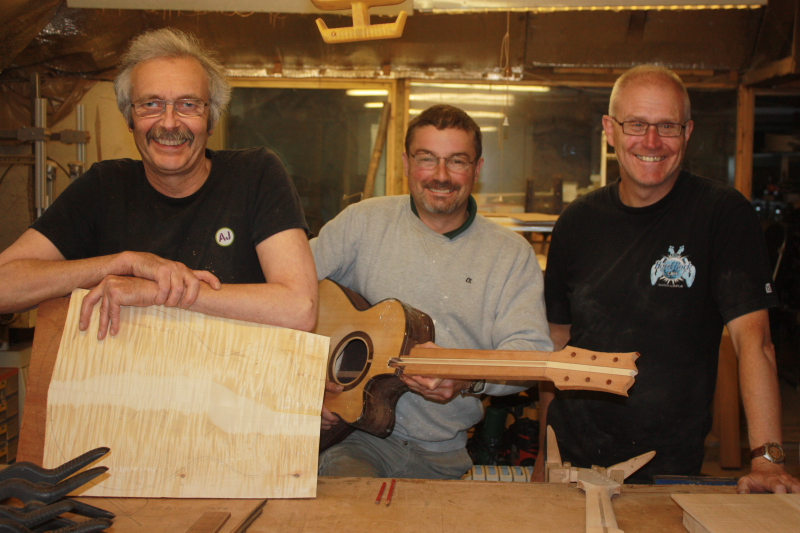
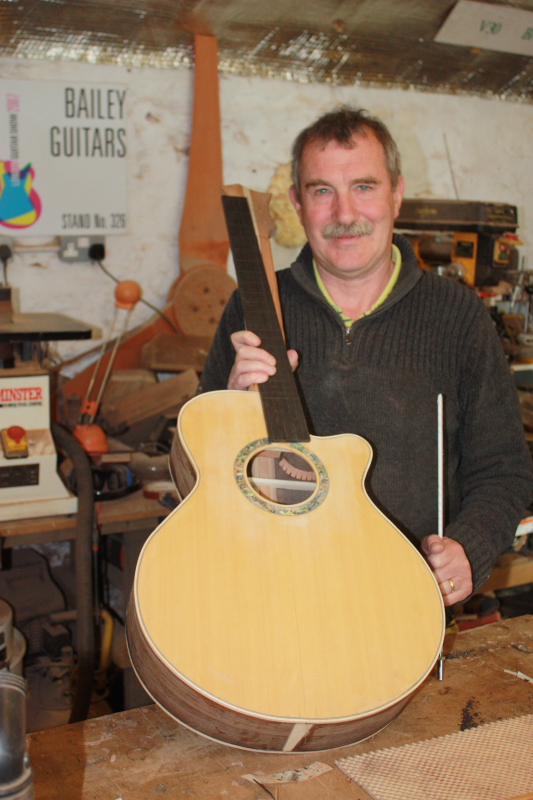
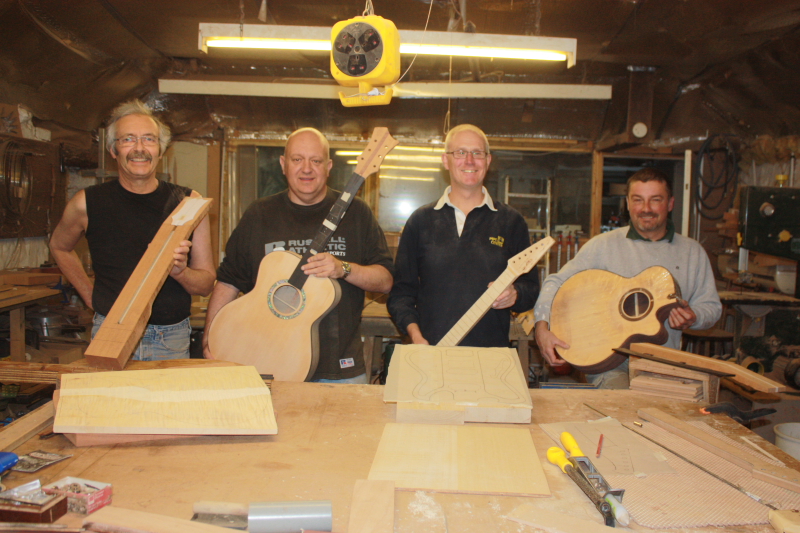
David and Kevin are making custom electric guitars. They started two days ago with rough blocks of wood and will be playing them by day 7. Nick is here to finish his acoustic which was started a few months ago. Acoustics generally take about 12 days so his course was spread over several visits but we fully expect a performance from the three of them on Saturday night. We still have Sun morning for tweaking time if necessary.
The fourth place on the course will be taken by a different person every day. These will all be students who are building acoustic guitars, spreading the 12 days over a longer period, and are all at various stages of construction.
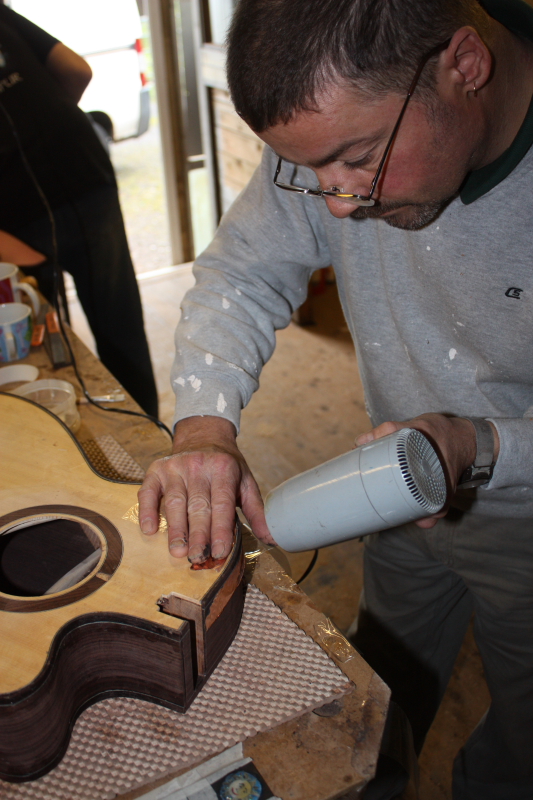
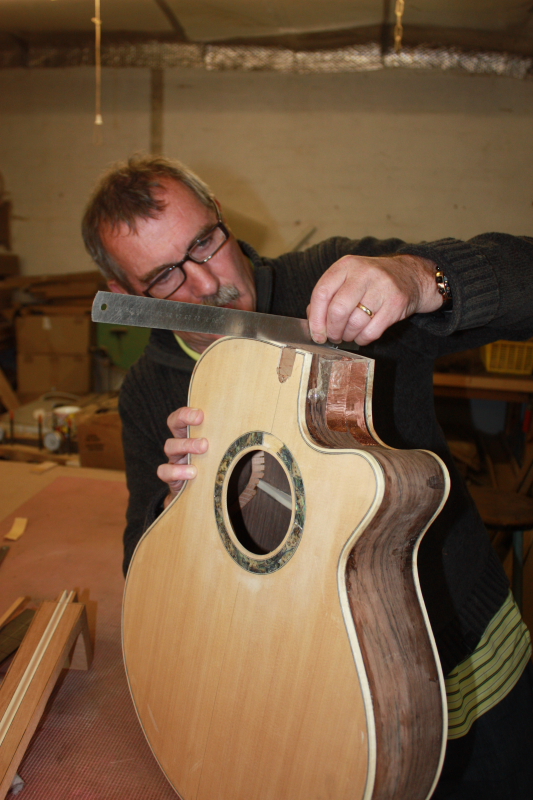
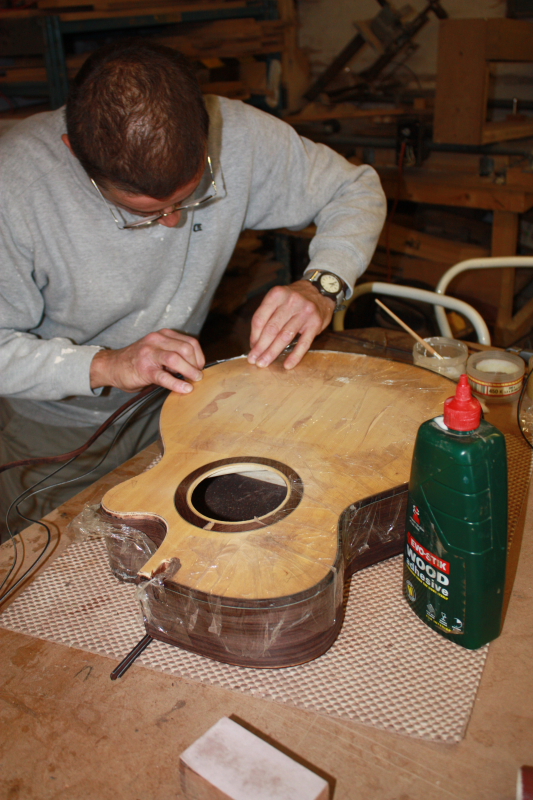
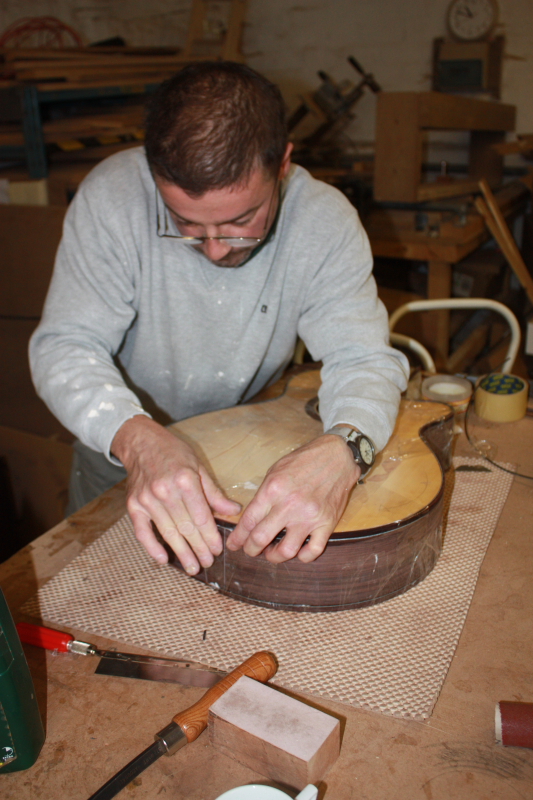
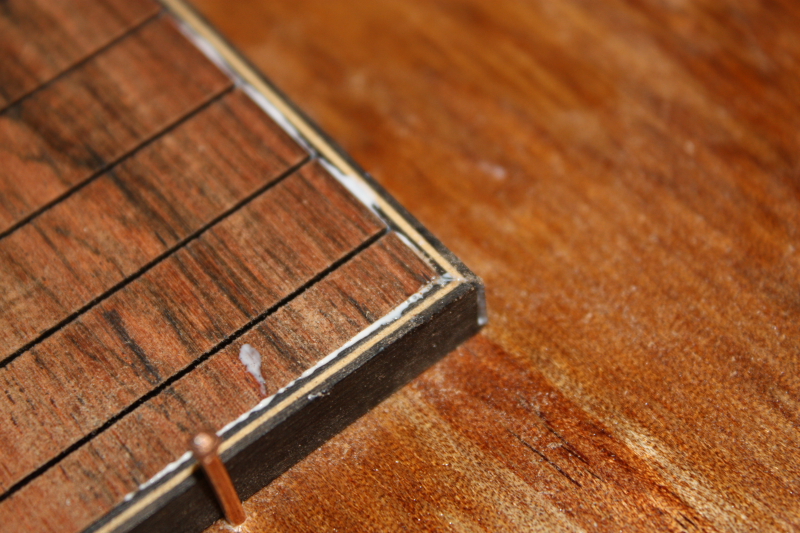
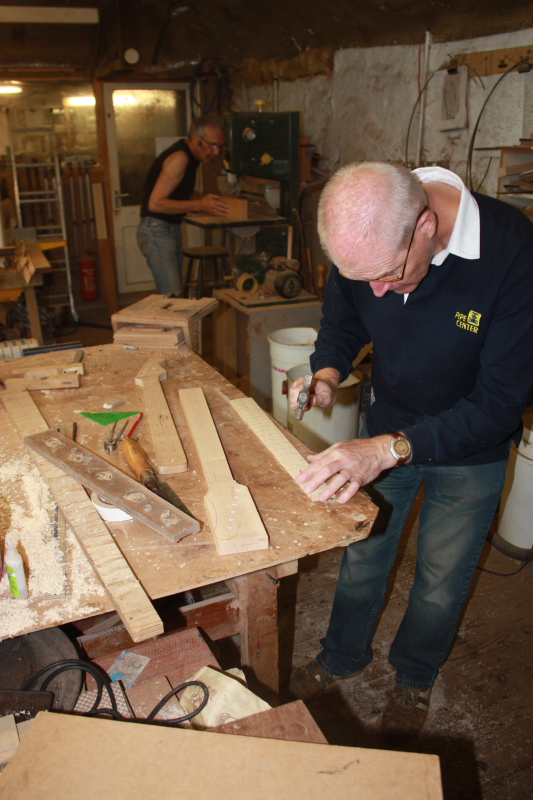
David (acoustic) took over from Duncan today. Last time he glued on his flamed maple binding which had a few small gaps so he spent most of the morning touching up the binding. We used a hair dryer to soften the glue and straighten it out, then glued it back down. He made a truss rod and finished his neck angle, so next time he comes he can glue the fretboard.
Everybody works at their own pace and is doing something completely different so I certainly have my work cut out making sure they are all busy and making good progress. We are on schedule as long as nothing goes badly wrong.
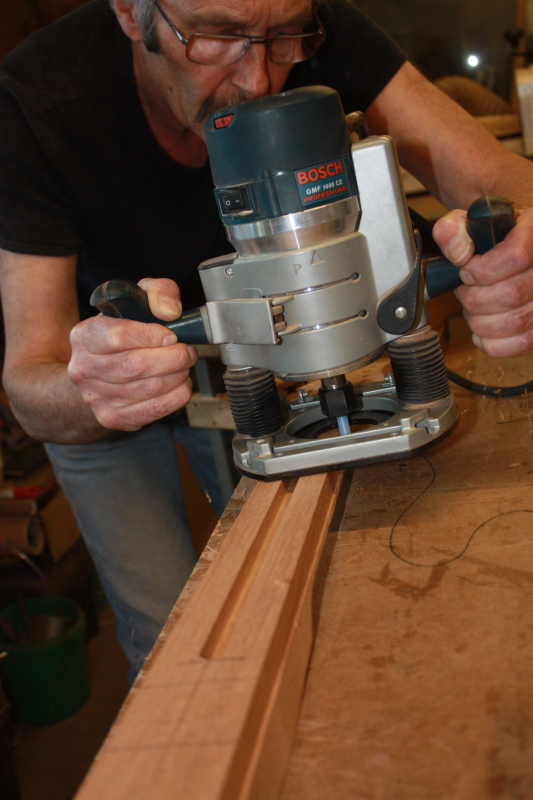
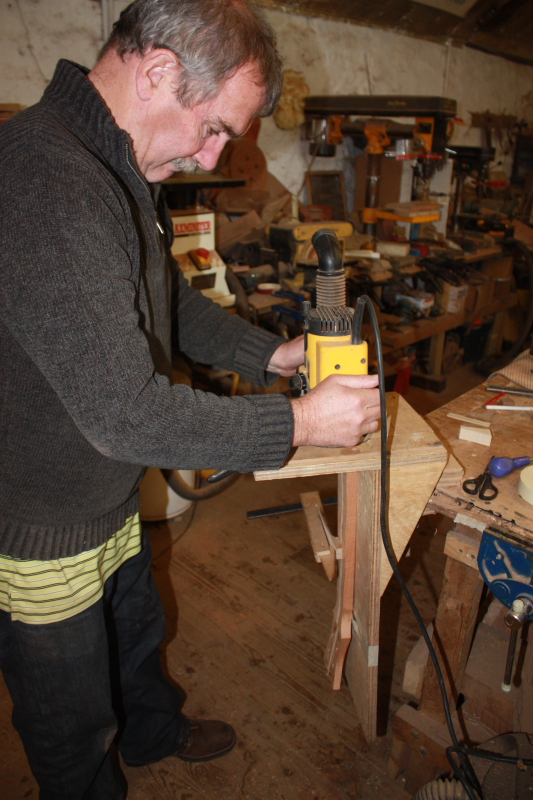
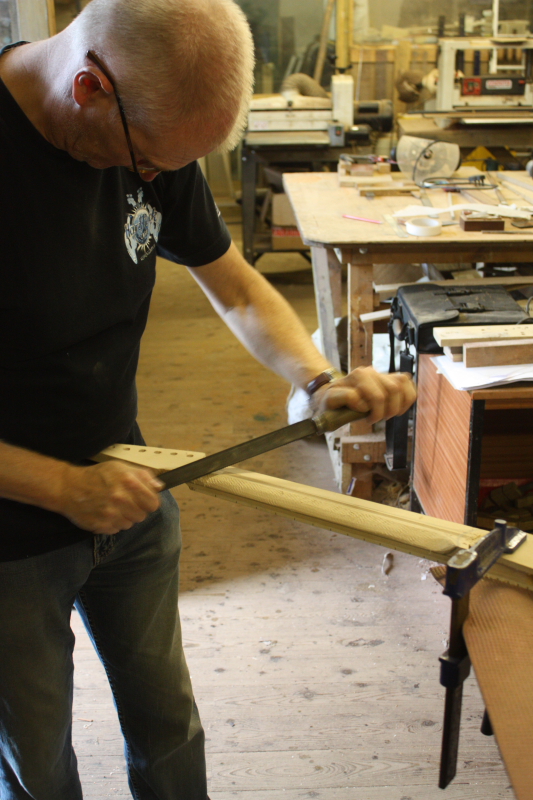
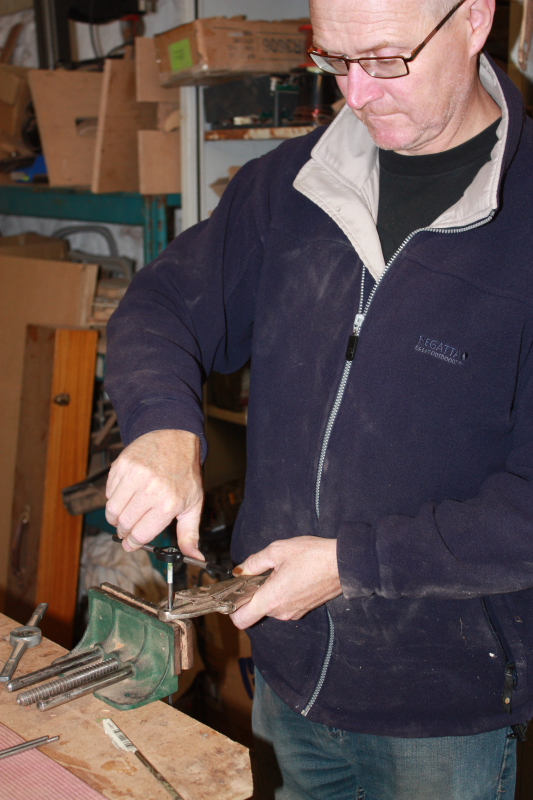
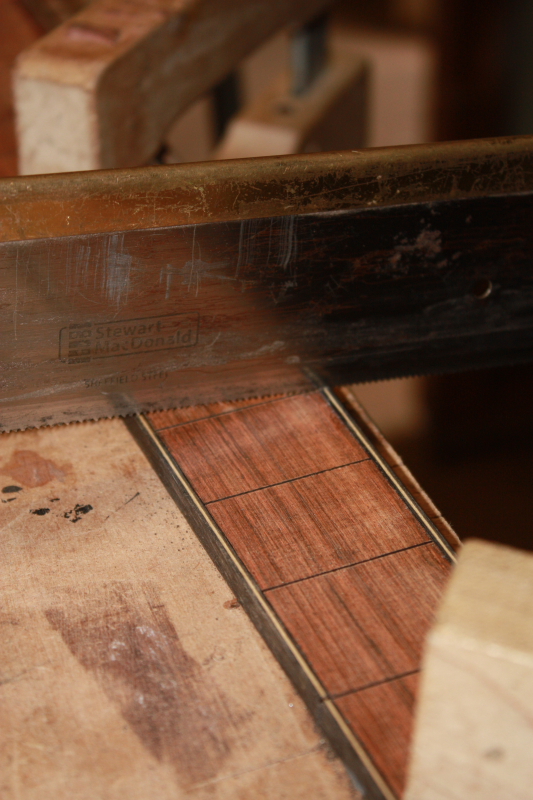
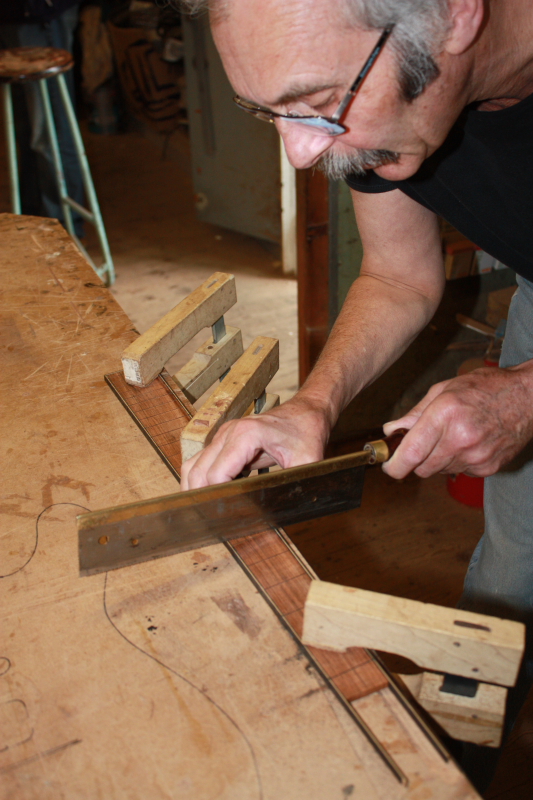
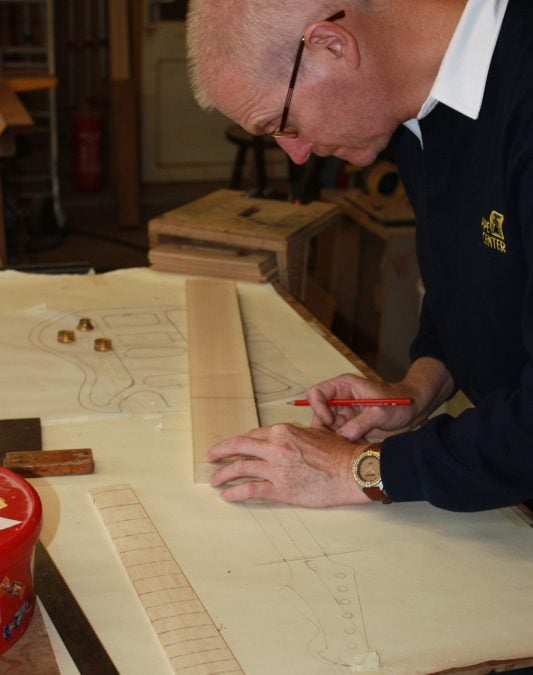
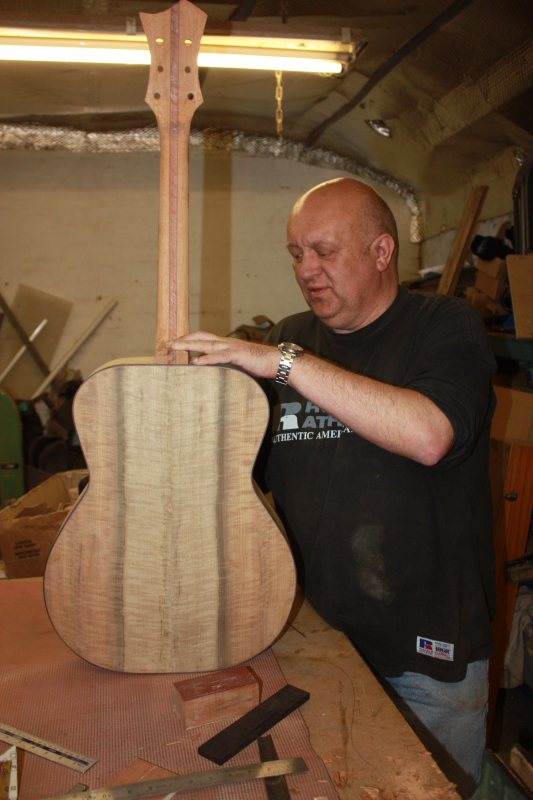
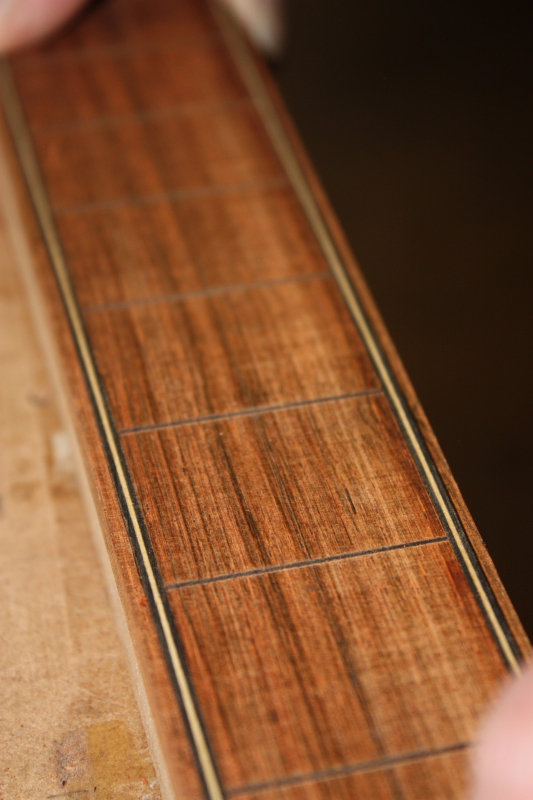
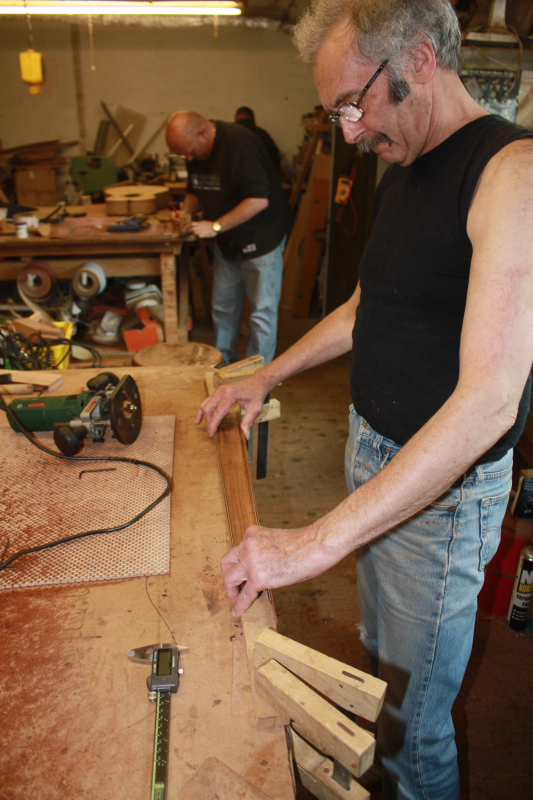
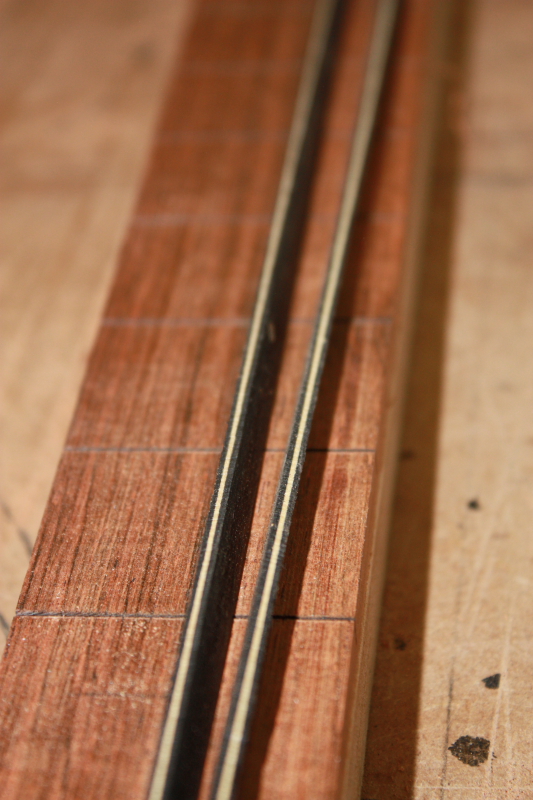
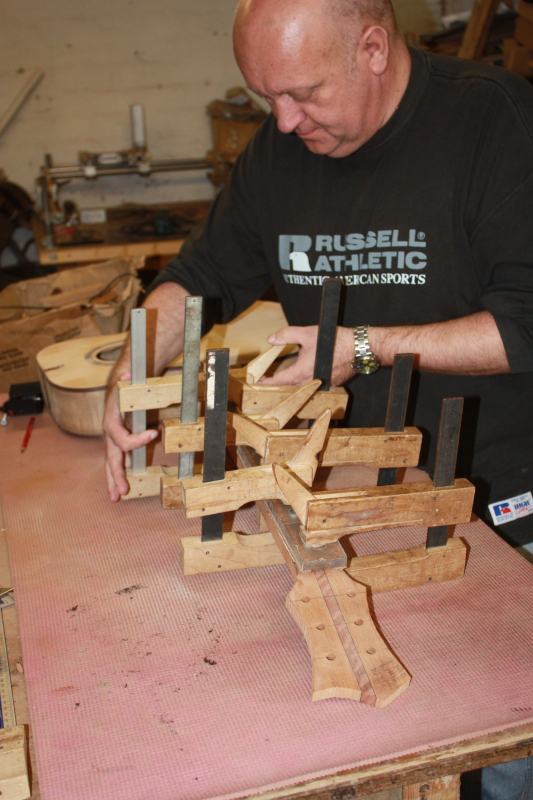
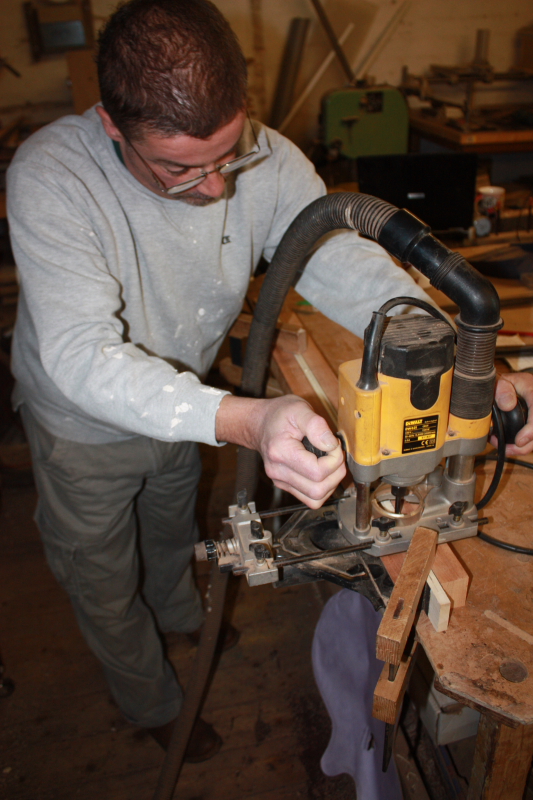
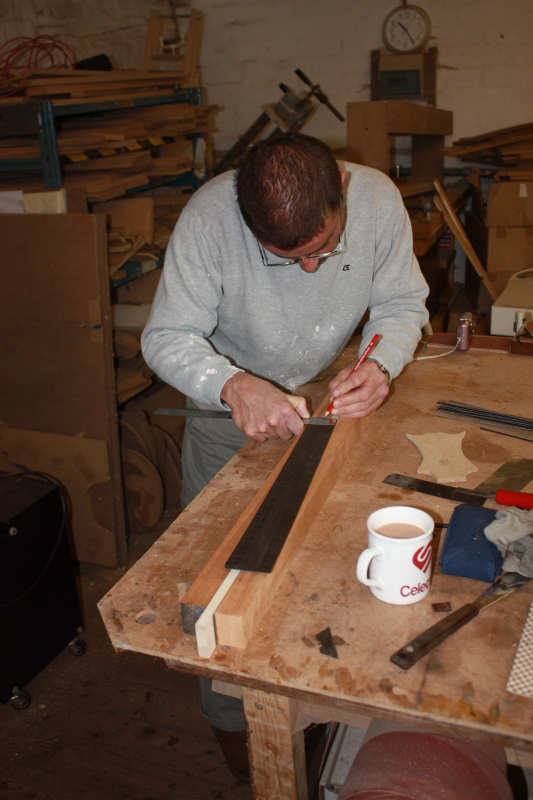
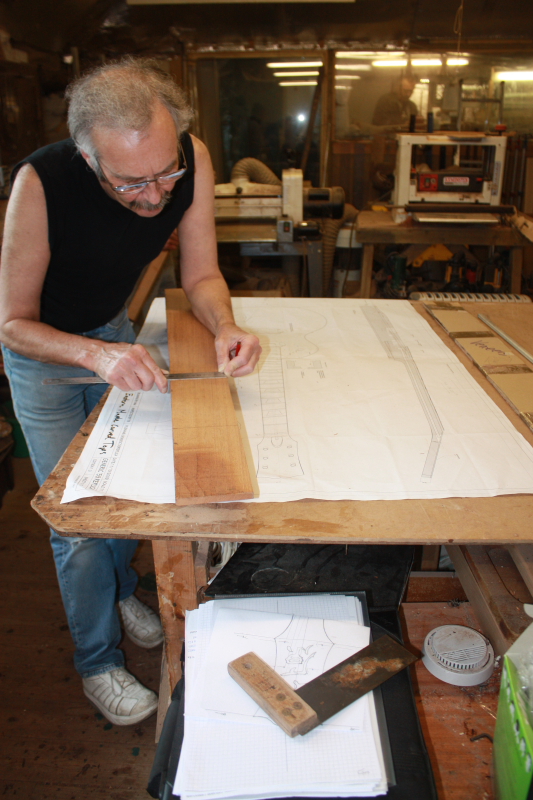
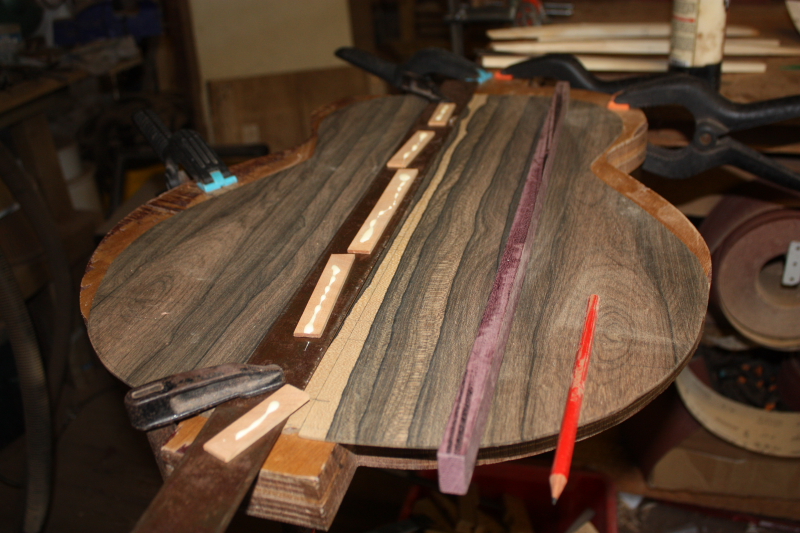
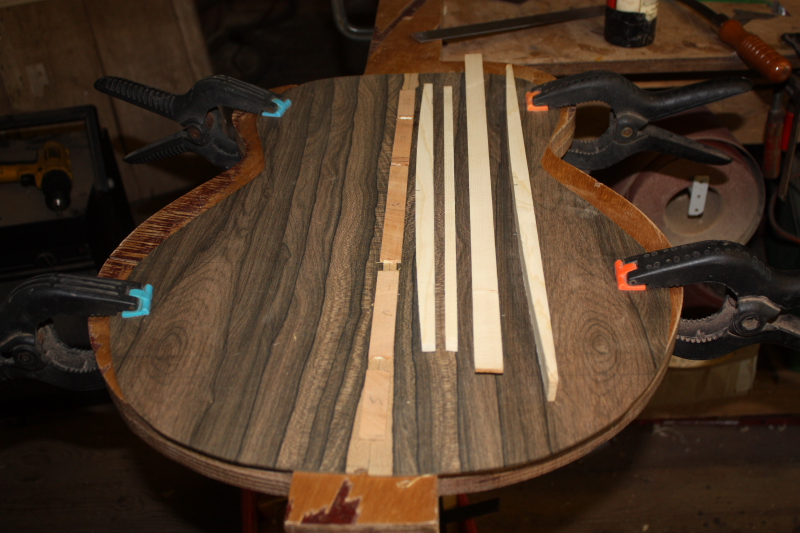
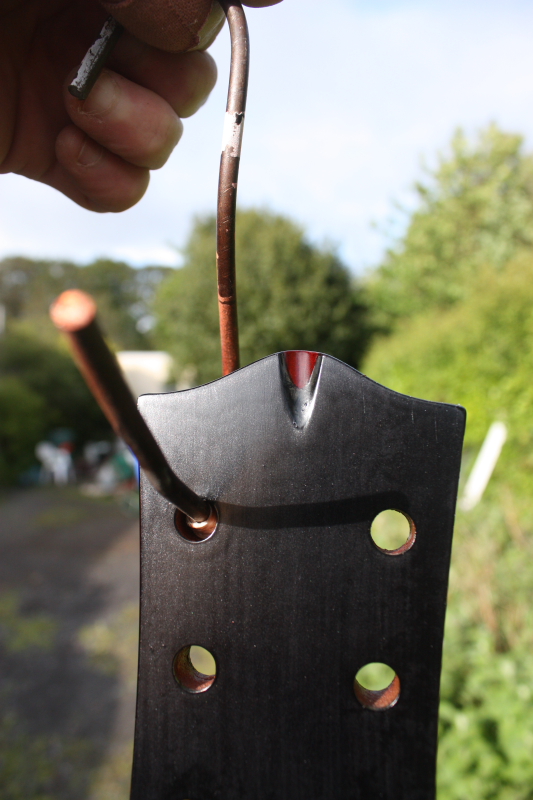
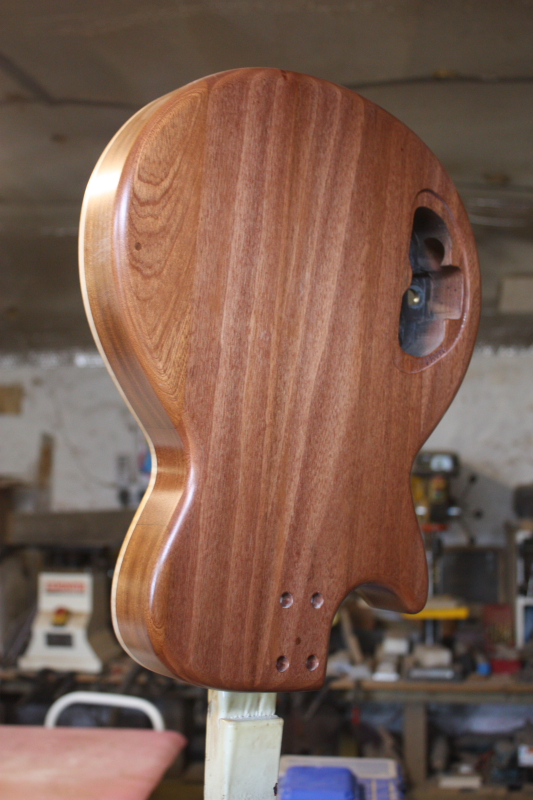
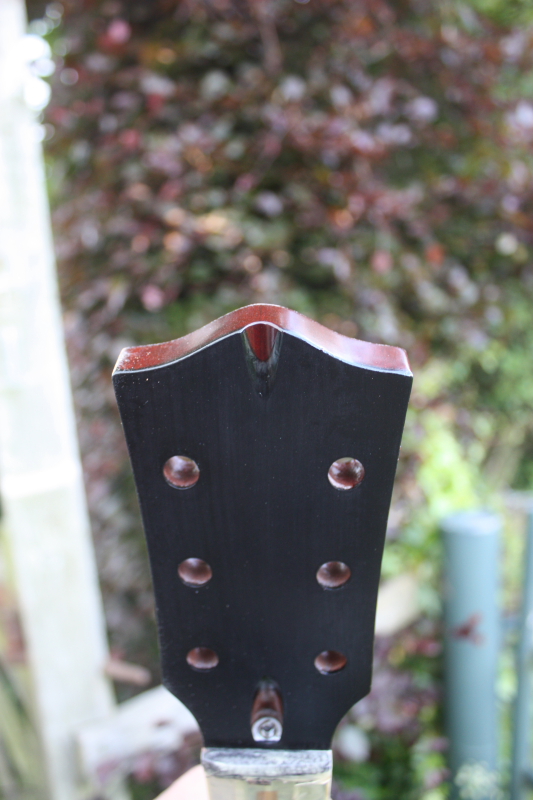
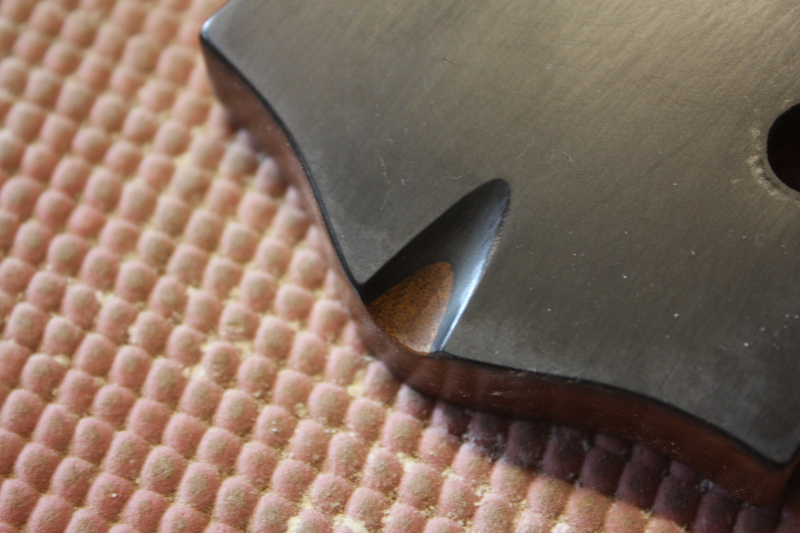
Dave (set neck) had to re-saw all his fret slots by hand because of the double style of binding he wanted. He glued the first strips on yesterday and after re-slotting glued on the second outside strip of rosewood. While that was drying he made the headstock. It takes a while to mark out a custom headstock shape- it is critical that the tuners end up in the right place so the strings don’t catch on the wrong posts and the tuner button must have space to turn freely. Dave is also planning a custom inlay on the headstock so he had to make sure it all fitted ok. He is just about ready to glue the fretboard tomorrow after profiling the side of his neck with the router and installing his truss rod.
Kevin (bolt on) made his own truss rod and finished installing it into his neck before dinner, and then spent the afternoon making a grand job of carving it. He also had to glue on an extra ‘wing’ onto the headstock to make it wide enough for his shape so we did that last thing so it didn’t hold us up. Kevin has a birds eye fretboard which will must be sprayed tomorrow so it has enough time to dry before the frets are installed.
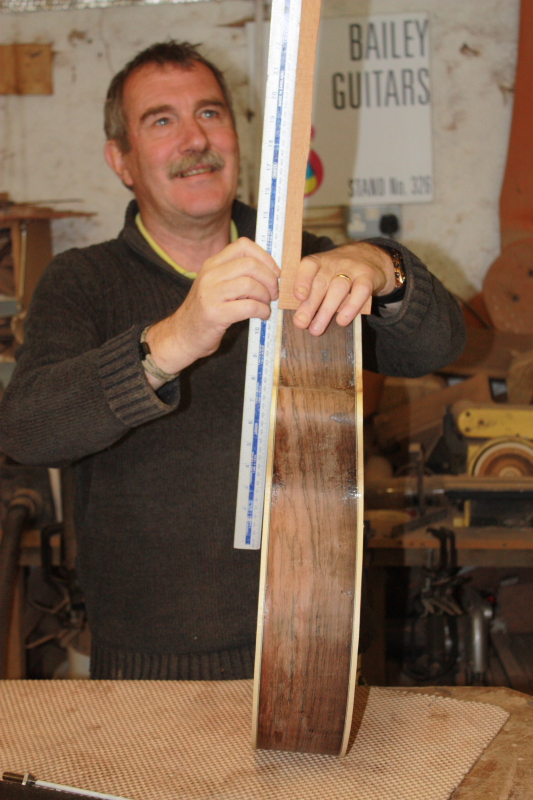
Nick (acoustic) had a flying start and finished gluing his binding on by first break, then while the glue dried he worked on marking out his neck. He made good progress today marking his custom headstock then drilling the tuner holes, cutting out the neck shape, and somehow found time to install his amazing home made inlays- because they are (lets say) unconventional we are doing them before the fretboard is glued on which is not the normal procedure (more on this to come). Last thing he removed the tape holding the binding and we found a few small gaps so again applied the hair dryer method I described earlier to fix them.
So all this time I am buzzing around telling everyone what to do, what order to do it in, and when to stop. When I am not making my own guitars, that’s my job and I love it! More tomorrow…
Build your own custom guitar- day 2
Today we will mostly be making necks…


Day 2 of 7
10am – 7pm
For Dave and Kevin, our new starters, yesterday was all about fixing their designs and choosing wood etc, so today we could get stuck into building. We had also managed to make fret boards which gave us a bit of head start today. An interesting day- 3 different truss rod designs kept me on my toes…Duncan who has already fitted his, joined Nick to continue working on their acoustics.
Duncan (acoustic)
Duncan got his fretboard glued on early so he could begin carving his neck in the afternoon. While it was drying he started to make an ebony bridge. He got the pin holes and saddle slot cut which are the tricky bits. Before he left he fitted his newly carved neck back on to check the feel. Next time he comes he will be mostly inlaying gold mother of pearl crown inlays into his fretboard.
Nick (acoustic)
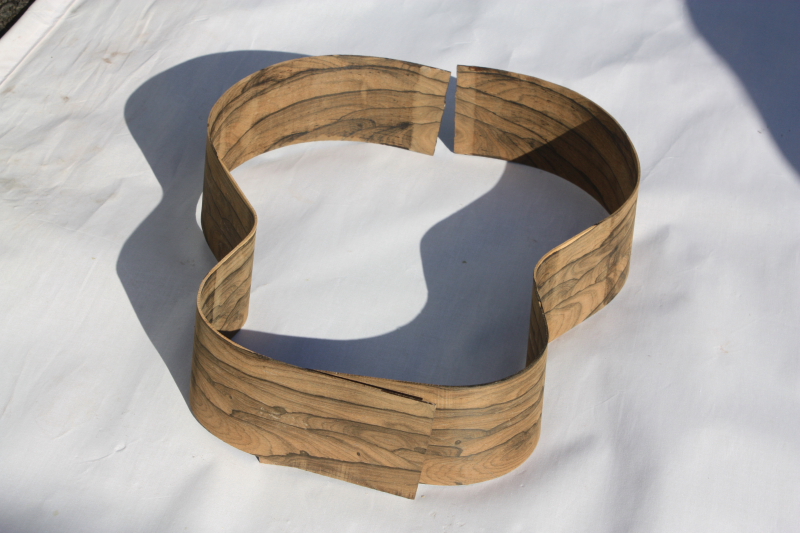
Nick will make his own truss rod which fits into a straight slot but he will use a round bottomed cutter. After he routed his truss rod slot he cut the headstock angle into his neck blank before gluing on the heel block as it is easier to work with a square lump of wood. He was ready to rough out his neck in the afternoon and it will now settle overnight before gluing on the fretboard tomorrow. The rest of the day was spend cutting the channels for the binding around the edges of his body. He managed to get the first pieces glued in place before we packed up for the day and will finish the rest in the morning.
Dave (set neck)
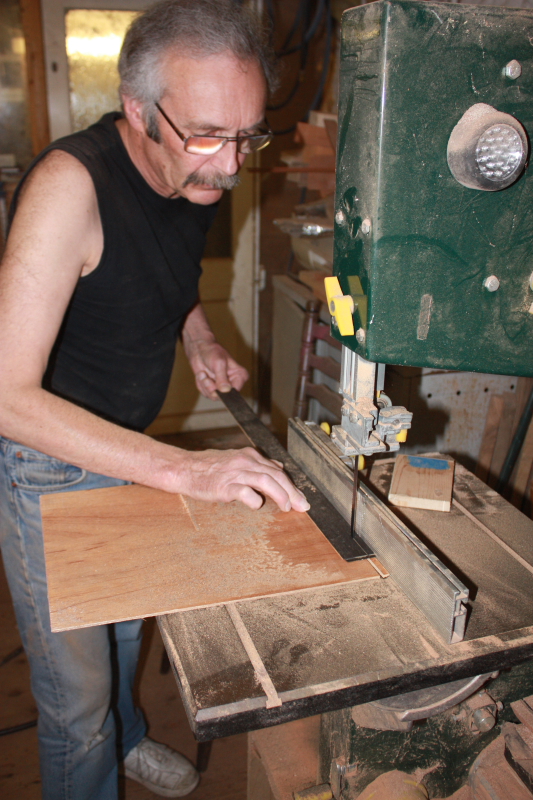
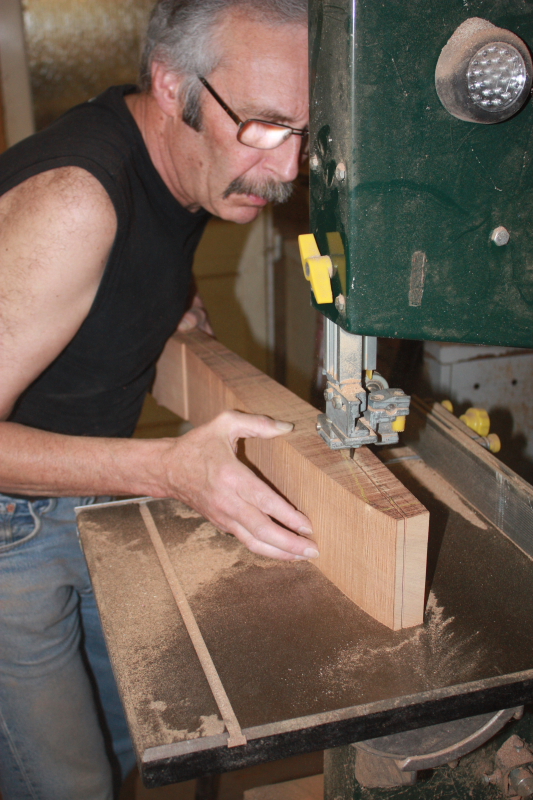
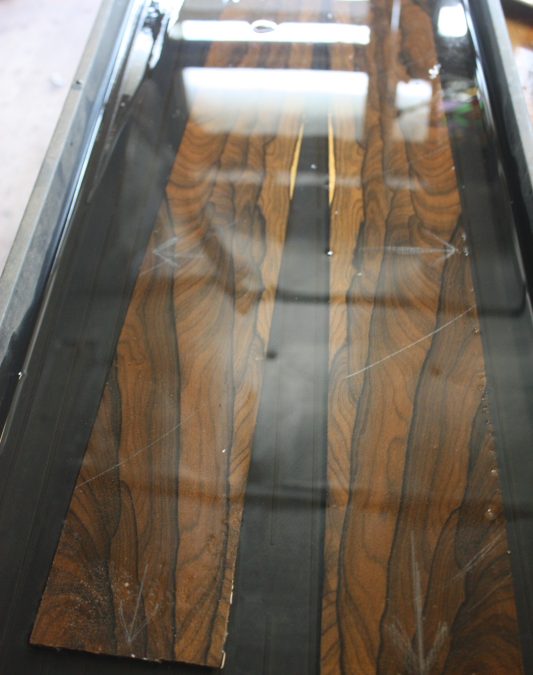
Dave’s set neck design has an angled back headstock which requires a thicker piece of wood than a bolt on, parallel headstock design like Kevins (below). His truss rod is fitted under the fretboard into a simple straight slot. He roughed out his neck on the band-saw and then cut the binding strips from the sheet he glued yesterday. They came out looking great so we glued them on. Tomorrow the fret slots will need to be re-cut through the ‘black white black’ before the outside strips of rosewood can be glued into place, then he can get his fretboard glued on.
Kevin (bolt on)
Kevin has a more difficult task as the truss rod goes into the back of the neck and will be hidden with a fillet of wood or ‘skunk stripe’. He has band-sawn his neck out, drilled his tuner holes, glued his fretboard on and routed his truss rod slot. He also took a tracing from his drawing to use for marking out the body. Tomorrow he will finish installing his truss rod, carve the neck and possibly make a start on the body.
That is a pretty good day all round I reckon…hope you are enjoying reading about the course and watching these guitars take shape over the next week….more tomorrow!

Build your own custom guitar- day 1
…Design session and making the fret boards…
-

- End of day 1
-

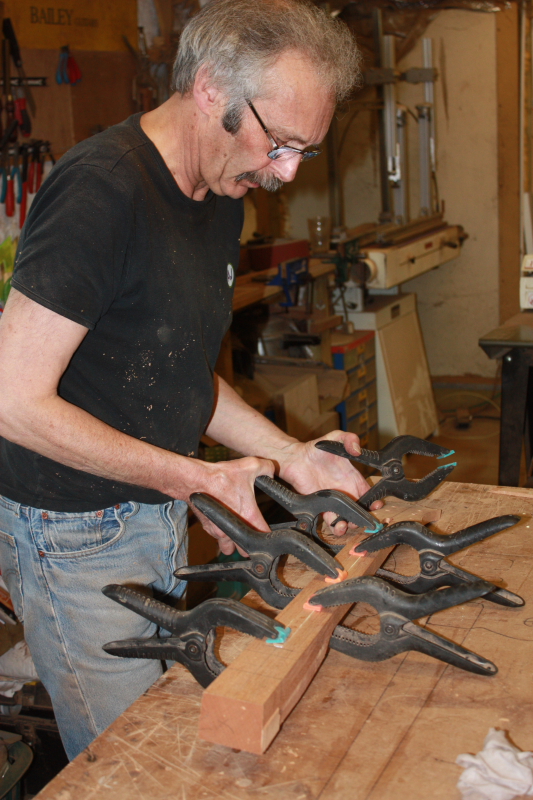
- Taking the clamps off

-

- Gluing binding strips

-

- Marking the pick up locations

-

- band sawing the fretboard

-

- Fitting the tailgraft

-

- Profiling the fretboard

-

- Dave brought his own drawing

-

- Kevin works on his design

-

- Nick glues his neck laminates

Day 1 of 7:
2pm till 6pm
Dave and Kevin are starting on the build your own custom guitar course today while Nick continues on his acoustic he started last time– we normally have four builders so it was an especially easy half day to get us going. We’ll be joined by a different person every day starting tomorrow with Duncan who is also making an acoustic.
Dave brought his own drawing of a les paul he wants to make. He decided to make some binding for the fretboard and around the headstock by gluing together a boxwood veneer between two sheets of ebony. We certainly have our work cut out as it will not only have crown inlays on the fretboard but he will also be inlaying the headstock with a design he made at home and brought along with him.
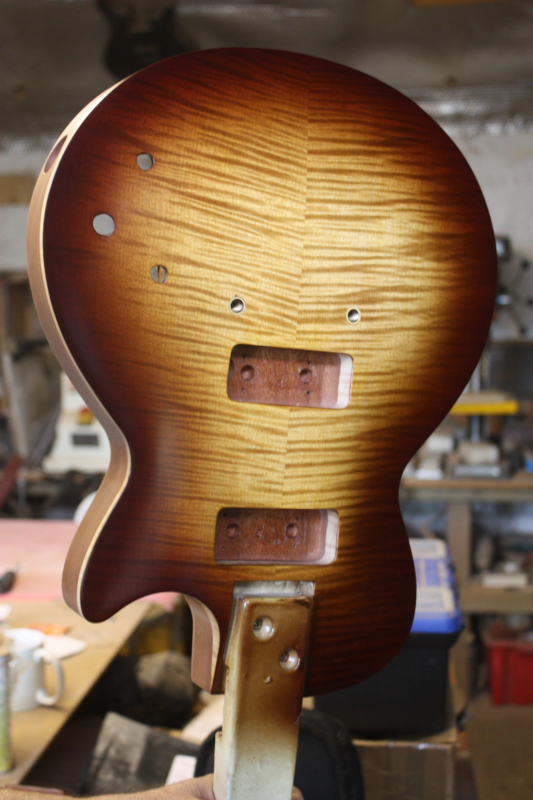
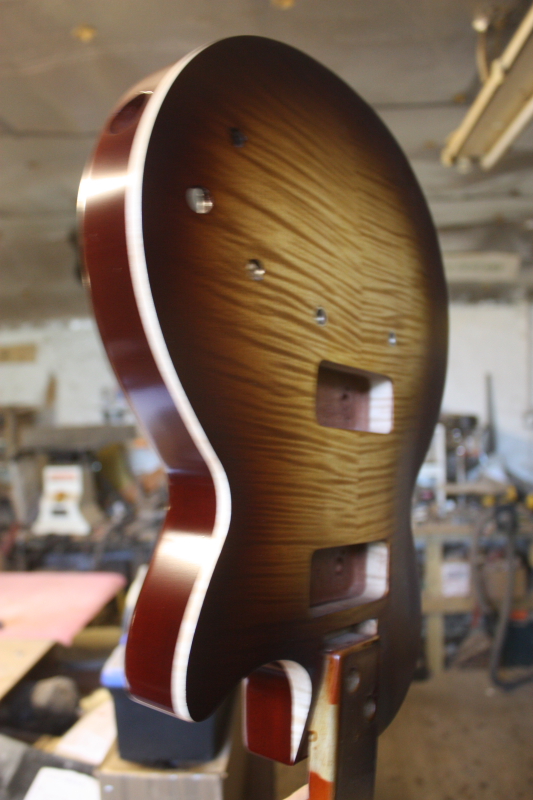
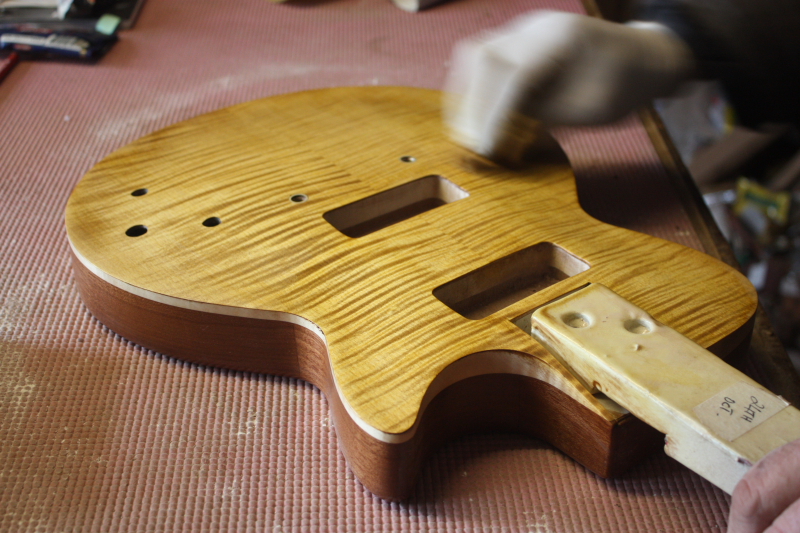
Kevin designed his own guitar completely from scratch so it was necessary to do a drawing. He is making a bolt on style guitar with a parallel headstock. It will have a maple neck with a birds eye maple fret board. The body is ash with a flamed maple cap and for hardware he chose a Schaller roller bridge and two humbuckers. His guitar will also have sound chambers and and f-hole.
Nick is on the second part of his Build your own acoustic course and is aiming to finish by the end of this visit. Today he made the binding to go around the edge of the guitar which is rosewood to match the body and fitted the end graft so tomorrow he can cut the binding channels and hopefully get it all glued on by the end of the day. He also glued up the mahogany and maple laminates for the neck which also has two black pinstripes.
All three worked on their fret boards today- Nick and Kevin’s are now slotted, radiused and cut out ready to glue on tomorrow. Dave’s will take a bit longer as it will be radiused after the binding is glued on. More tomorrow!

Custom Bailey for Skerryvore- completed pictures
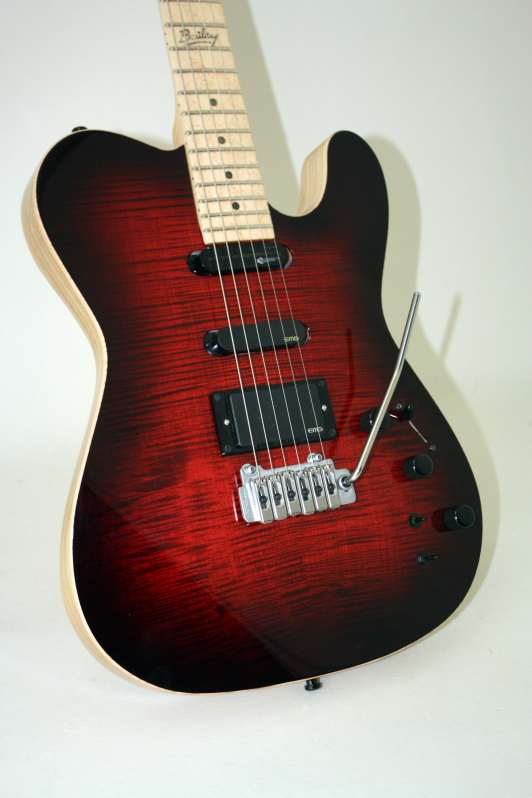
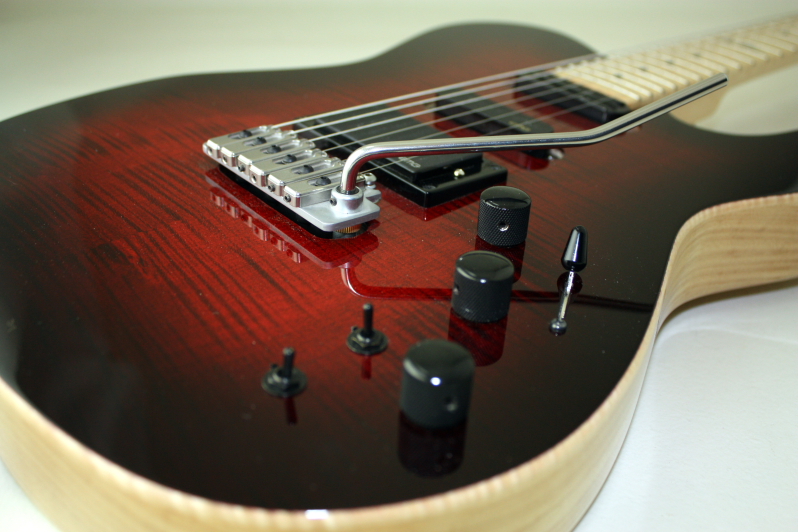
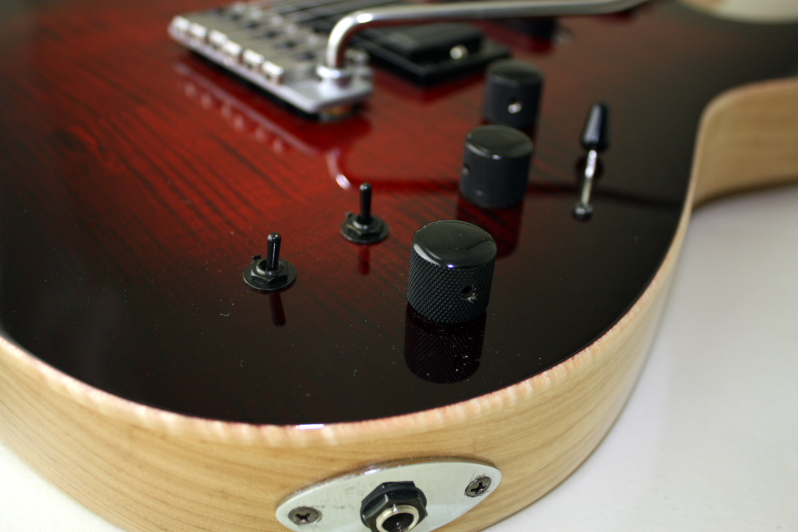
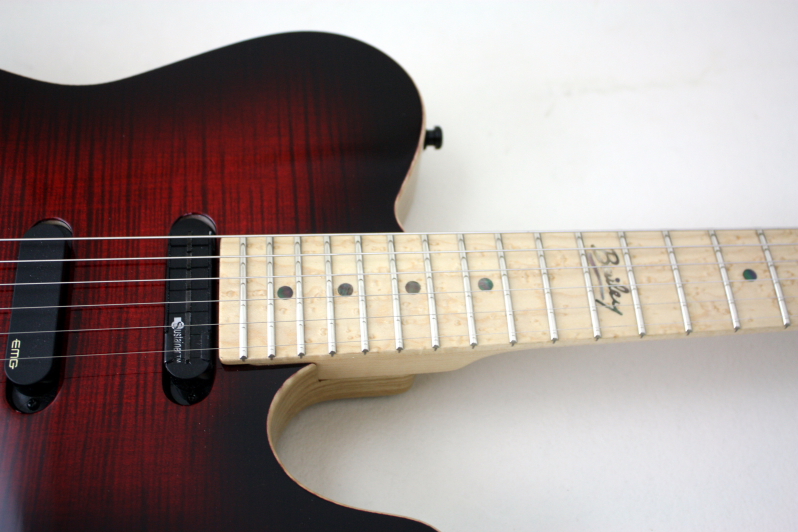
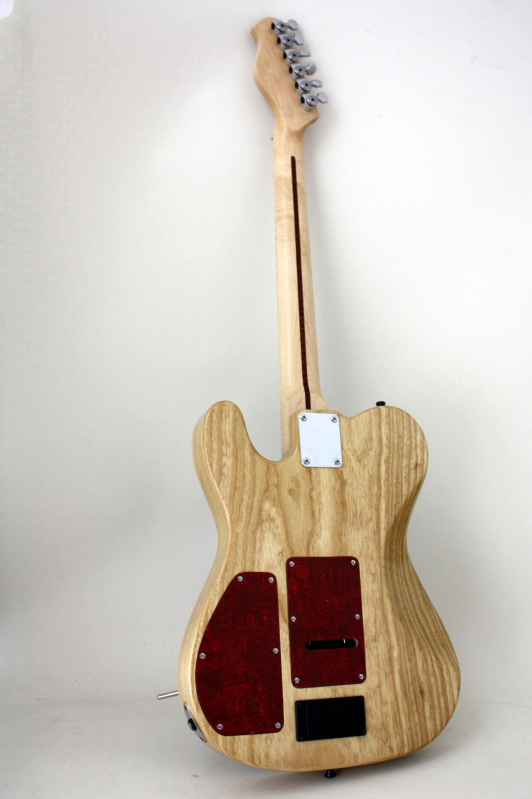
Here it is… Skerryvore custom from the Bailey workshop
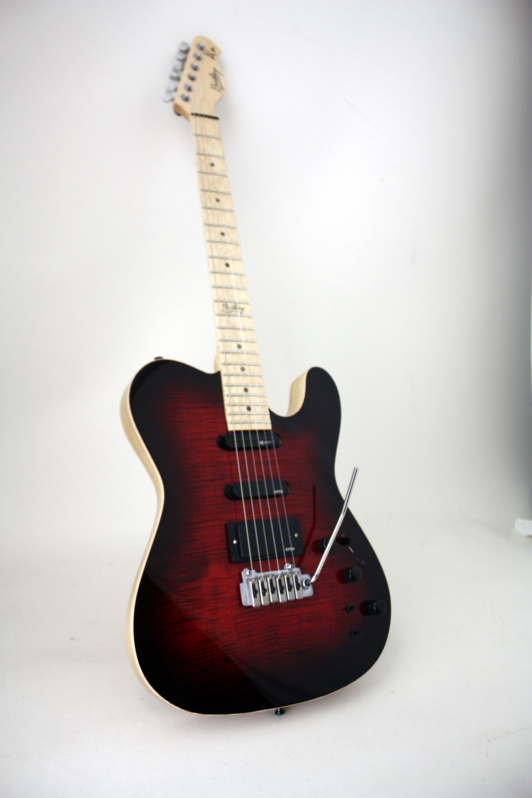
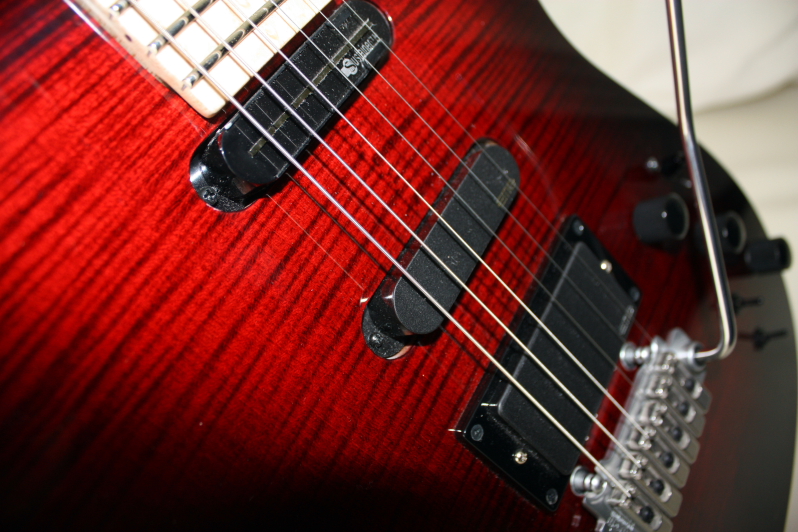
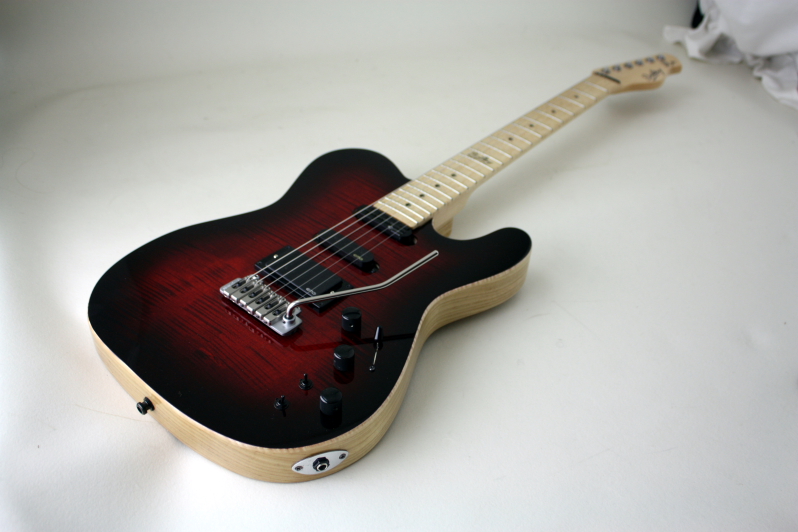
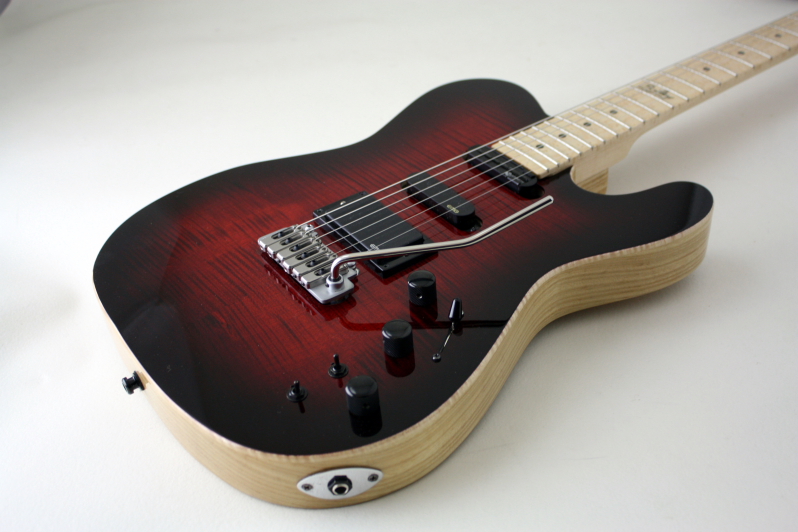


Alec from Skerryvore came on Thursday to collect his new shiny custom guitar
He will be using this guitar in large venues so the EMG’s will be excellent- very loud and clear sounding with really extremely low noise when not being played. The sustainer lets him command one of the most beautiful sounds in the world- controlled feedback. As if that wasn’t enough there is the wilkinson whammy bar to play with.
Alec left a happy man heading straight for the studio to lay down some tracks on the new album- can’t wait to hear what he does with it! Hope you enjoy the pictures.

Bailey custom acoustic guitar- Ziricote and Bearclaw Bootlegger-P4
…Bracing the soundboard…
Read part 1, part 2, part 3, part 4, part 5, part 6
-

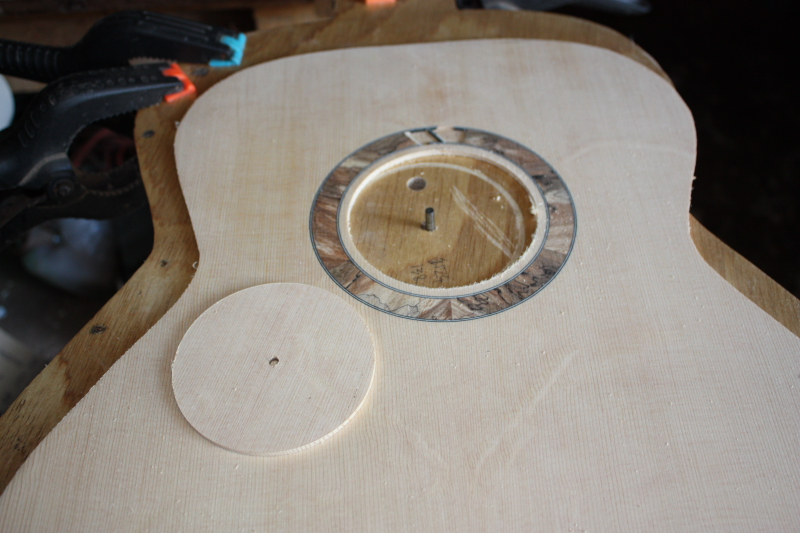
- The rosette has now been sanded flat
-

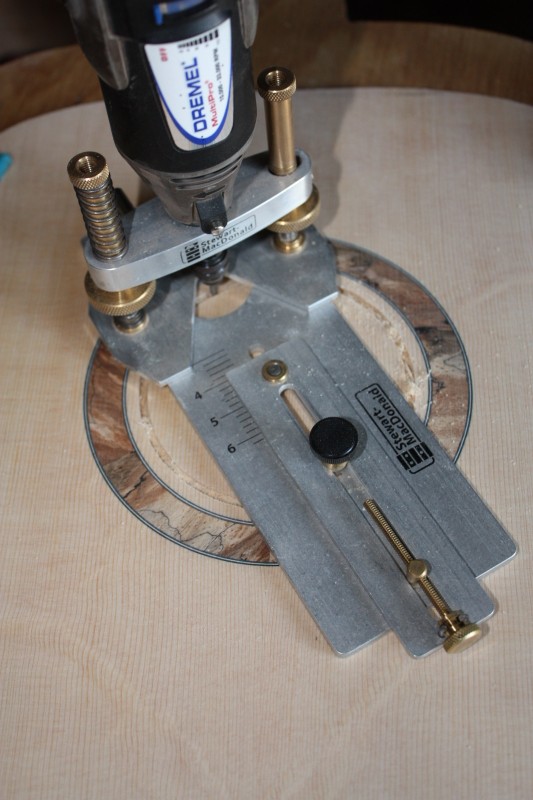
- Cutting the soundhole
-

- The ‘change’
-

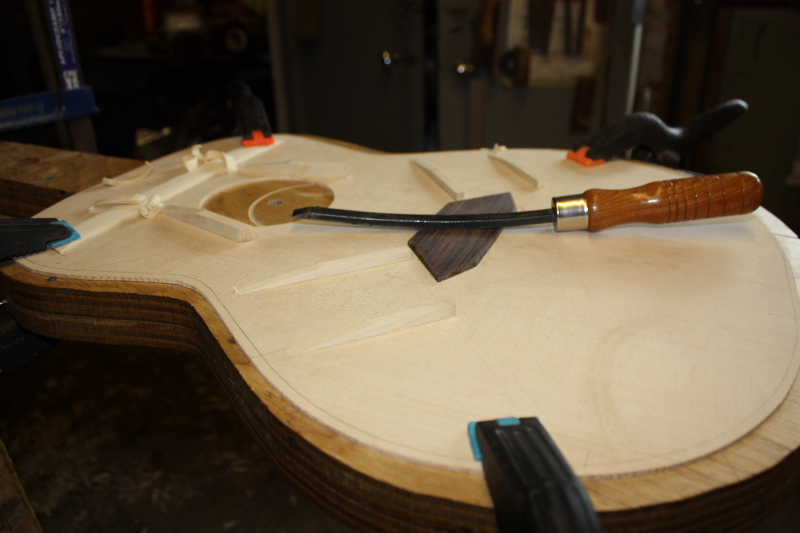
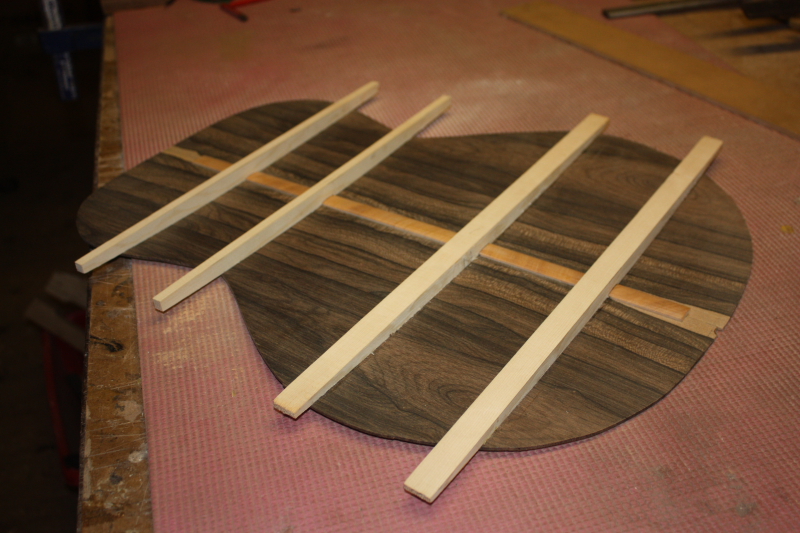
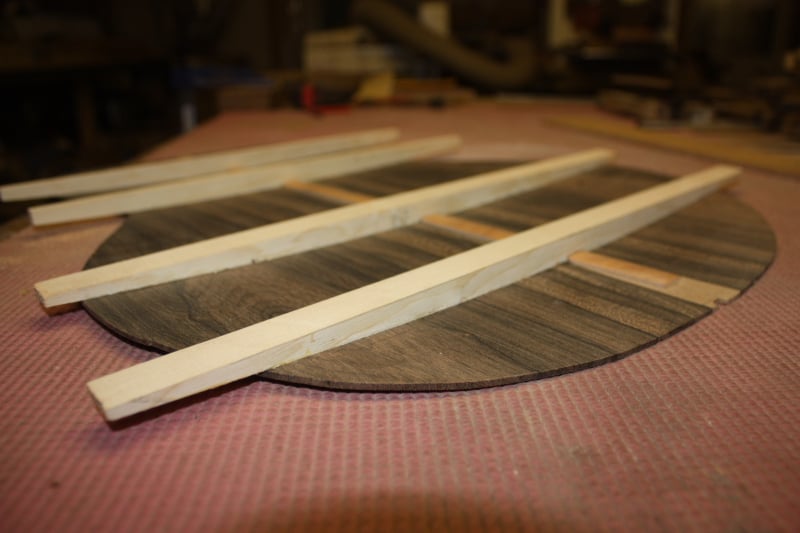
- The flat braces are glued and ready for carving
-

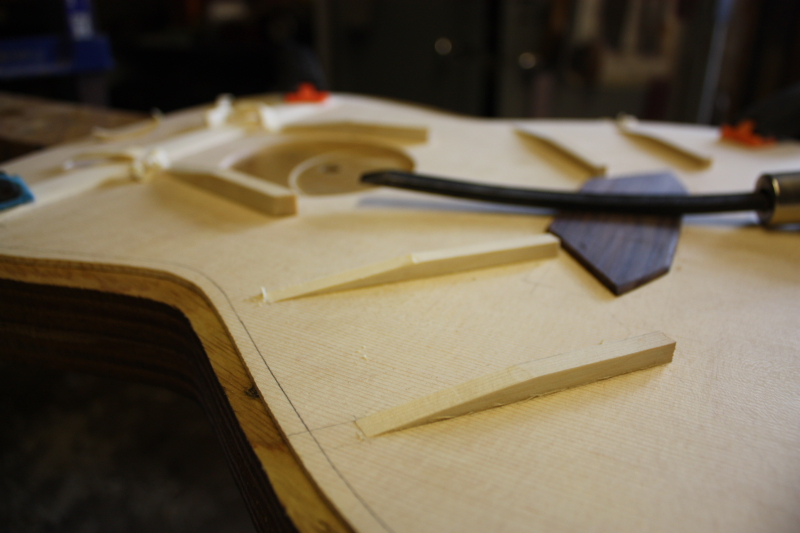
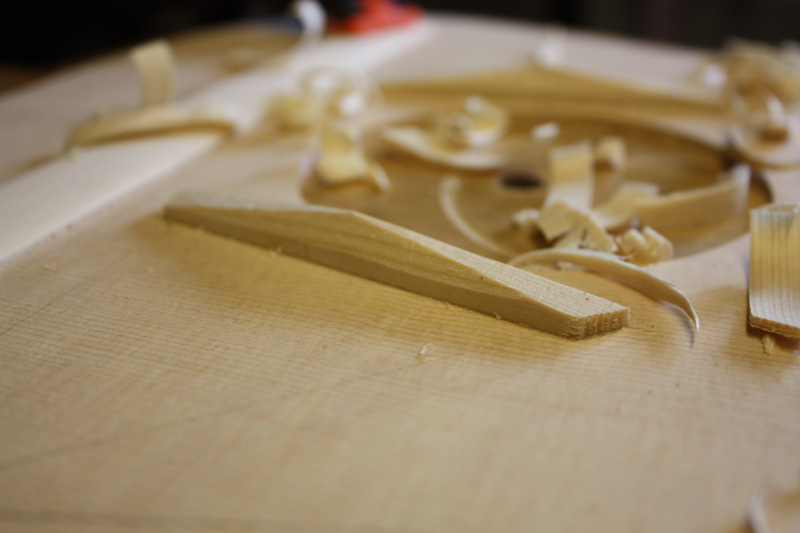
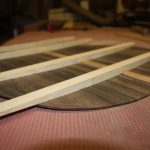
- The finger braces are carved from full height in the middle down to nothing at the ends
-

- This is repeated on both ends
-

- An angle is carved into the sides to form a pyramid shape

-

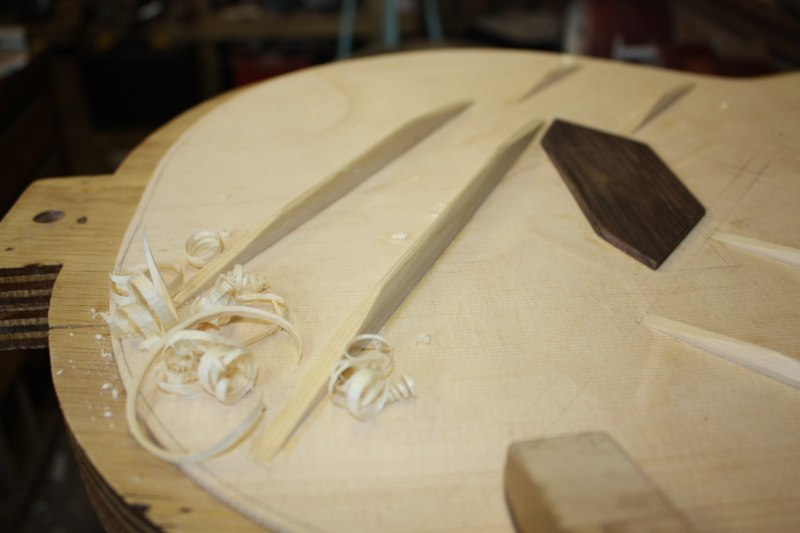
- The soundhole braces are treated similarly but the ends are left 1/8″ thick
-

- The upper and lower face braces are glued next

-
- …Then carved
-

- Then the x-braces are glued

-

- The large x-braces wil be carved and graduated before assembly
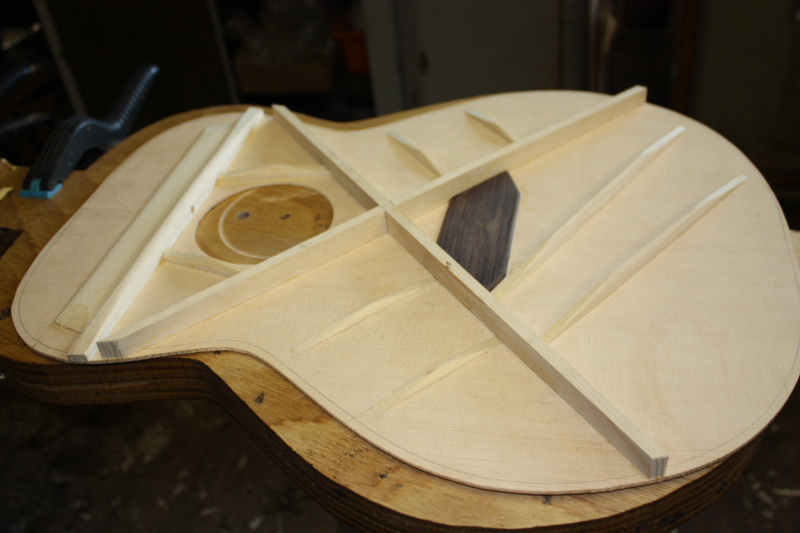
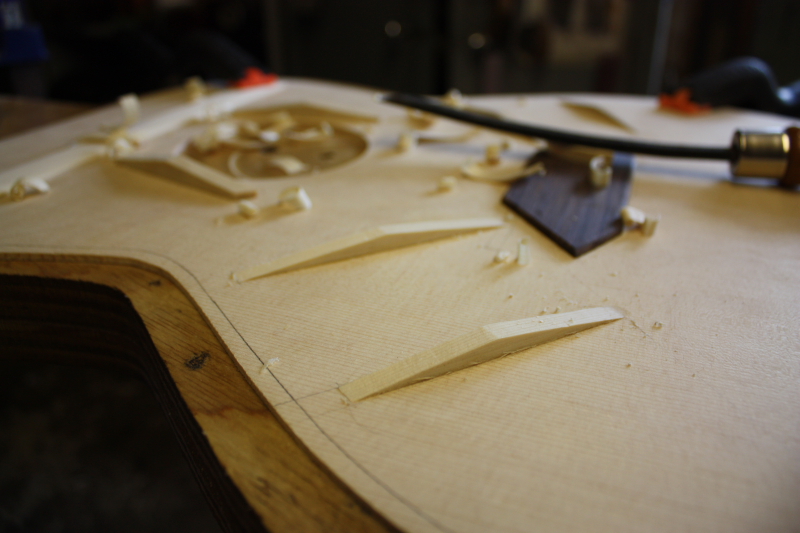
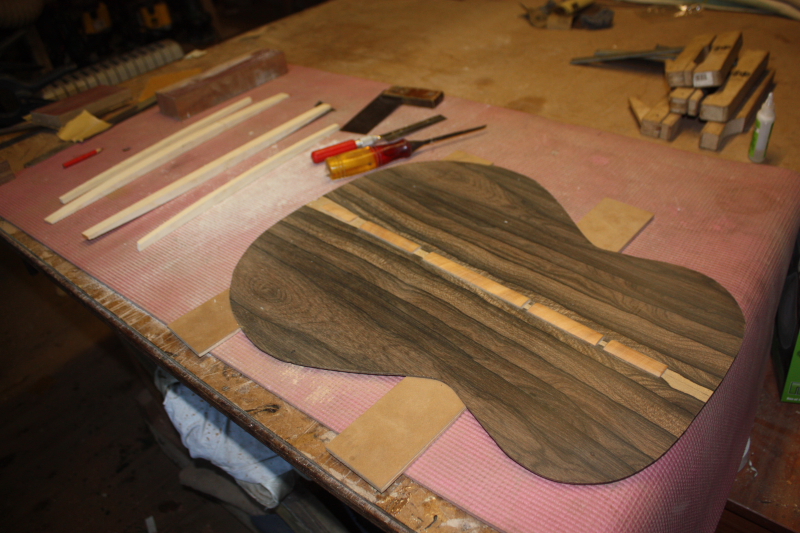
After the rosette is sanded flat and sound hole cut out then the top can be braced.
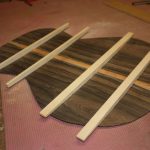
The braces are glued on and carved in three stages. It is easier to carve them unobstructed before the next ones are glued. First the flat soundhole and finger braces, then the curved upper and lower face braces, and finally the x-braces are glued on and carved.
The ends of the soundhole braces are left 1/8″ thick to butt up against the upper face brace and the x-braces.
The x-braces are usually left uncarved until just before the body is ready to be assembled.
Bailey custom acoustic guitar- Ziricote and Bearclaw Bootlegger-P3
…Gluing the back braces and the rosette…
Read part 1, part 2, part 3, part 4, part 5, part 6
-
- Fitting the back braces
-

- Notches are cut into the centre-seam strip for the back braces
-
- All the back braces are now glued on
-
- The back gets its curve from the braces
-
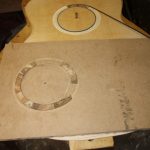
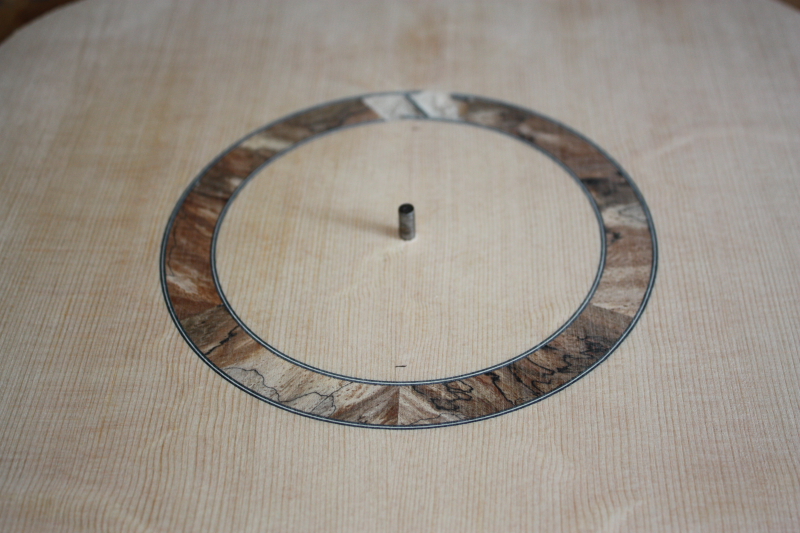
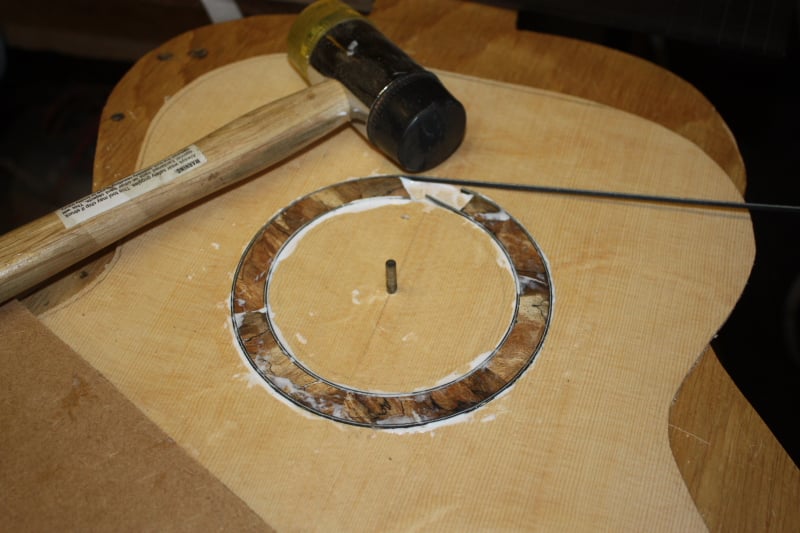
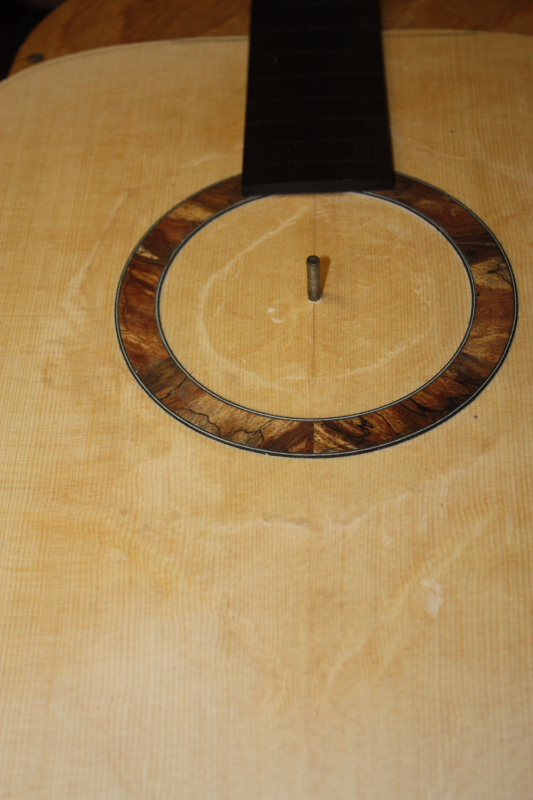
- Checking the fit of the spalted rosette
-

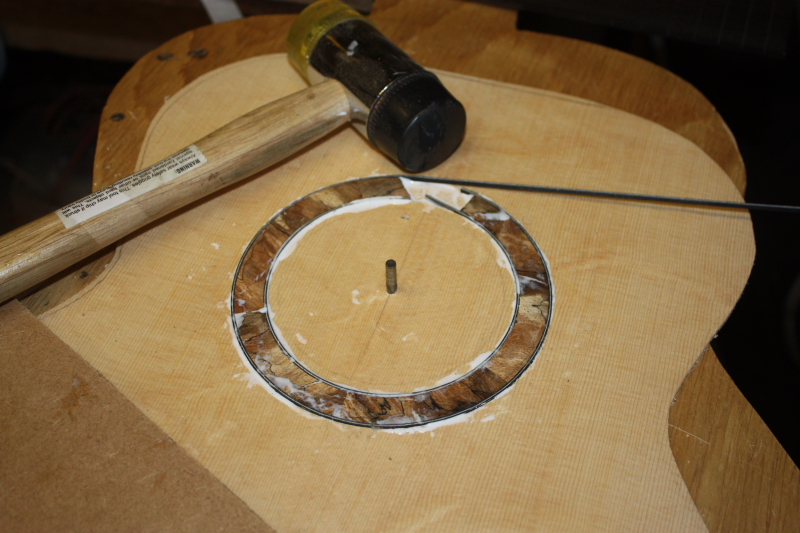
- Ordinary white glue is used for the rosette
-
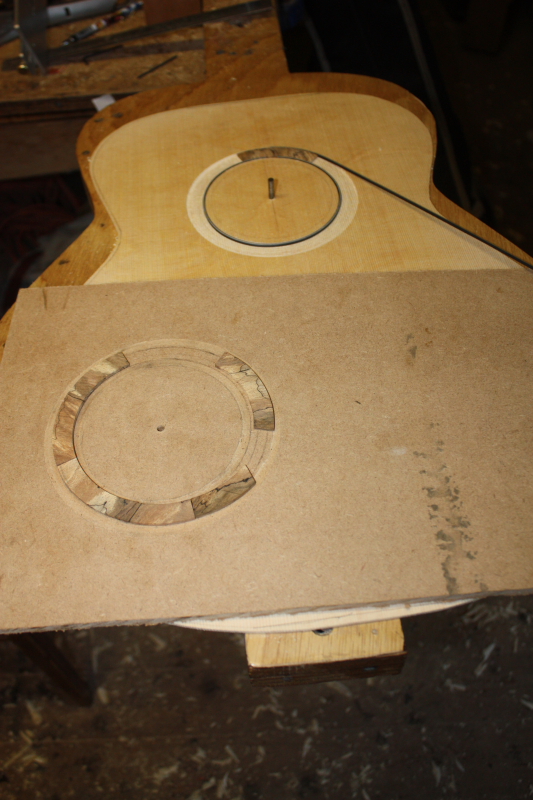
- I put the fretboard in place to show what it will look like
-
- It is glued in oversize and will be left overnight before sanding flush
The back braces are curved so when they are glued to the back it too becomes curved. The back will eventually be domed- curved front to back as well as side to side, but that is done when it is glued to the body during assembly.
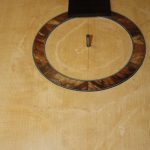
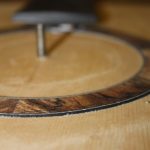
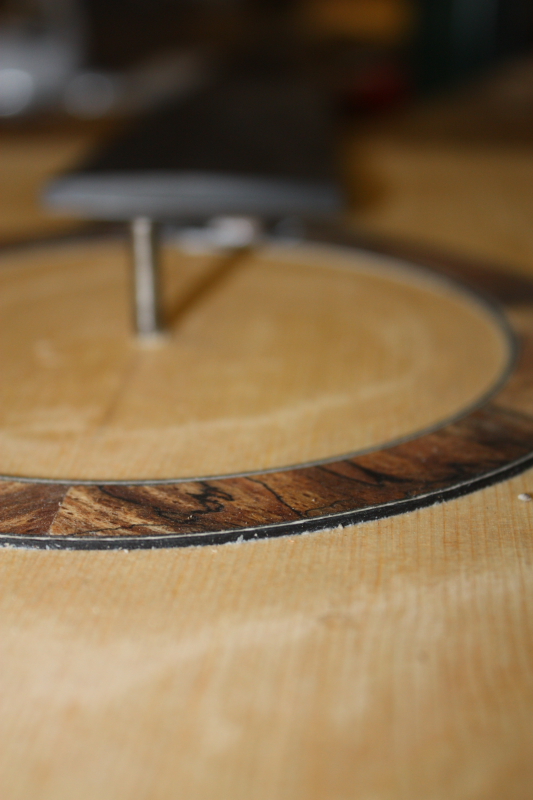
The spalted maple rosette was made separately and then glued into a channel cut into the soundboard with a black/white/black strip either side. It sits proud of the surface and will be sanded flush when the glue is dry.
Bailey custom acoustic guitar- Ziricote and Bearclaw Bootlegger-P2
…Making the top, back and sides…
Read part 1, part 2, part 3, part 4, part 5, part 6
-
- Joining the bearclaw soundboard
-

- Bearclaw spruce top being glued on the joining board

-

- The sides were soaked before heat bending

-

- The sides after bending
-

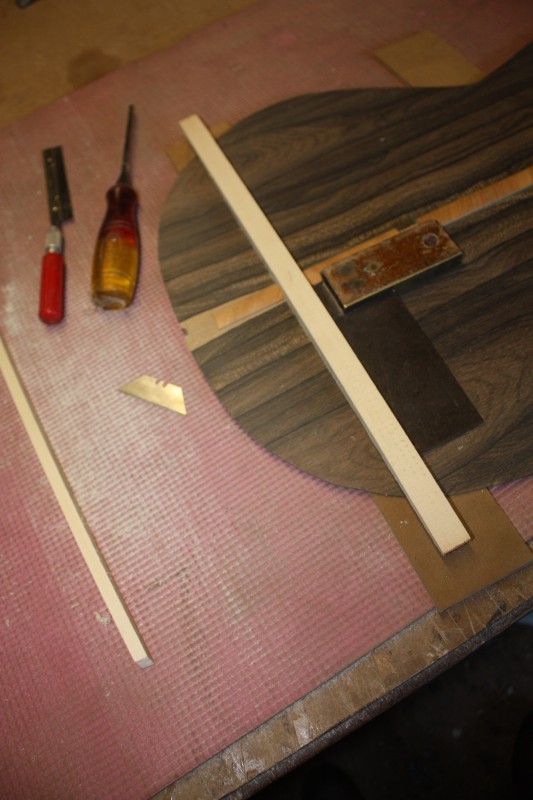
- Mahogany is used for the centre-seam reinforcement strip
-
- Gluing the centre-seam reinforcement strip
-

- The back braces are curved and ready for gluing
-

- The soundboard has been cut out
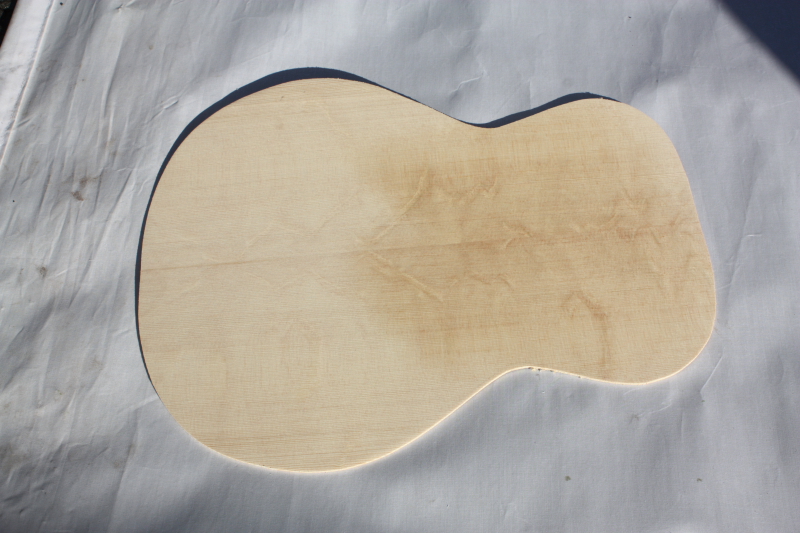
The body is made up of these three parts Top (bearclaw sitka spruce), back, and sides (ziricote)
I made a good start on all three pieces this week, everything is now thicknessed and joined. The top and back are cut out and the sides have been bent and all the braces are already made. Next job is to do the spalted maple rosette and start gluing the braces on.

A sad loss for the world of guitar making
Jim Cairnes will not be forgotten- his work will out live us all.


Our warmest thoughts and sympathies are with the Cairnes family after we just heard today the sad news that Jim has now left us for the great gig in the sky.
I was called a few weeks ago by a member of the Cairnes family to finish Jim’s last guitar. Unfortunately he’d become too ill to work and was worrying (as I would) about it. As ill as he was he still didn’t want to let down his customer. In this game your customers often become your friends.
I met Jim at the Penrith guitar show. I love going to these small shows. My favourite part is talking to all the other guitar makers about how they do this or that, comparing guitars and methods and generally chin wagging about the state of the art. We all have one thing in common- a desire for creating beautiful guitars. I never saw any of his work until now but, from the instrument I have here in front of me, it is obvious that he was a man that loved wood and his craft.
So it is a true honour to be given the task of finishing this, his last guitar. The colour and base-coats were sprayed last week. We applied the headstock decal bearing his name yesterday, and the last of the build coats will be done today. The guitar is in good hands, we are determined to make sure it is completed to the highest order just as Jim would have done.
[email_link]