Blog
Bailey custom one string bass-5/7- making the neck
One trick pony- April fools! No its not…

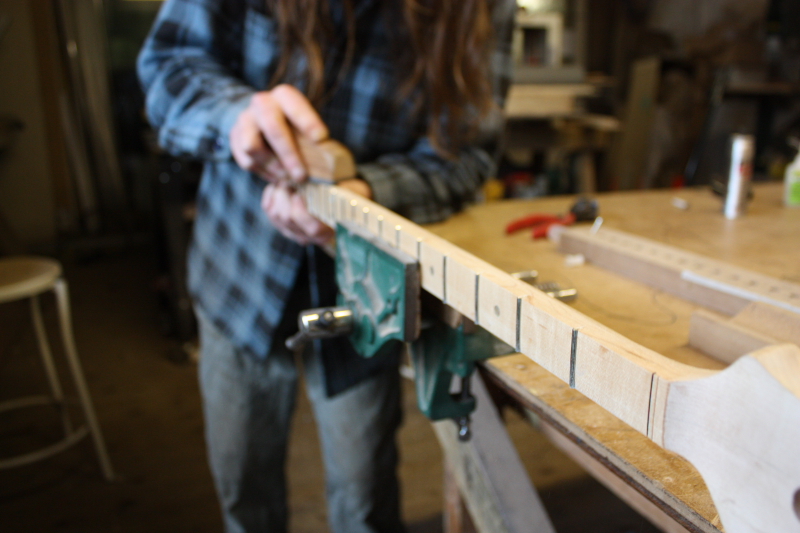
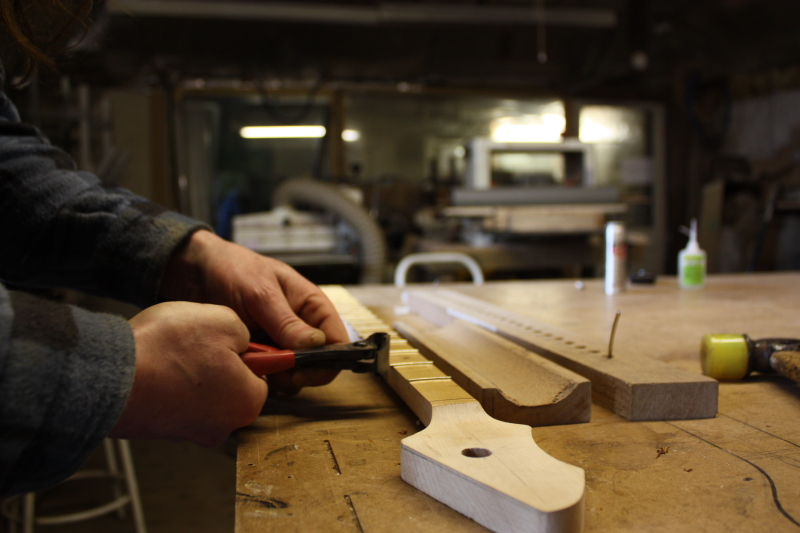
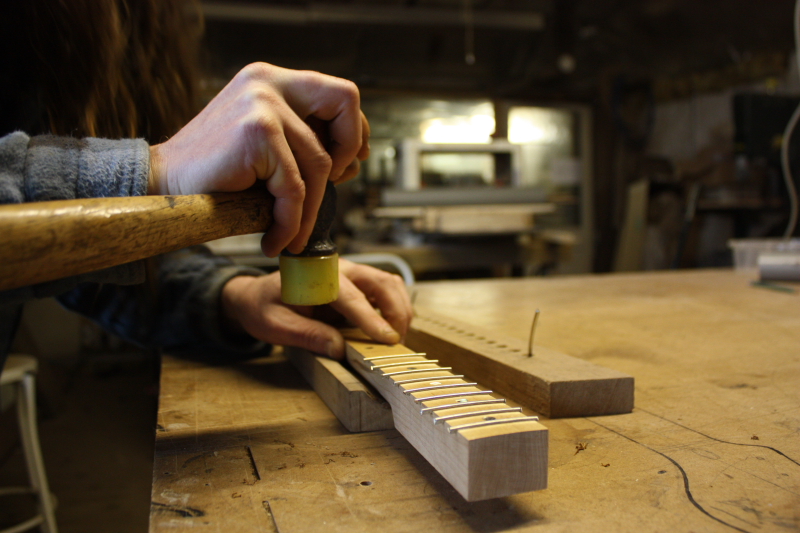
I hammered the frets in and then ran a bead of super glue under the end of each one. This locks the frets in position. If the ends are locked in place the fret cannot move. After nipping to length, the ends of the frets are filed flush to the wood, then an angle is filed onto the ends and finally smoothed over with a sanding block.
Although it will only have one string this certainly will not be a ‘one trick pony’. Its going to be full of them. It will sound like an acoustic bass but also have to capability to control any MIDI instrument or computer and use whatever sounds they contain. Pretty cool. Next week I’ll be working on the body and stringing it up (shouldn’t take long) for a test. Then it will be ready for a finish…Part 6

Preston Reed’s Custom Bailey Baritone- update

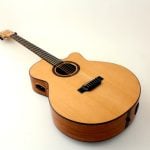
Preston playing his Bailey custom baritone
Preston writes about his new guitar
I’m lost for words…Thanks Preston!
It was a real thrill to make an instrument for such an outstanding player. It was an adventure learning about his style of playing and how that translated into a guitar built to his specific needs. I’ll writing more about this process and how I made the guitar in the coming weeks.
Thanks Preston for such a great write up!
More info on Preston’s new guitar
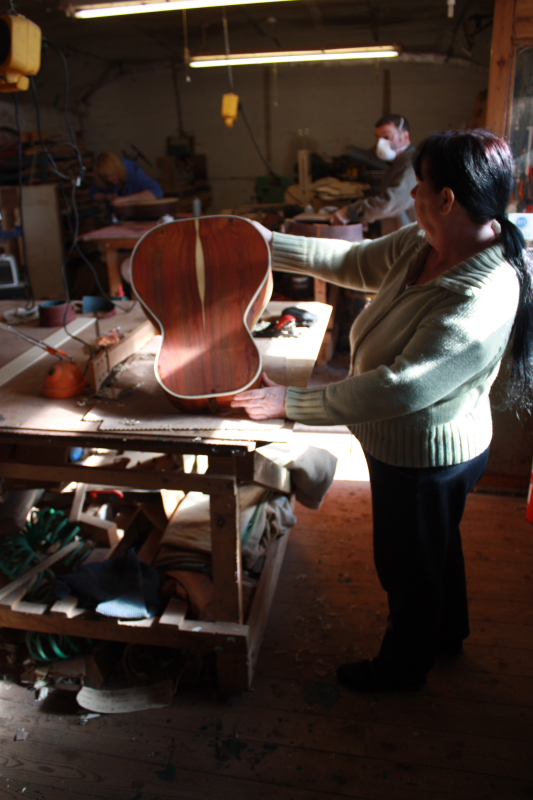
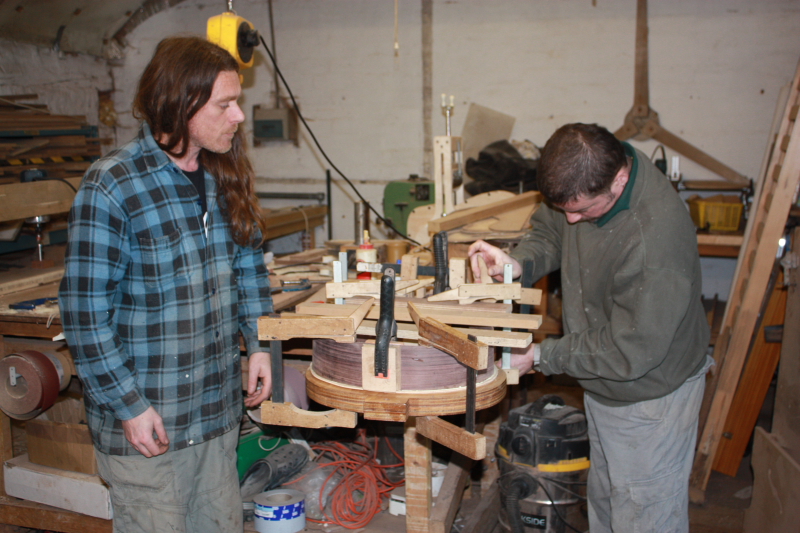
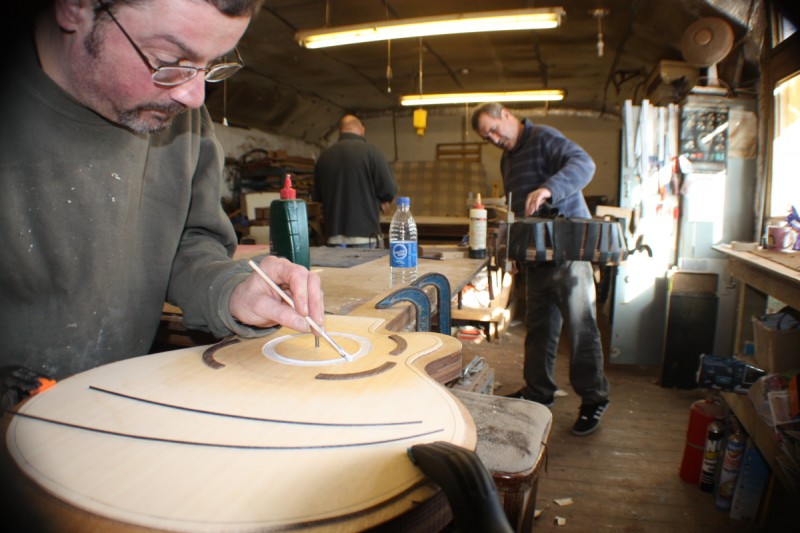
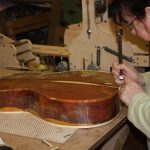
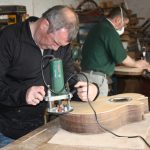
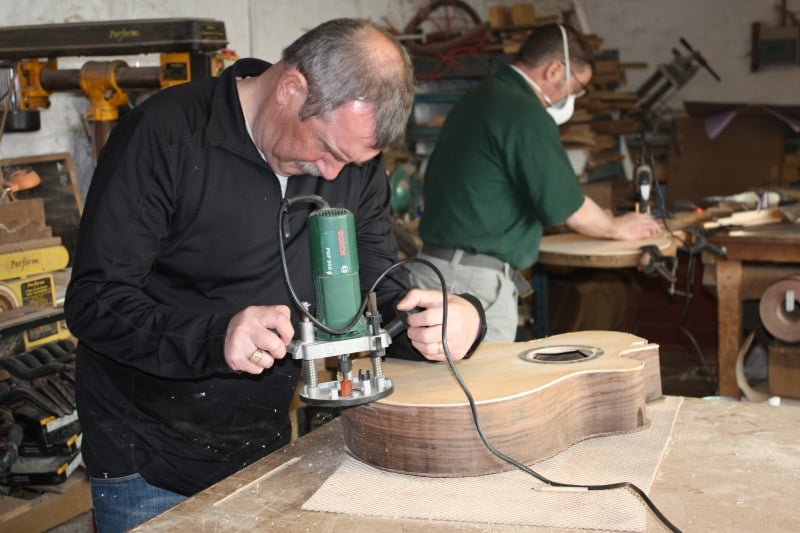
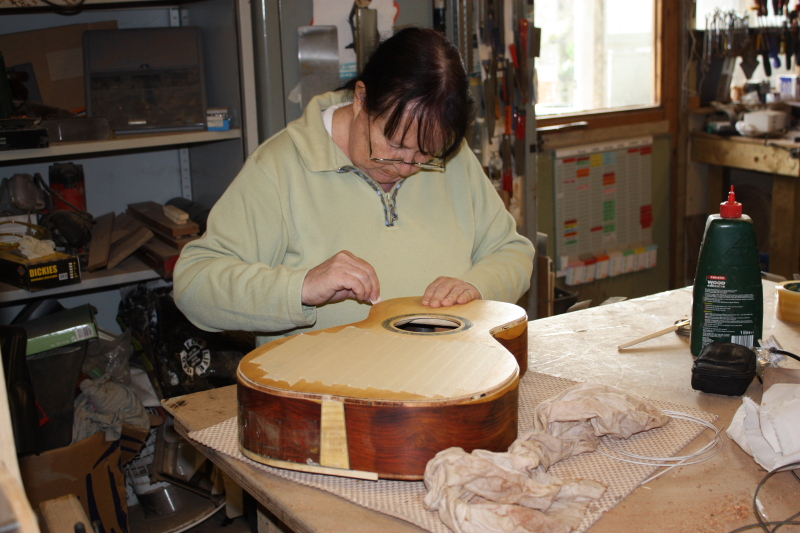
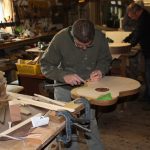
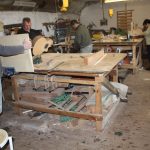
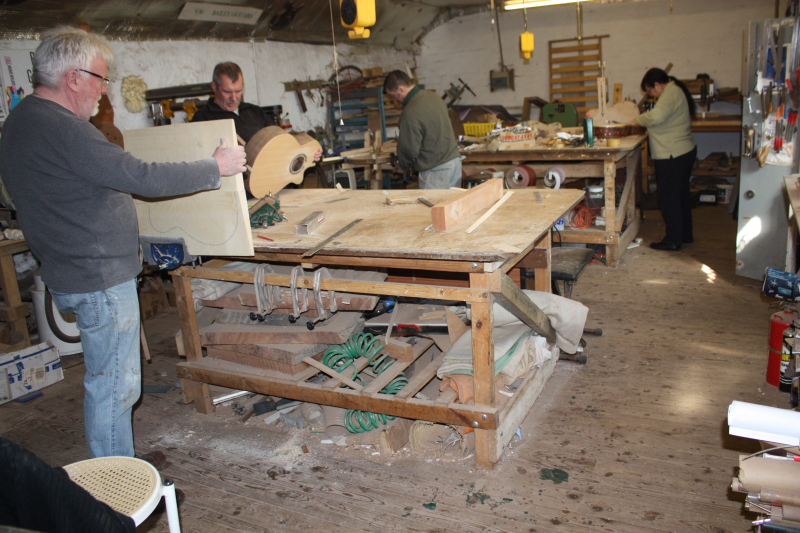
Build your own acoustic- 25-28 March 2011
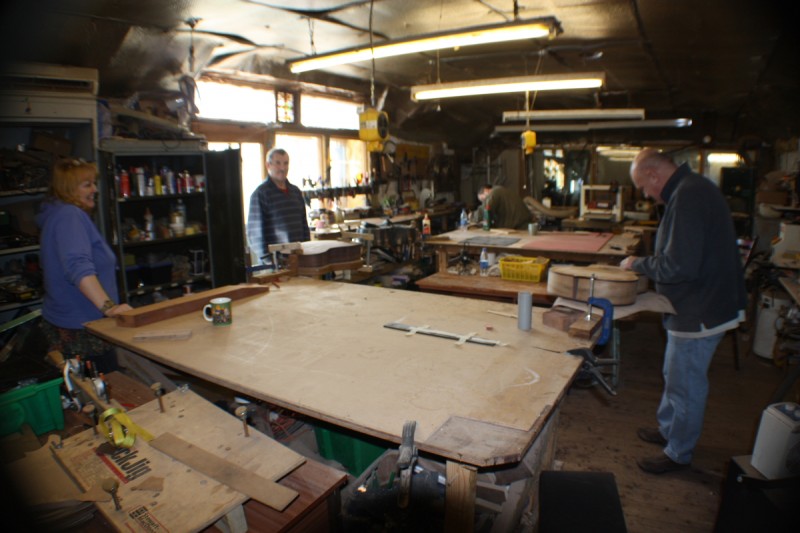
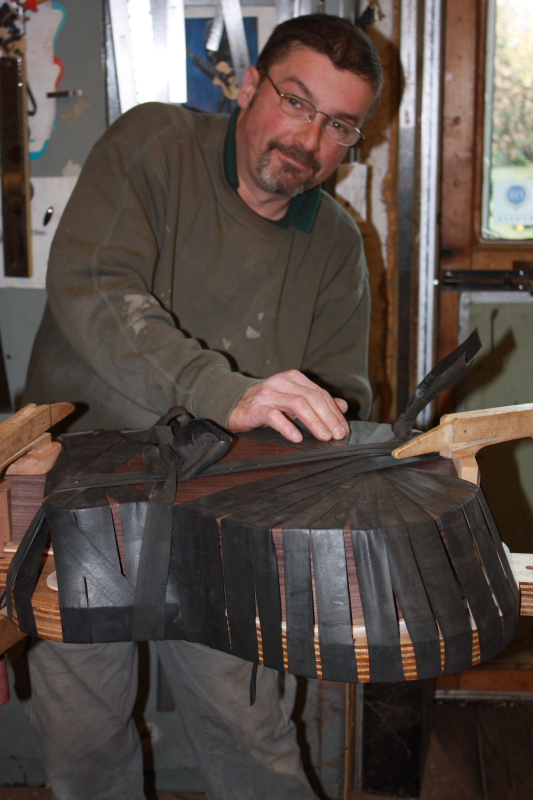
Highlights from the course
-

- There’s the back roped in place while the glue dries…more next time.
-

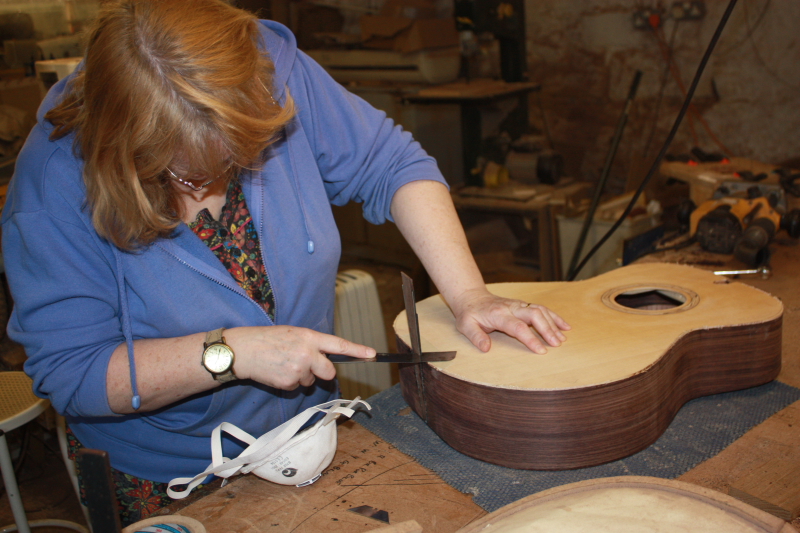
- Doreen did really well to get all her binding glued on in record time

-

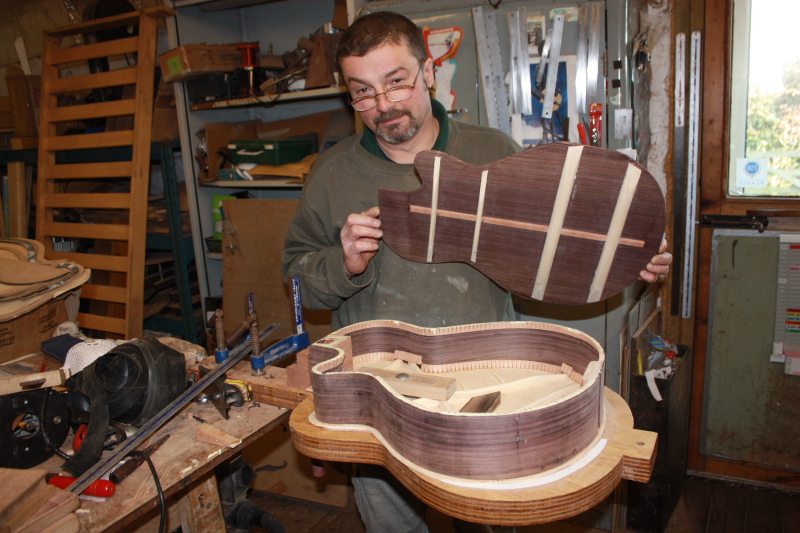
- Ready to glue the back on…gulp.
-

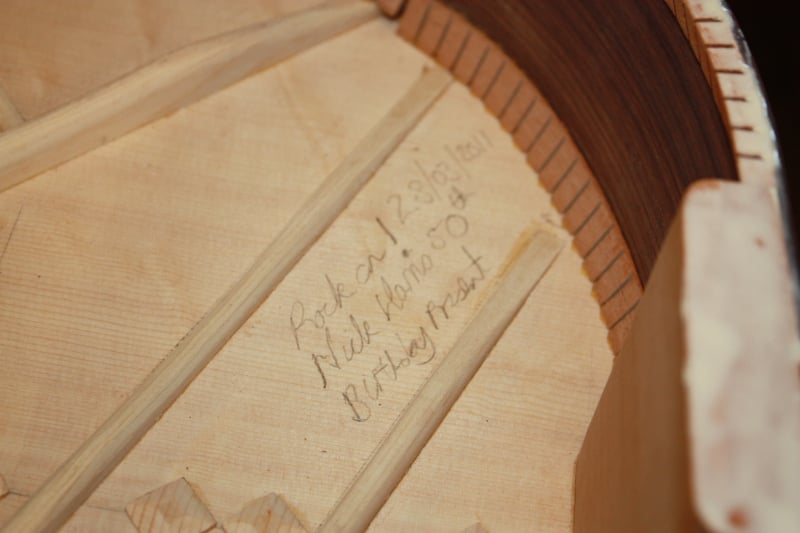
- We always write something inside the guitar- it’s the LAW!
-
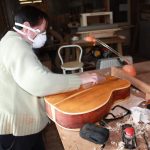
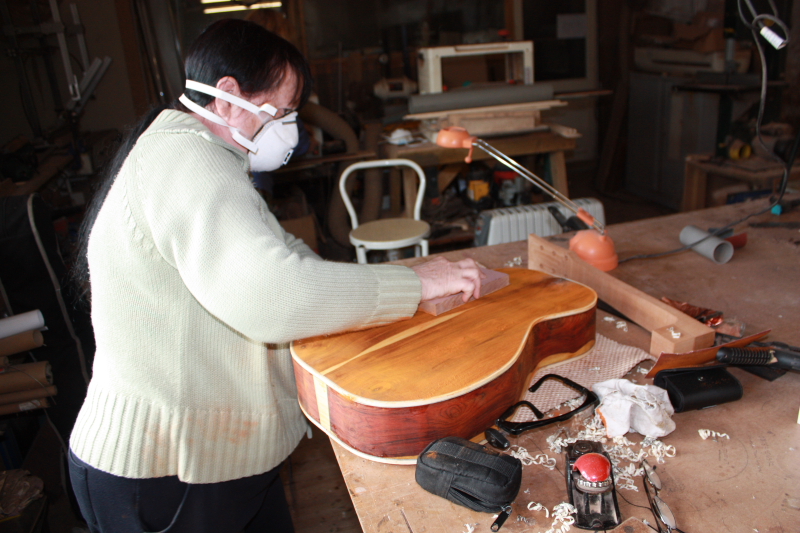
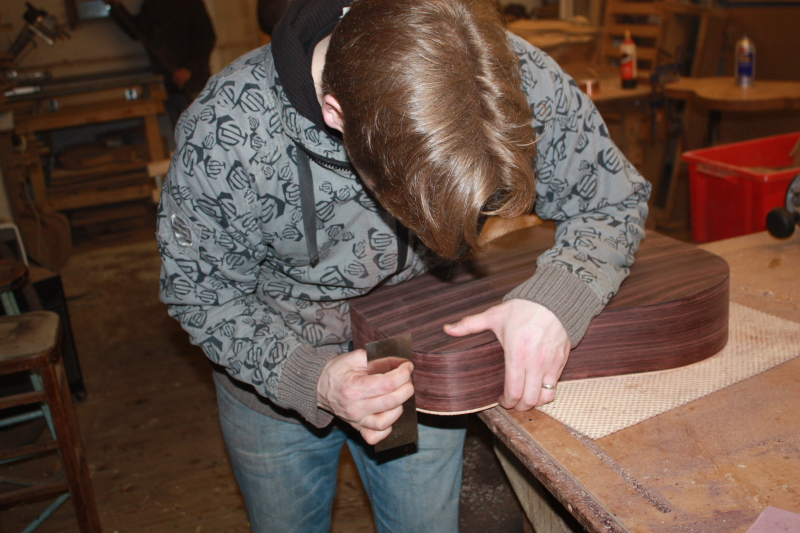
- Sanding the body
-

- Work harder!!
-

- Looking gorgeous! Moyra and her cocobolo parlour are dappled in sunlight
-

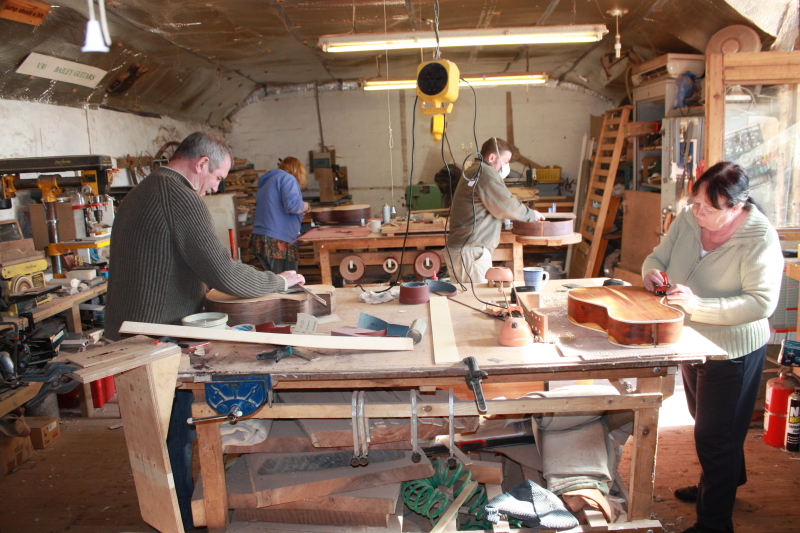
- Me (left) keeping watch while Nick glues his sides on
-
- L-R: Doreen, David, Nick and Duncan
-
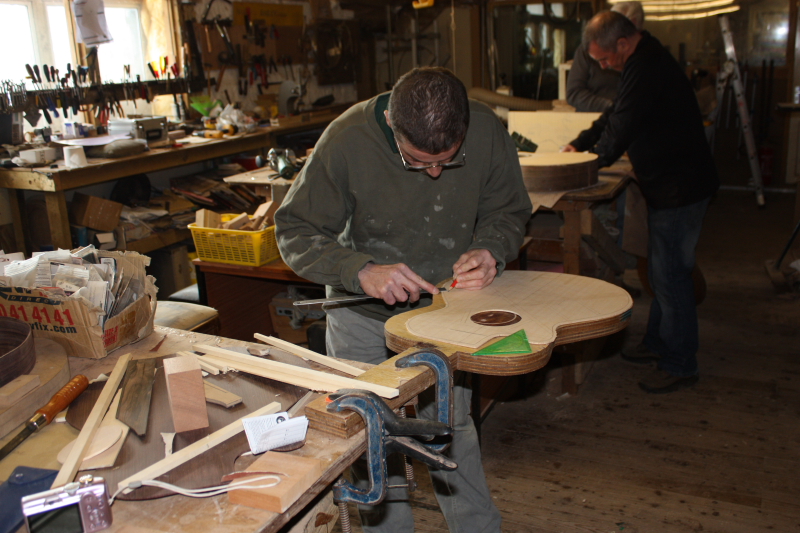
- Nick glues in his rosewood rosette
-
- ….takes a while…

-
- David trims his top to size
-

- Moyra tapes the binding into place
-
- Marking out the bracing
-
- Stevie (front) is making a 5 string archtop bass
-

- Planing the back of the blanks flat

-
- Ciaren (2nd from left) joined us to continue his build

-

- Doreen trims her tailpiece endgraft to size with a flush cutting saw
-
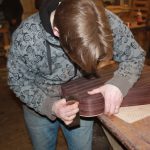
- Ciaren using a scraper to clean up the sides
-

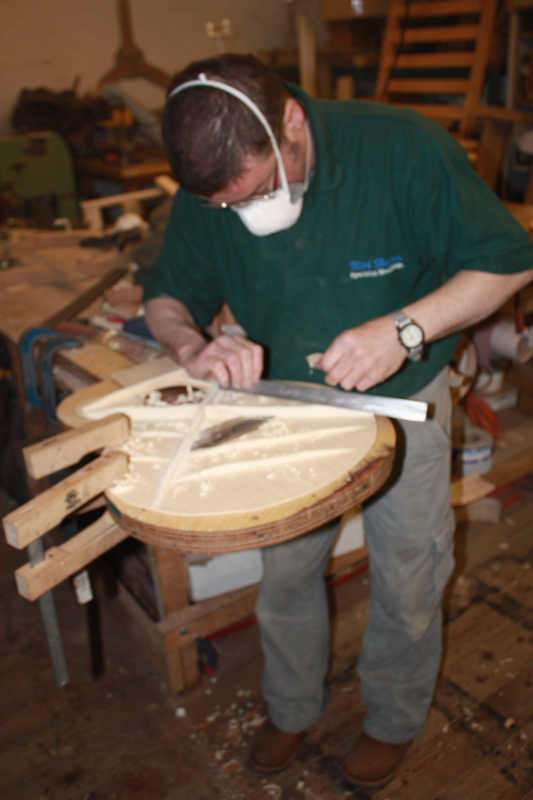
- Nick finishing his bracing
So much happens during a course it is hard to know where to begin…everyone has made great progress over the four days. They have all been before except Stevie who just started his 5 string archtop bass. His family have all chipped in towards the cost of the course for his 60th birthday. Ciaren is his son and also on the course making a dreadnought style.
Moyra’s ‘parlour’ is looking incredible and Doreens rosewood classy. Duncan got his binding glued on as did David. In fact everyone seemed to be binding except Steve carving his top and back plates and Nick who managed to get his ‘box’ together. Great Job Folks!

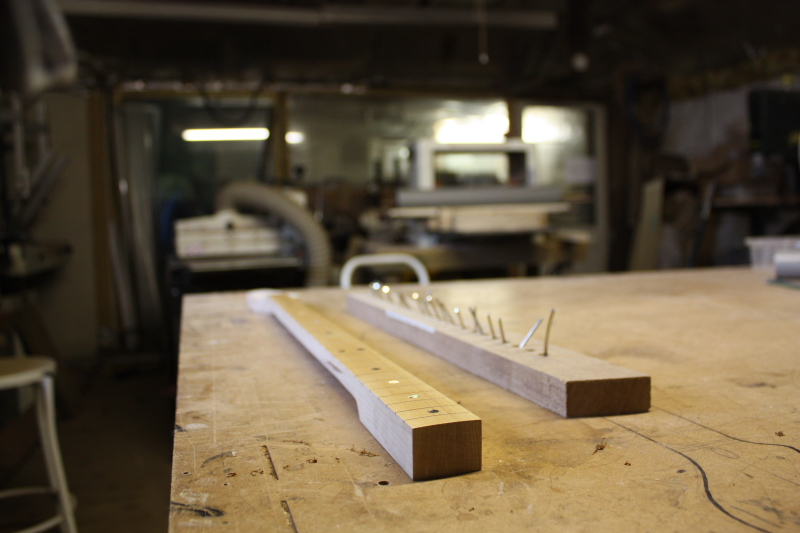
Bailey custom one string bass- 4/7- making the neck
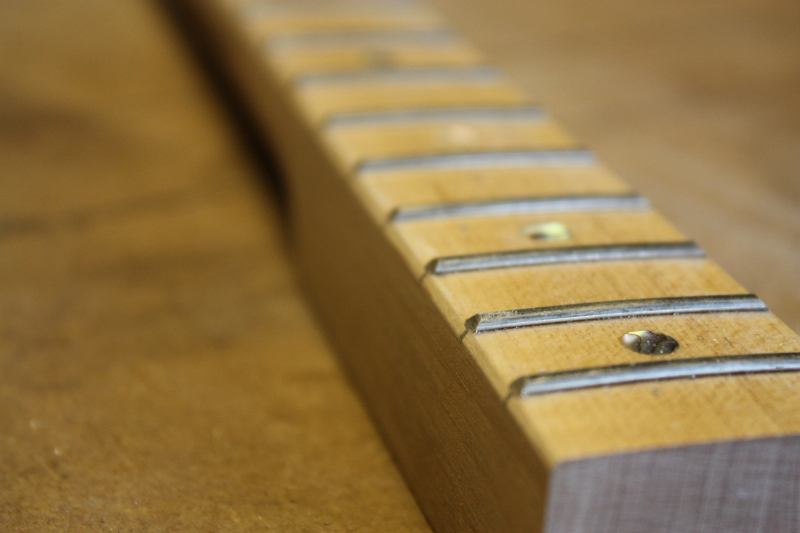
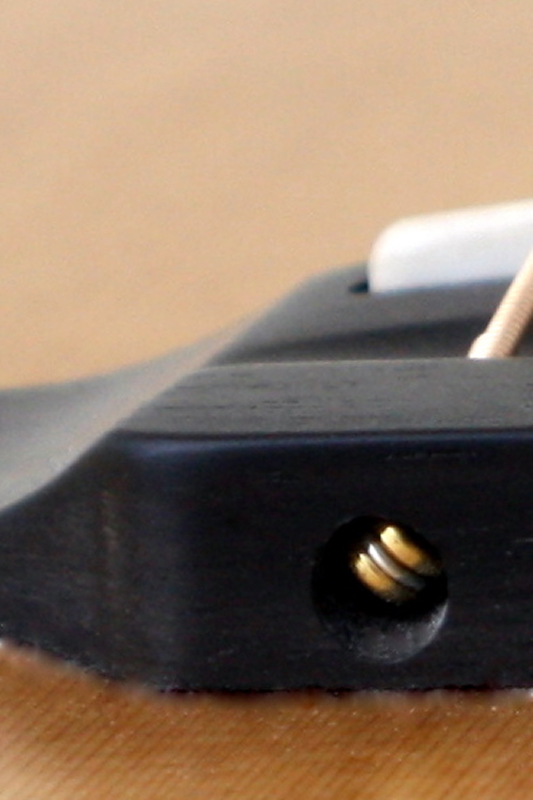
A tip for inlaying into maple


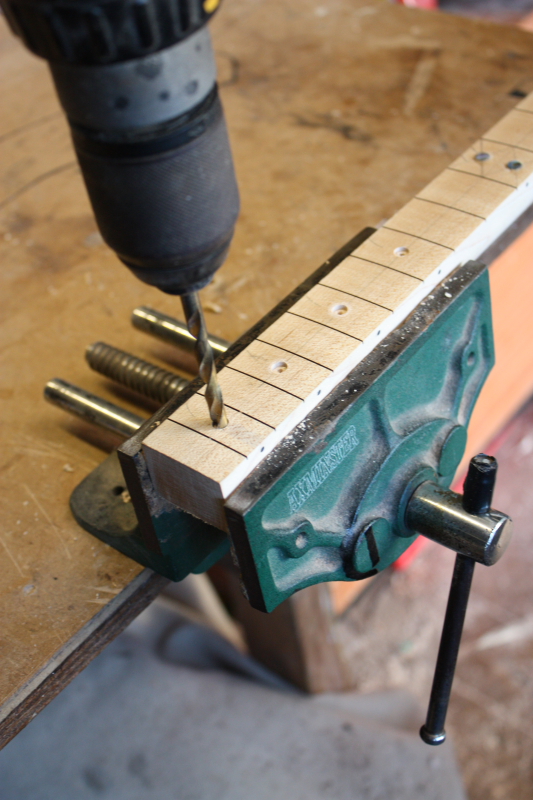
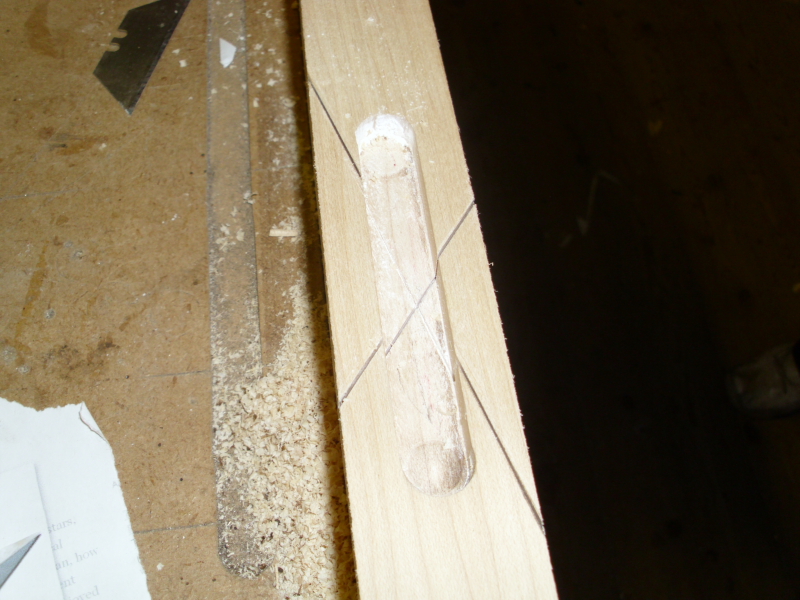
Sometimes when drilling into softer woods the edges of the hole can look a little rough. The wood can be torn by the drill as it enters, leaving a furry edge like in the second picture above.
To avoid this a coat of sealer is applied first and allowed to dry fully before drilling, resulting in a much crisper/cleaner hole. This would be true whatever style or technique was used to inlay the piece- it doesn’t need to be a round hole.
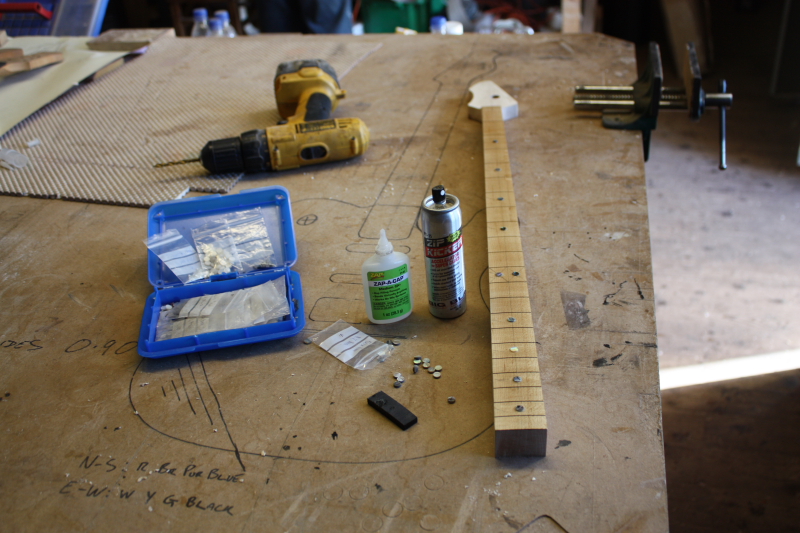
In this case 6mm abalone round dots were used and the same size drill to make the holes. The hole is filled with super glue and each dot gently pressed in with a scrap of hardwood. The inlay should stand just proud of the fretboard surface, so it can be sanded flush after the glue has dried.
When all the abalone dots had been glued in the fretboard was sprayed with matt lacquer. This must be fully dry before I can install the frets so that will be next week…Part 5

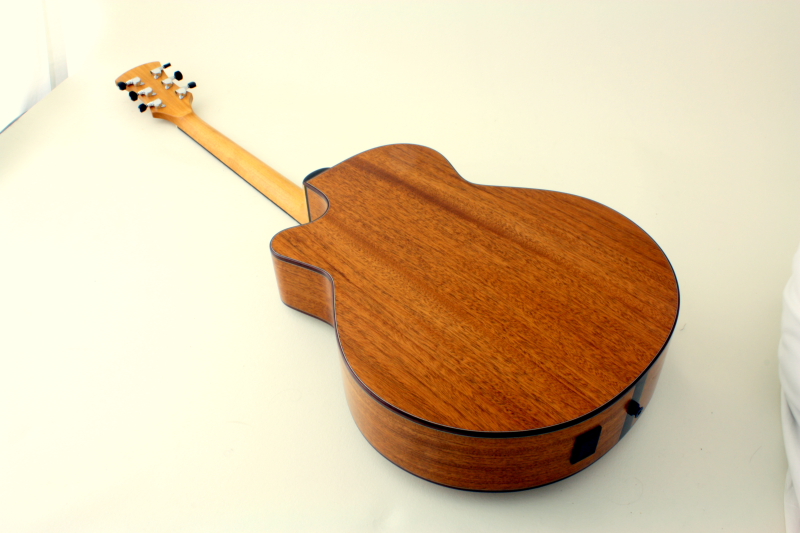
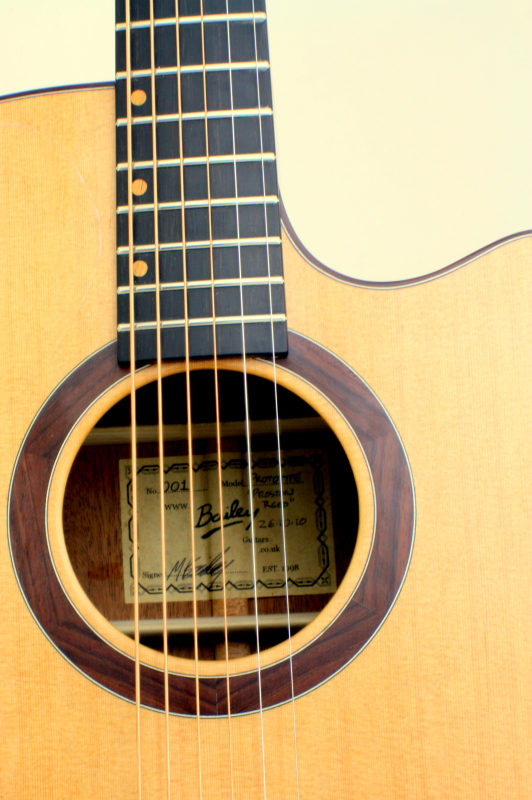
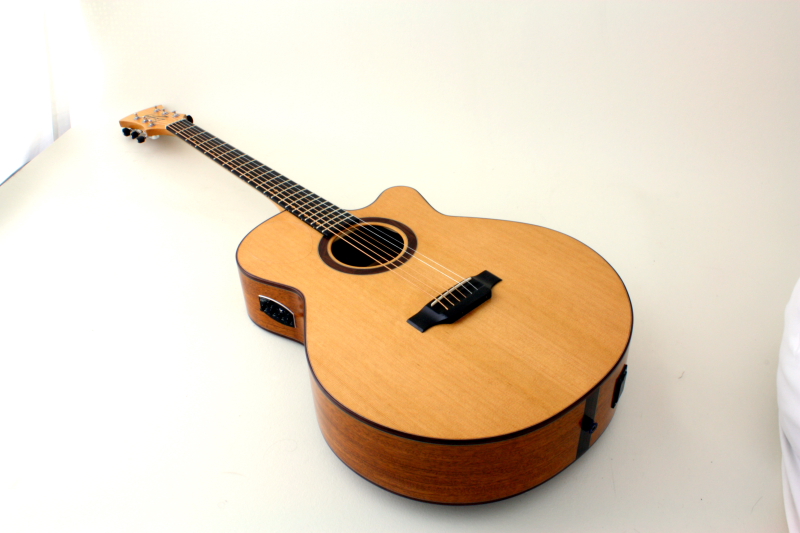
Bailey baritone custom acoustic
Preston Reed gets a new Bailey Guitar
-
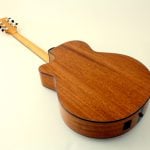
- Reclaimed mahogany body and neck
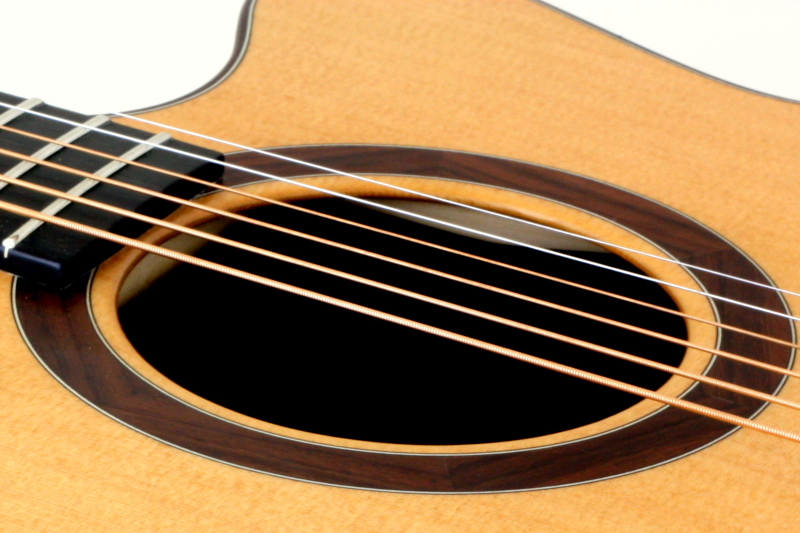
-

- Rosewood rosette
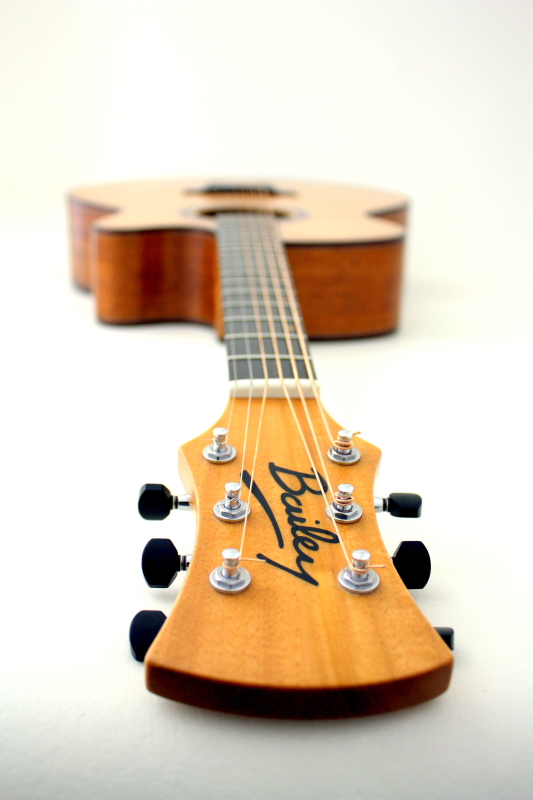
-

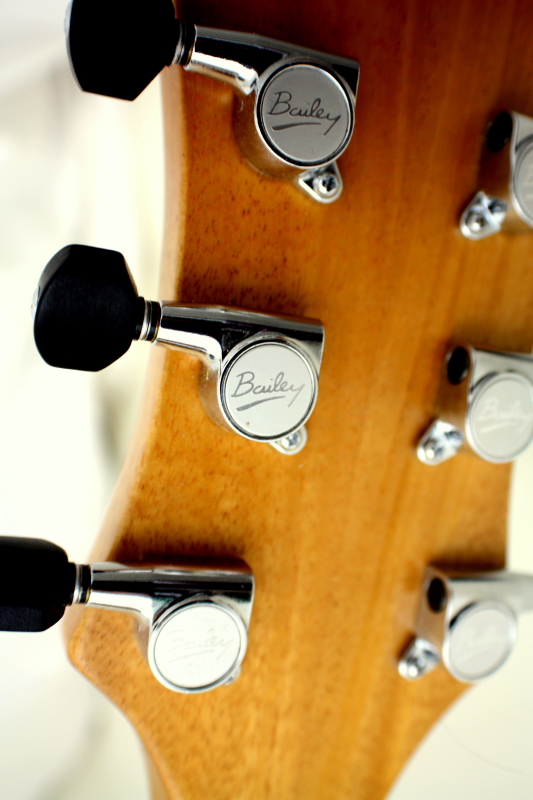
- Bailey headstock logo
-

- 3 a side headstock
-

- Bailey tuners with ebony buttons
-

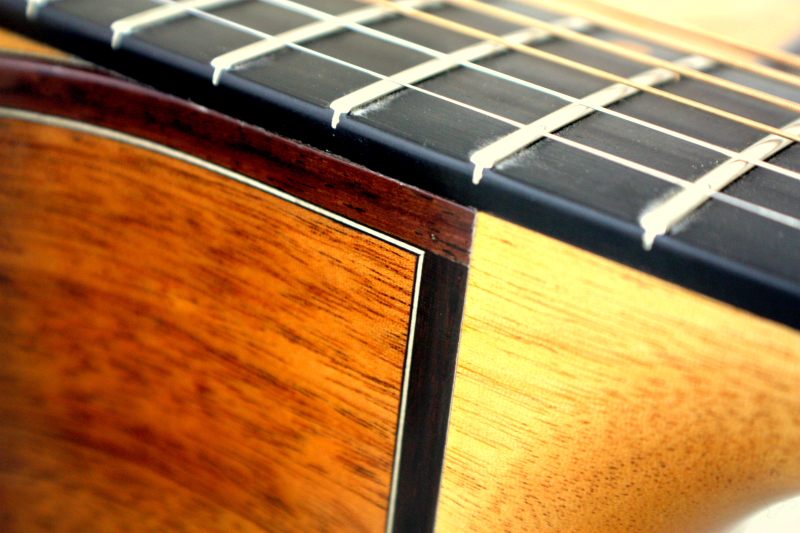
- Rosewood binding
-
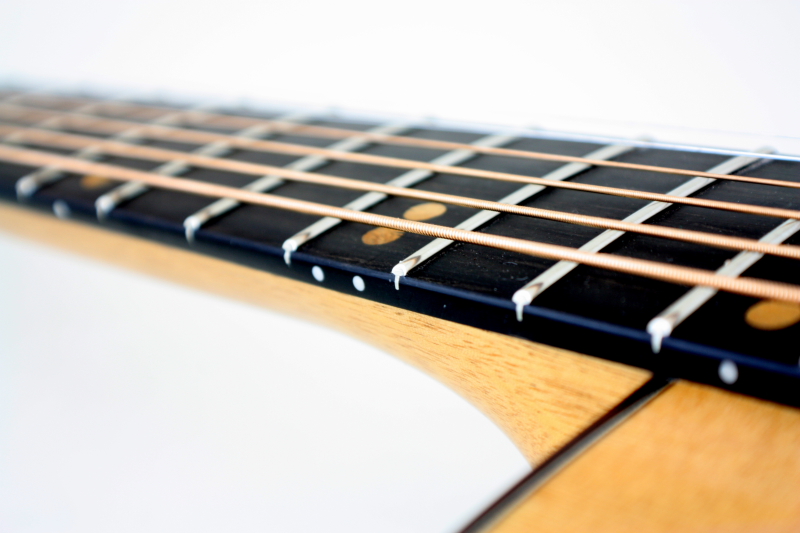
- ebony fretboard
-

- koa dot markers
-
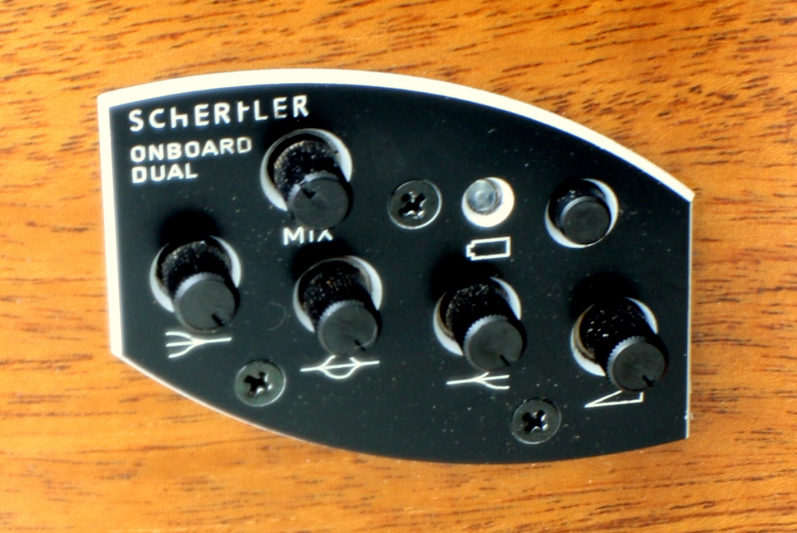
- 3-source onboard blender
-
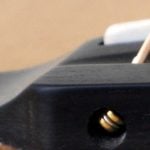
- Close up of the ebony pinless bridge
-

- Pinless ebony bridge

-
- Cedar soundboard
Way Down Deep
Preston Reed called and asked me to make a new guitar to replace his old one that he’d used for about the last 13 years. With the environment in mind, he wanted to support a local builder and liked the idea of a guitar made with renewable energy.
He pretty much knew exactly what he wanted which is always a big help and visited the workshop to go through the spec and do a drawing.
All I knew before hand was that it was long scale. Preston had sent me the dimensions of his old neck to copy… The Bailey Baritone was built using traditional methods and reclaimed wood wherever possible.
The guitar is now being used in his one man show travelling with him around the world – Big THANKS to Preston for choosing us to make it for him.
Preston has pioneered his own unique musical style, and if you haven’t seen him play yet, you are missing an extraordinary experience.Preston’s tour dates
And if you can’t get to see him live soon, you can get hold of his music direct from his website.
UPDATE: 31st March 2011
Preston wrote a blog about his guitar!
[email_link]

New Bailey Website
The new Bailey website is now LIVE!!
Screenshots from the new website
I hope you agree that the overall effect is stunning and enjoy browsing the new site.
BIG THANKS!
MASSIVE THANKS to our webmaster – and the Greatest Guy on the Web! He has gone way beyond what we ever thought was possible and we are over-joyed with the results.
Also to Steve Best and all at Acutec for assistance along the way. This is now our third website and they have hosted them all from the start.
BIG HUGS to Carol my long suffering partner who’s support has got me through many a ‘bad moment’ when things went wrong.
And Billy and Fiona for keeping things going while I was busy writing and taking photo’s.
Not to forget you guy’s…our avid blog readers and customers who have supported us along the way.
Your turn…
Now it’s up to you guys to test it for us. Please let us know if you have any problems and tell us what you think by leaving a comment here. If you have any ideas for improvement let us know, we may include them in future updates. [email_link]
Update: 22/03/2011
Thanks again to our webmaster – He added a link to main site in the tabs at the top of the page. Thanks for the suggestion Paul. (he also tidied them u a bit while he was at it)
I have been working on a new custom guitar gallery which should be online soon. Any other suggestions how we can improve the site would be greatly appreciated.

Bailey name a guitar competition-prize winners
The imminent launch of the new website means it is time to announce the winners of the Name a Bailey Guitar competition.
Thanks everyone for your patience- this has taken a lot longer than anticipated but we are finally ready to launch the new site on Monday. Scroll down to see if you are a winner…meanwhile here is a sneaky peek…
Screenshots from the new website
Names for Guitars – winners
Thanks to everyone who entered and for all the suggestions. Unfortunately some really good ones were already being used by other makers, but we were very impressed with the quality of the entries and picked the ones that we liked and suited the guitars. Some I made up myself. Hope you like them…
Here are all the names for the guitars:
KEY:
Old name- New name (namer)
Electric Guitars
B1 – Curve (Marcel B)
S2 – Bandsman (Marcel B)
R1 – Exotica Pro (me)
Acoustic Guitars
A1 – Bootlegger (john)
A1-12 – Rumrunner(me)
A2 – Moonshiner (john)
Parlour – Sweet P (me)
Ziricote – Companion (Marcel Besselink)
Ziricote 14 – Camino (Chris Sharp)
Archtop Guitars
J1 – Kithara (lesley-ann)
J2 – Coryphee (me)
PRIZES
FIRST: Marcel- Curve (B1) Bandsman(S2) Companion (Ziricote)
Guitar body blank, neck blank and fretboard, DVD, T shirt, 10 Bailey picks, set of bass strings.
Marcel was the clear winner – he got three and also made the most entries. As he is coming on the course soon we will also contribute some choice pieces of wood towards his build.
SECOND: John- Bootlegger (A1) Moonshiner(A2)
DVD, 2 T-shirts, 10 Bailey Picks, 2 set of acoustic strings, 2 set electric guitar strings
John named two guitars – The Bootlegger is the name I chose for my own guitar- nice one.
THIRD: Chris- Camino (Ziricote 14)
DVD, T-shirt, 10 Bailey picks, set of electric guitar strings
El Camino means ‘the road’ in Spanish which is why I chose this one.
BONUS PRIZE:
Lesley-Ann- Kithara (J1)
DVD, 2 T-shirts, Bailey Picks, 2 sets of strings
Lesley gets the BONUS PRIZE For naming the FLAGSHIP Bailey archtop. Kithara is ancient greek for stringed instrument….very clever.
RUNNER UP PRIZES:
Kenny- Jessamine, and Taylor Buntain- Jester
DVD, T-shirt, Bailey picks and set of acoustic strings
We loved these too and may use them for future models.
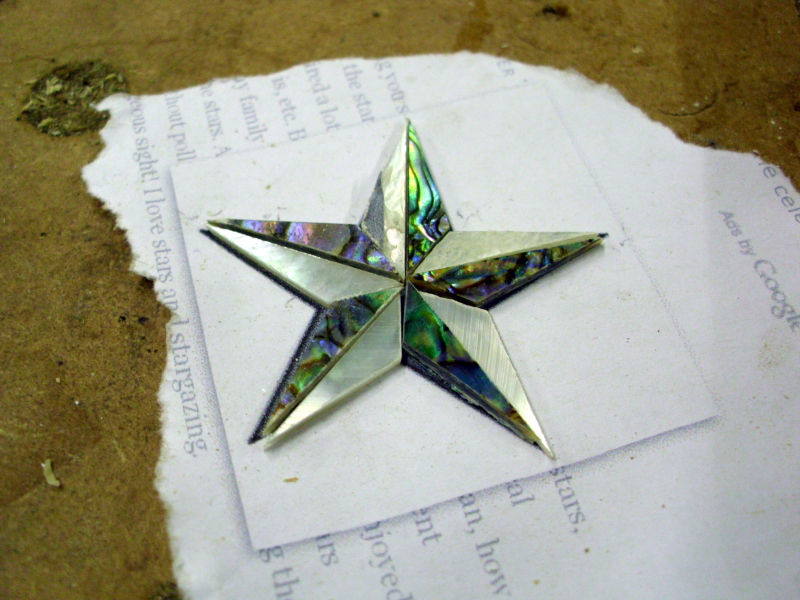
How to make a star inlay-1/2
Ten piece, ‘five pointed star’- Abalone and Mother of Pearl

The Idea
We recently had Fiona on our build your own acoustic guitar course and she had an idea for an inlay design for the 12th fret. I had to make a blog about this because we discovered a really easy way to make it look stunning and it only took about half an hour!
Her five pointed star design was drawn on a computer and printed out to use as a pattern.
We decided that the inlay would be made from ten triangular pieces – five each of abalone and mother of pearl to make up the star. Alternating them makes an almost 3D effect and is much more pleasing than if we made it from one large piece which might look a bit flat.
The problem was how to make ten identical triangles that would fit together perfectly to make up the desired shape. It’s not easy to do that if they are hand cut one by one but I was struck with a flash of inspiration which I wanted to share.
How it was done
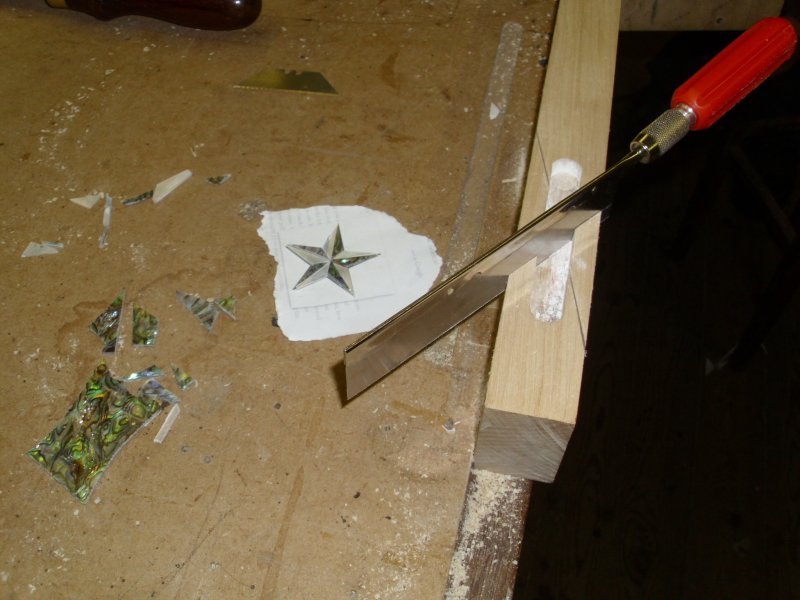
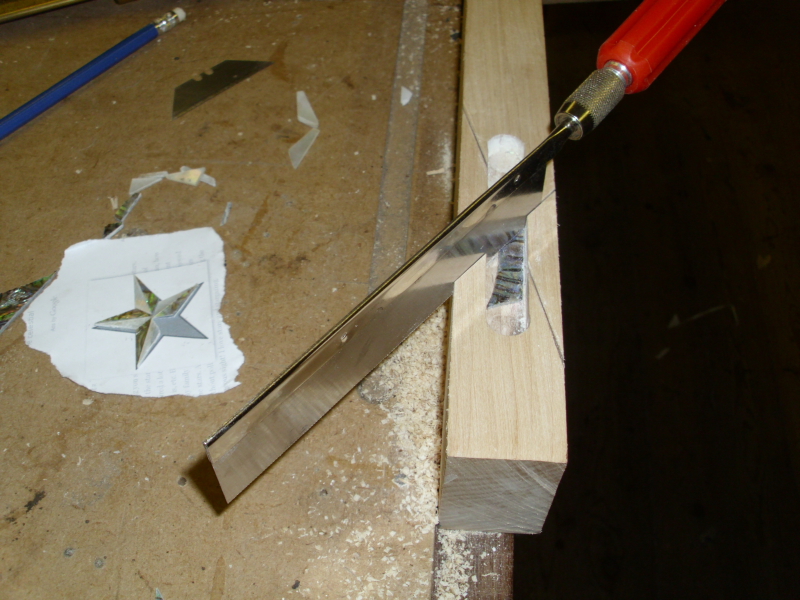
I realised that using a mitre block which guided a saw to cut at the correct angles, the same shape could be cut repeatedly and accurately with ease.
Making the jig
I used a router and edge guide to make a shallow slot down the centre of a block of scrap maple. Then I cut the two angles into the block to guide the saw when making the actual inlay pieces. To find the angles I cut one of the small triangular pieces from the paper pattern. This was placed into the routed slot and used as a guide to make the two saw cuts . It only took about ten minutes to make and we found it really easy to use.
Using the jig
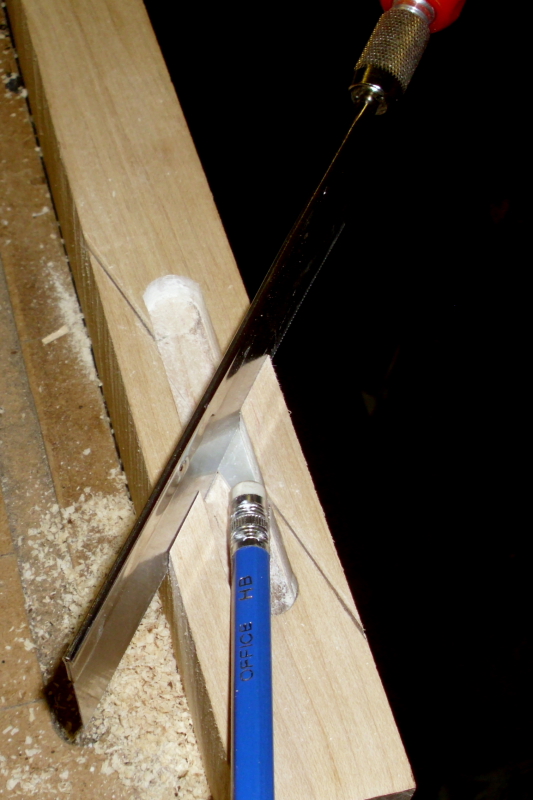
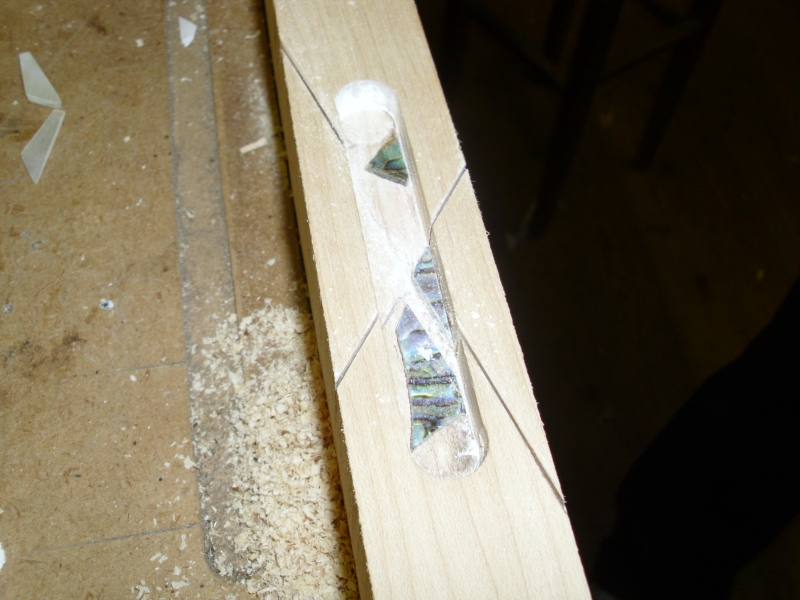
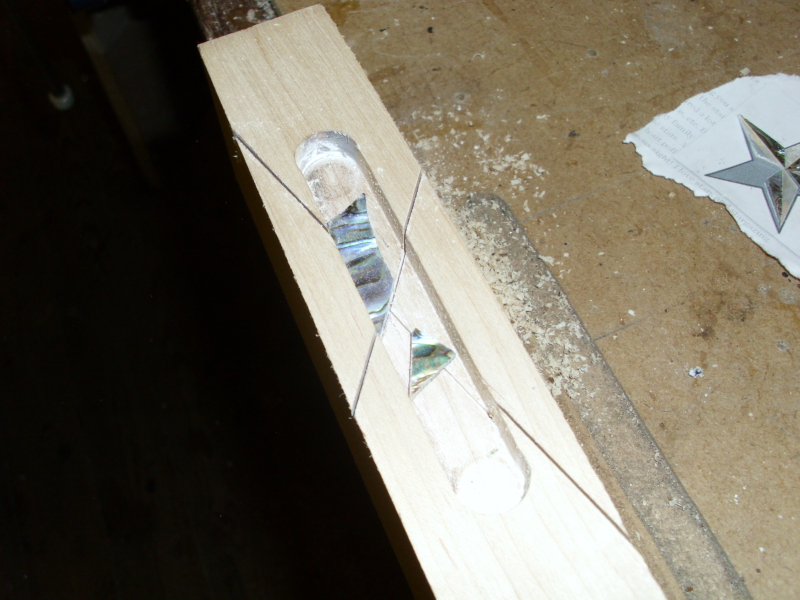
The inlay material must have one flat side which makes up the first and longest side of the triangle. This is easily sanded on with a flat block if necessary. The second and third side are cut by placing the inlay with the flat edge against the edge of the routed slot and running a modellers saw through the guide slots. We found that even very small offcuts of inlay material could be utilised by using the rubber end of a pencil to hold them firm. For consistency it is important that the pieces do not move between the first and second cut.
About 20 mins. later Fiona had made all the pieces and laid them out on the pattern to check they fit together OK (The original pattern was destroyed to make the jig so we printed it out again). It is now ready to be inlaid into the fretboard.