Blog

Custom Build – Set neck, Single cut, Flamed Cap- P16
….All good things come to those who wait….


This is guitar is finished and was meant to be delivered for xmas, but unfortunately it was delayed by the severe weather when nothing was moving….We have arranged to deliver it personally next weekend…..Not long to wait now Steve!
I will post some more pics of the finished guitar in a couple of days……click to go back to part 1
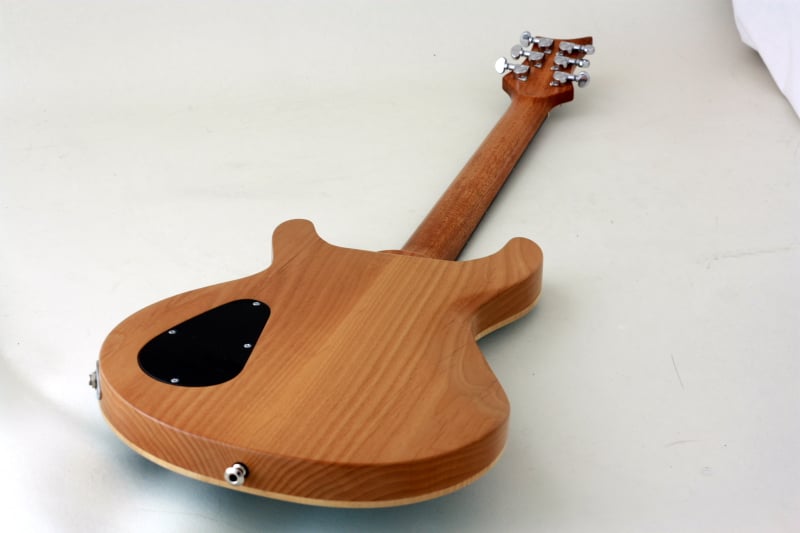
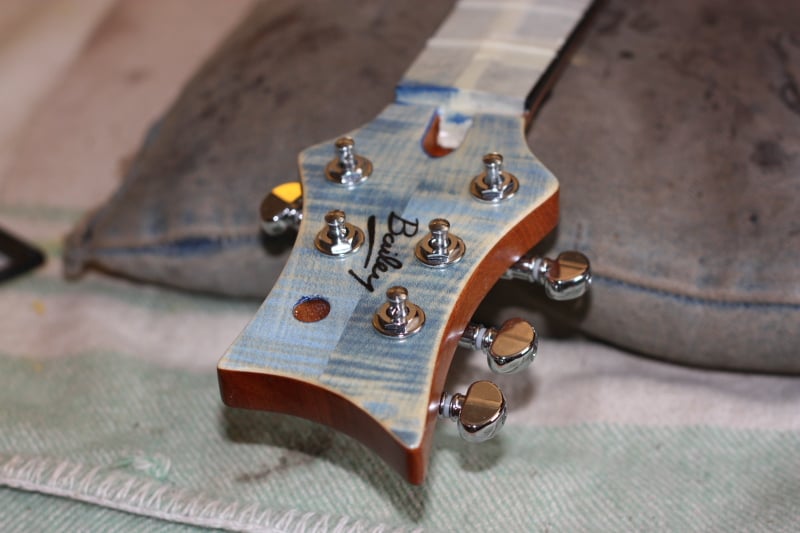
Bailey Custom Carved Top – Faded denim – finished
Hope you like it Tony!


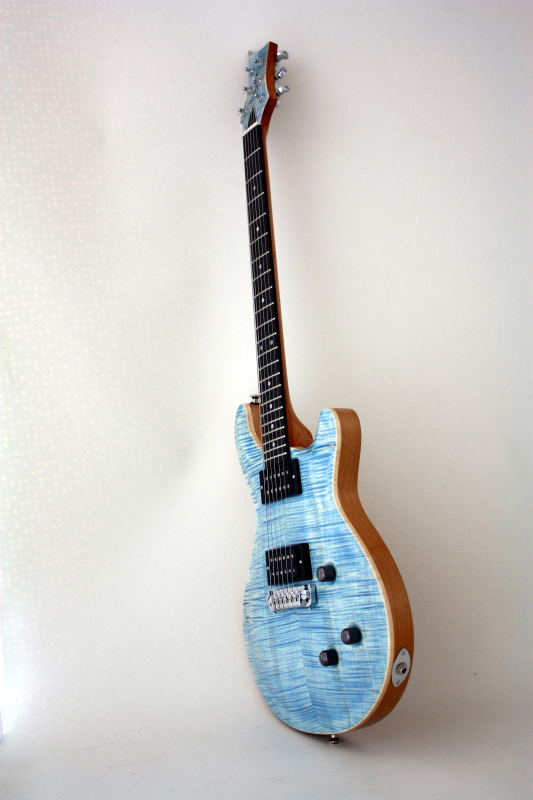
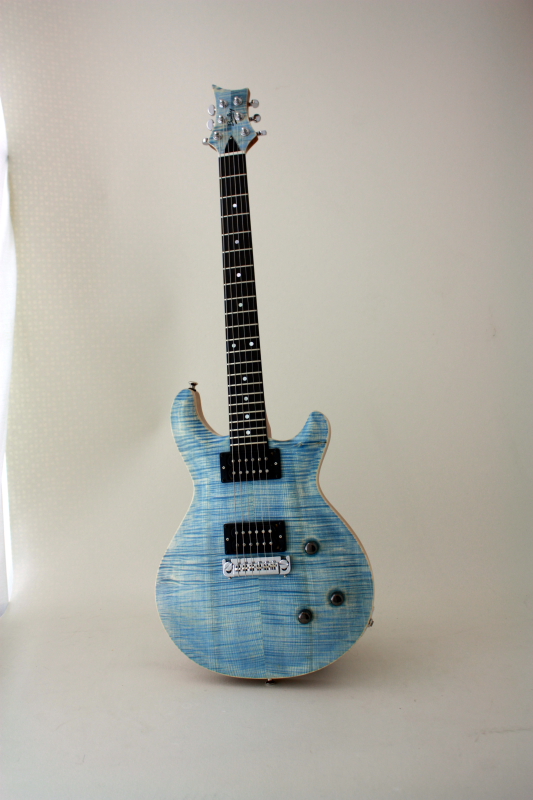
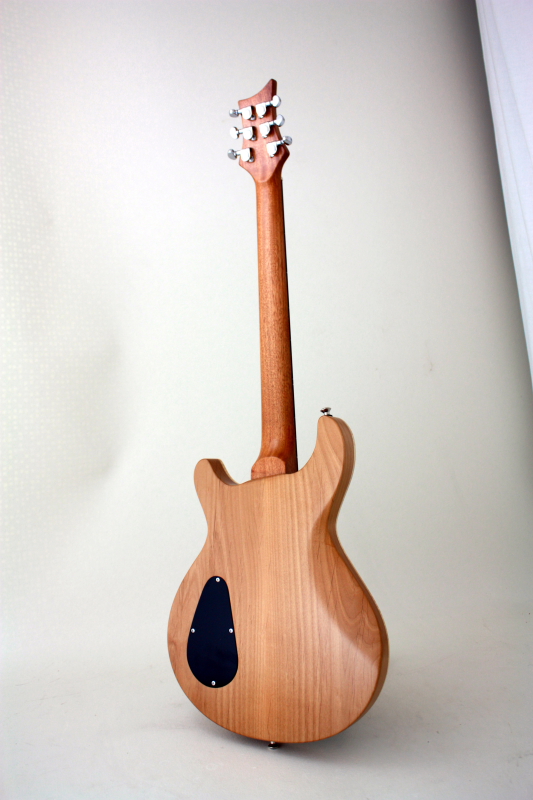
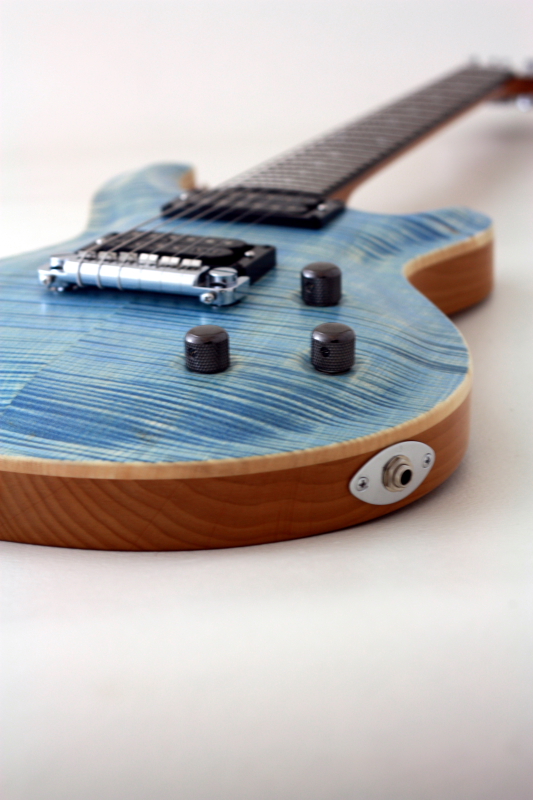

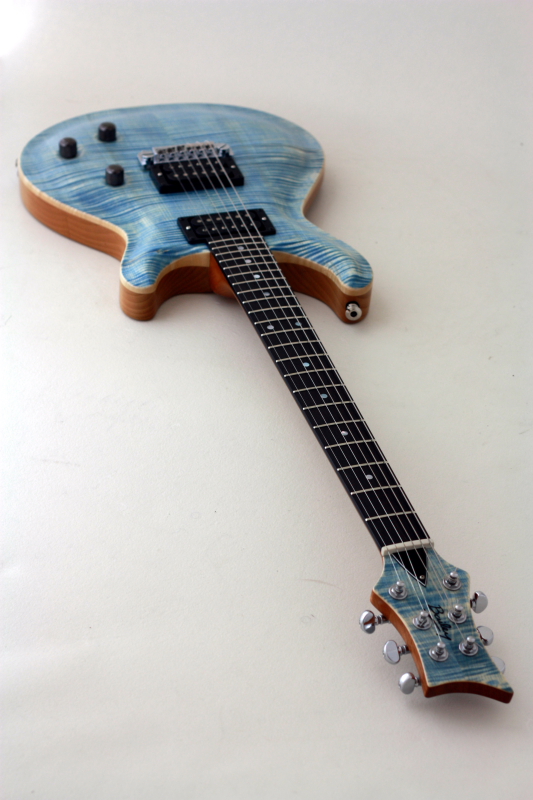
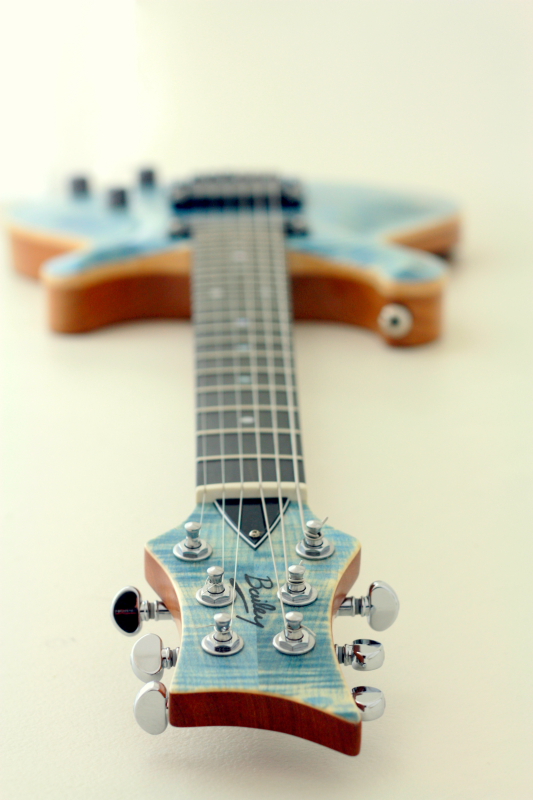
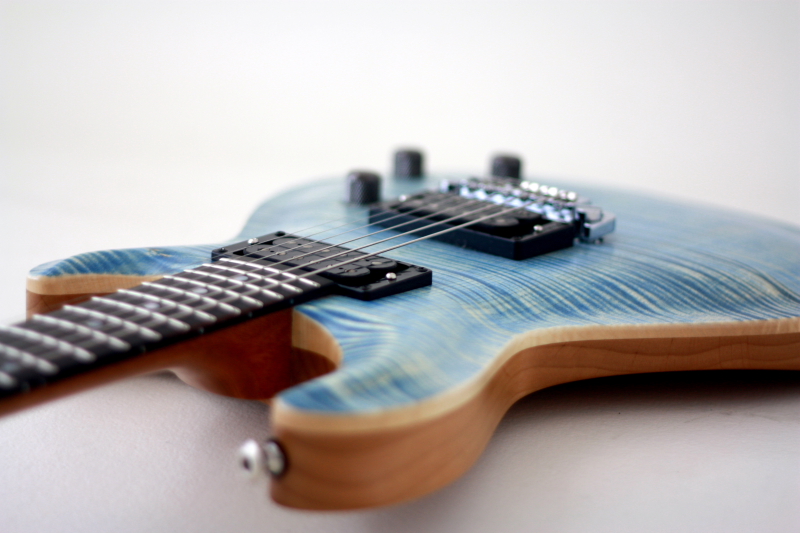
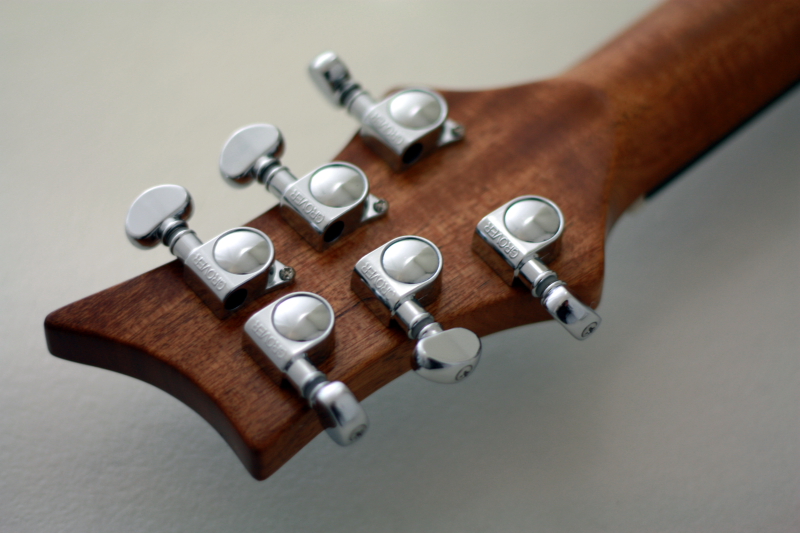
Yesterday we took advantage of the thaw to courier the guitar. Fingers crossed, Tony should be recieving his new custom Bailey right about now….It was supposed to be with him for xmas but unfortunately the weather put a stop to that.
Hope you enjoy the pics – As usual when I am making a custom guitar I took way more pictures than this. I will put them on a cd and post them to Tony so he can see the whole build.
Happy New Year!
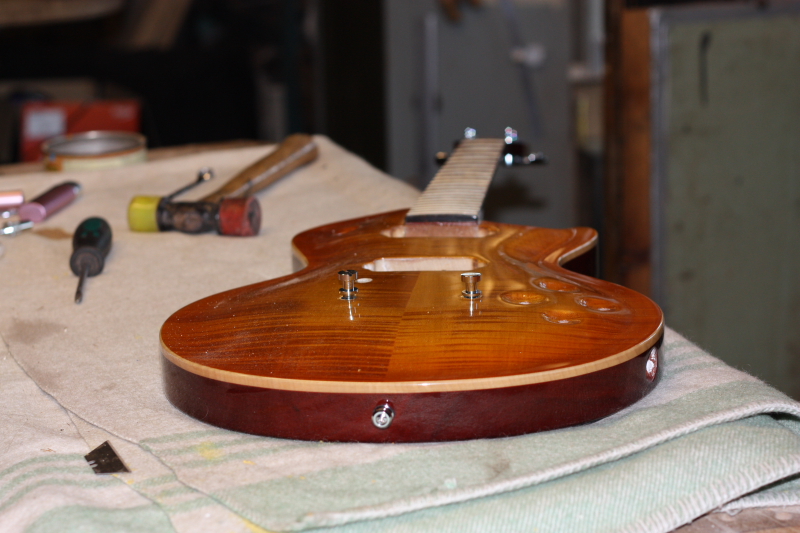
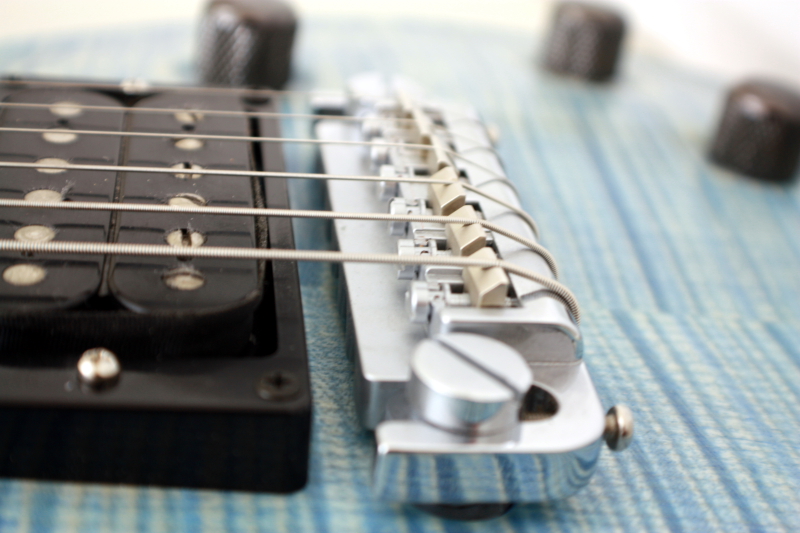
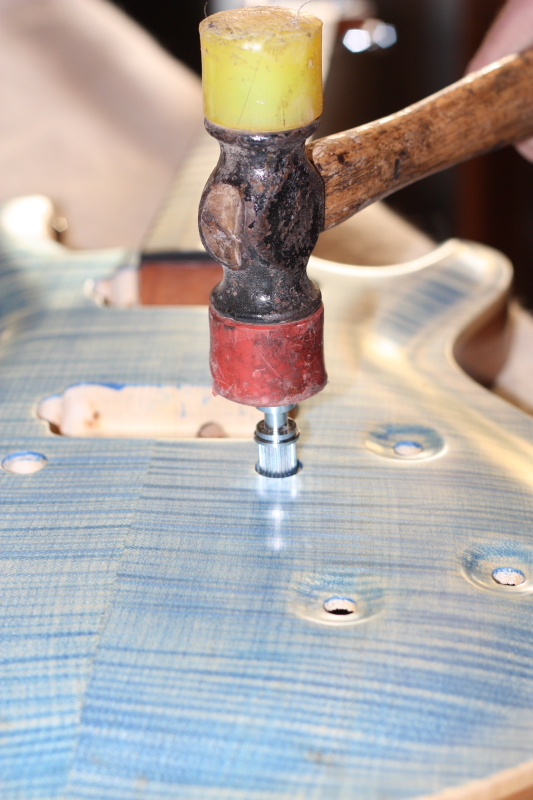
Bailey Custom Carved Top – Faded denim – 4/4
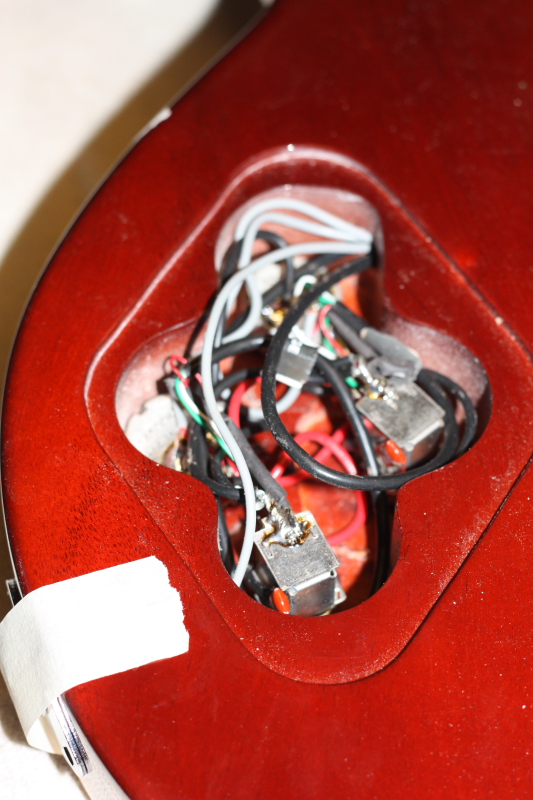
…Putting it all together…
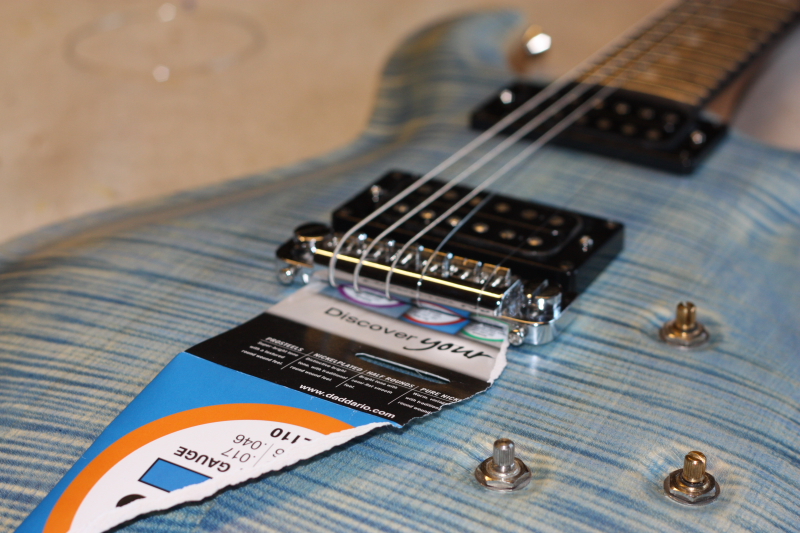
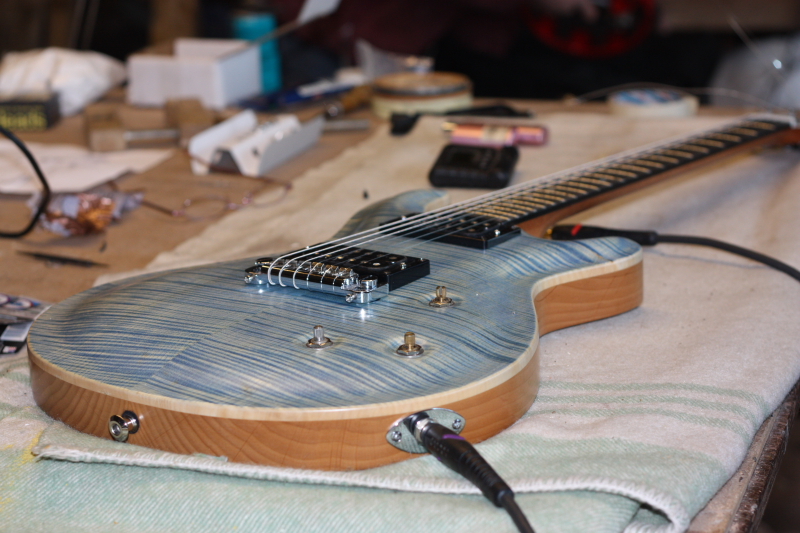

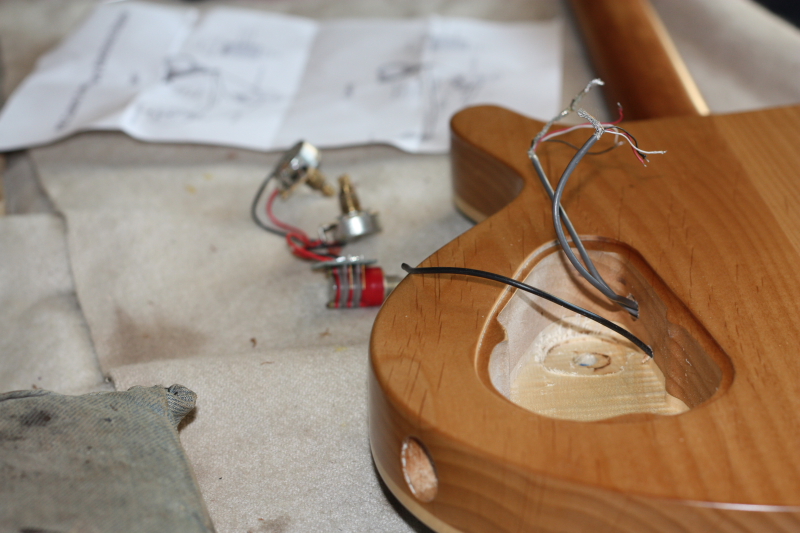
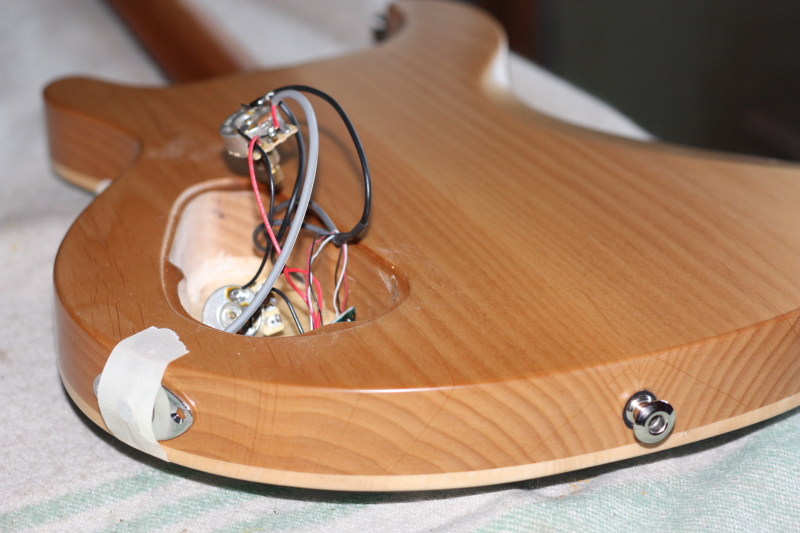
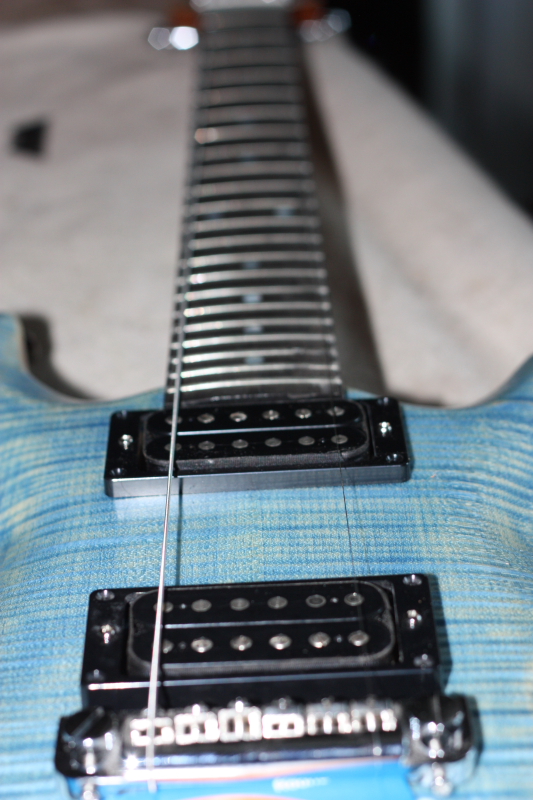
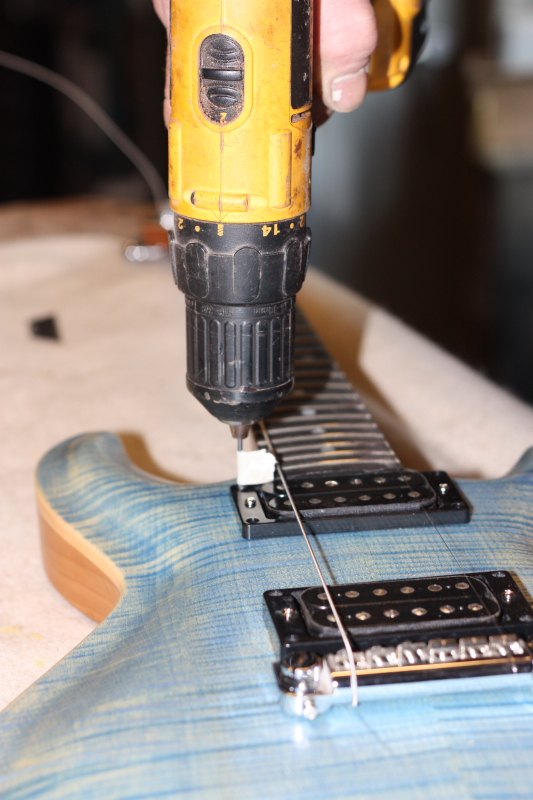
After assembling and fret dressing the guitar it’s time for the final set up. This is basically setting the action and the intonation which didn’t take more than 15mins.
So there it is -Tony’s new custom Bailey guitar all finished….I will take some proper pictures of it and make another post in a couple of days…The guitar was supposed to be with him for xmas but the whole country is at a standstill due to snow so the couriers can’t do it. Hopefully things should start moving again between xmas and new year but until then he’ll have to just look longingly at the pics – sorry Tony…..
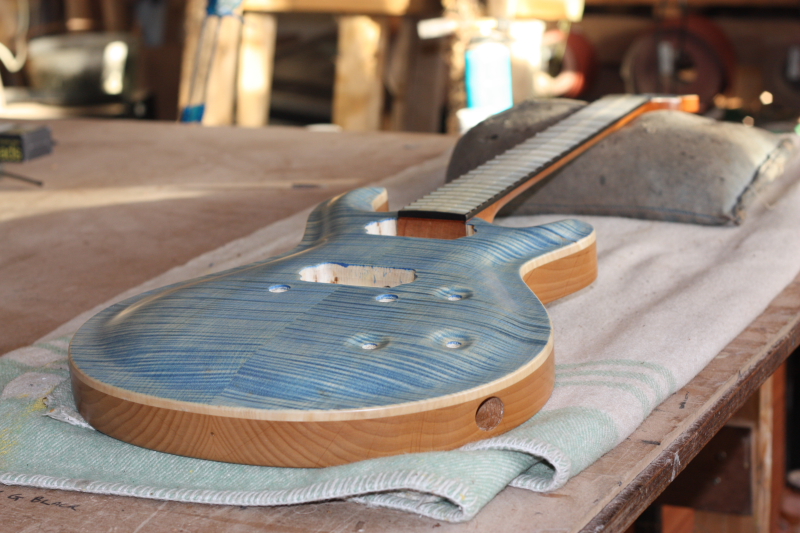
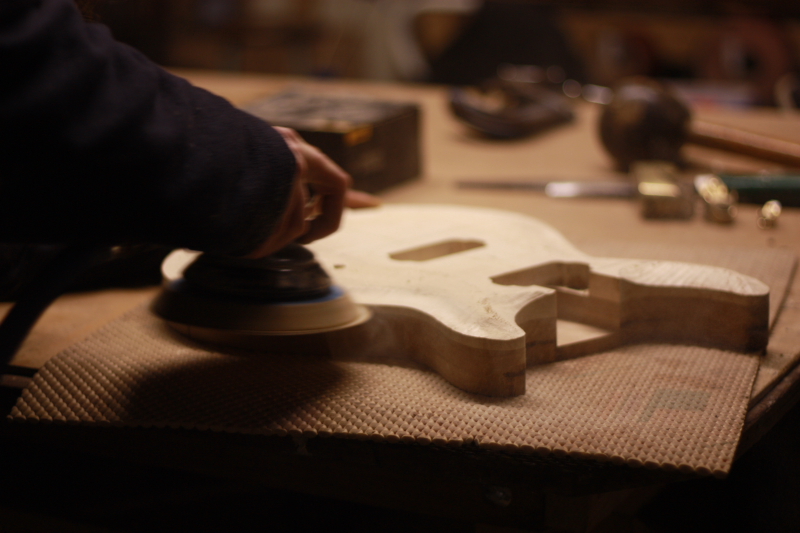
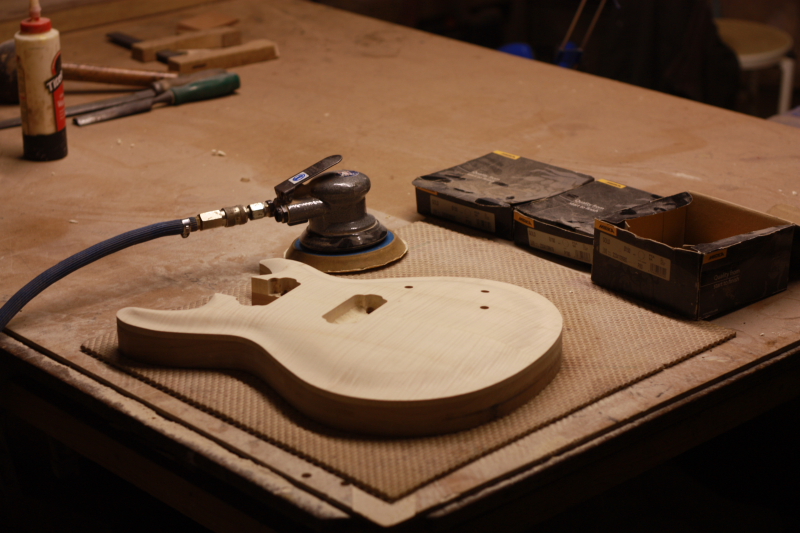
Bailey Custom Carved Top – Faded denim – 2/4
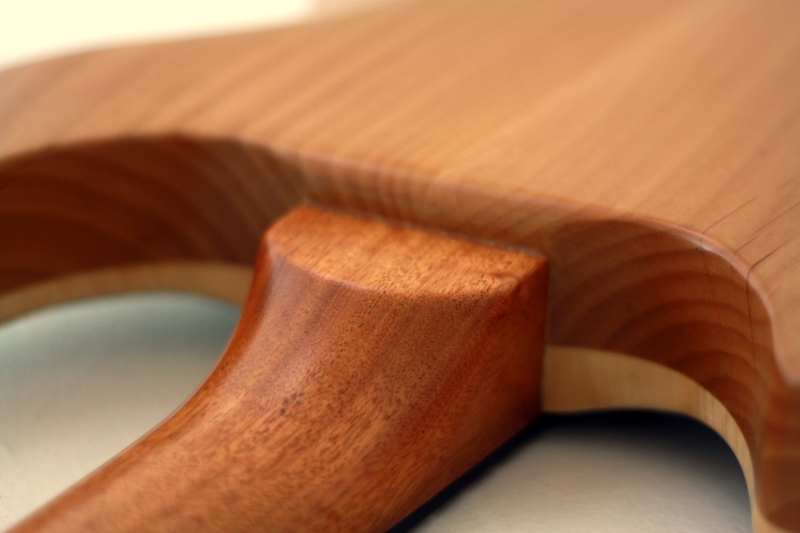
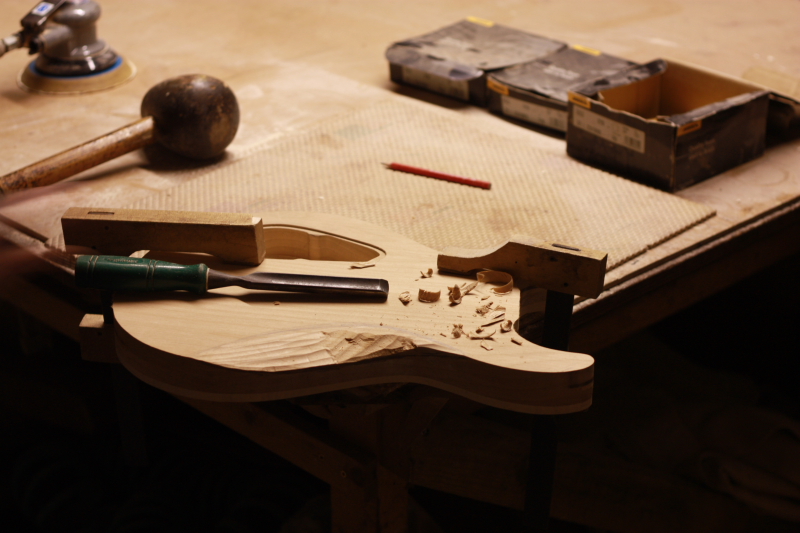
…..Carving the top…and the ‘belly carve’…..
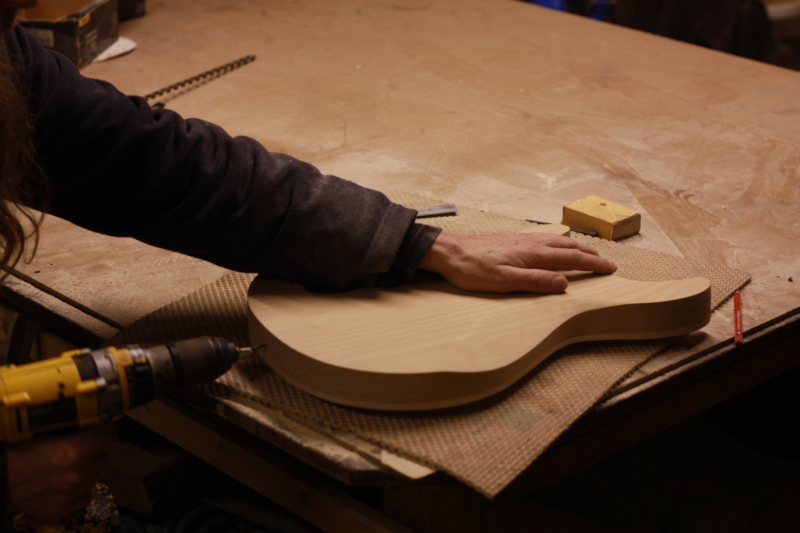
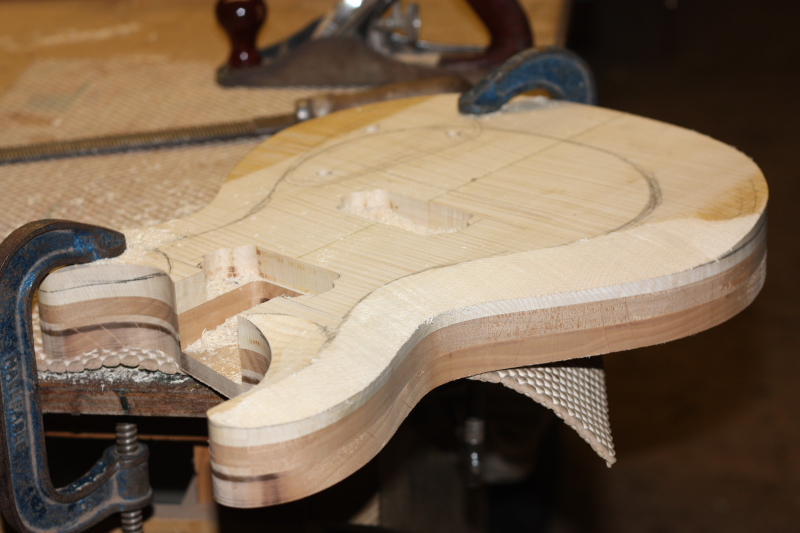
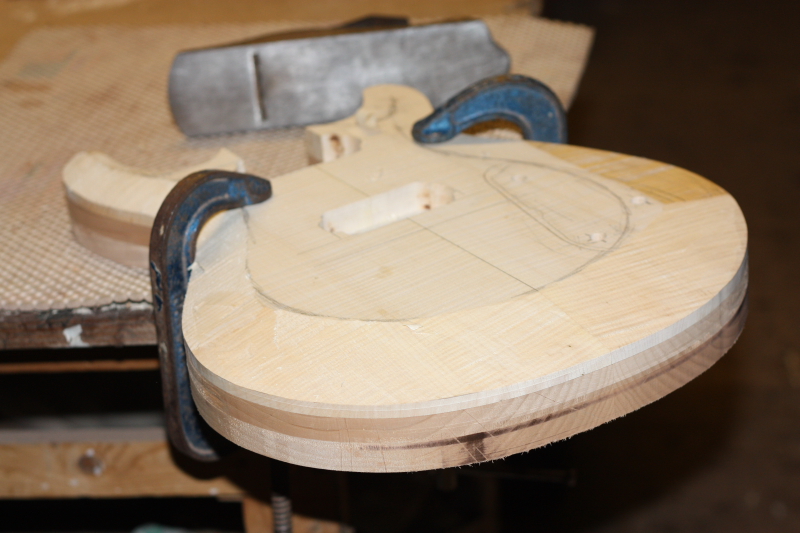
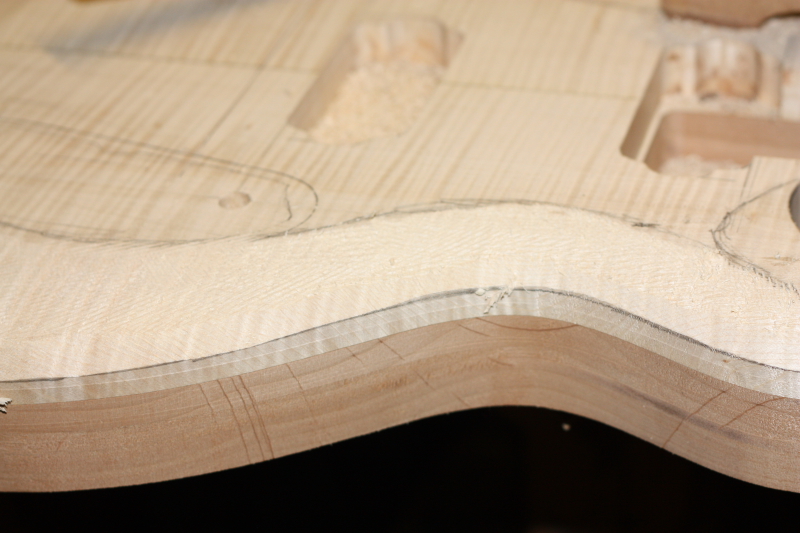
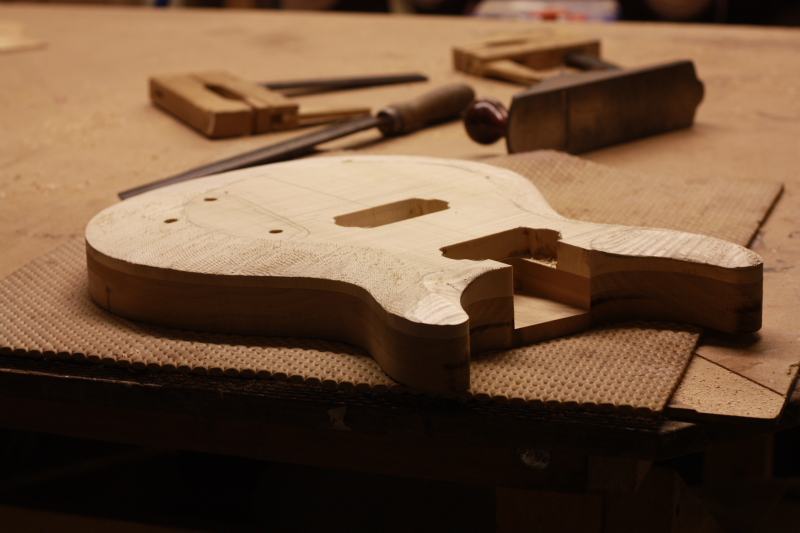
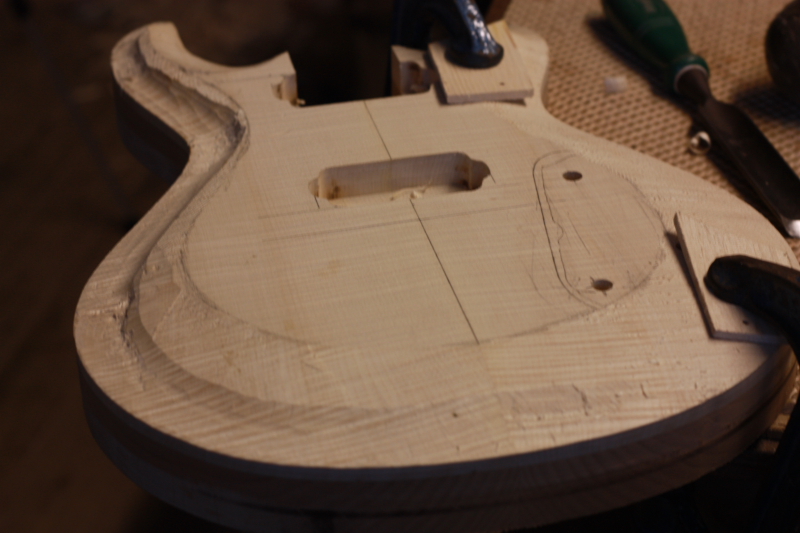

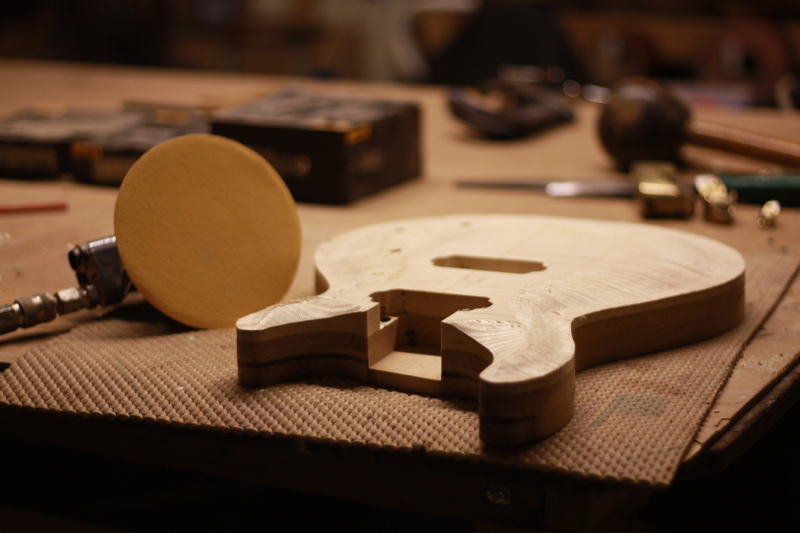
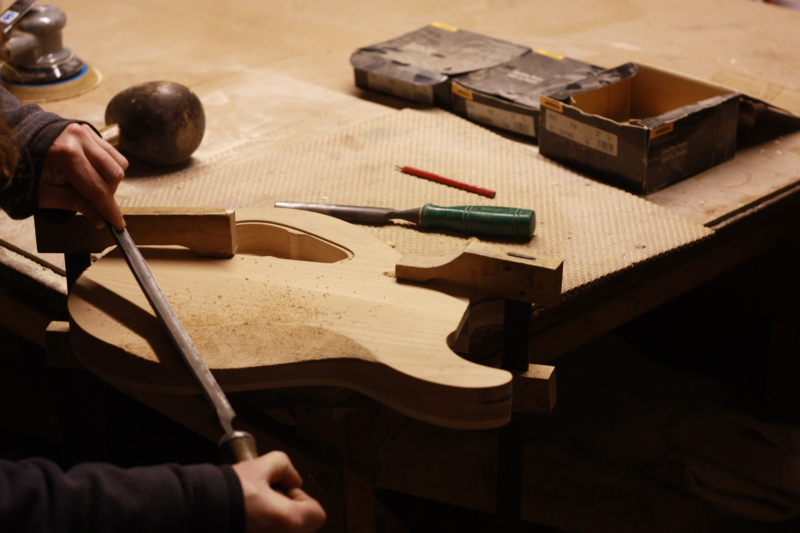
This is what I call a full carve – it works on virtually any shape.
Carving the top like this a 3 stage process:
- Carve a facet – I use a rasp and flat plane for this.
- Carve the re-curve – The flat shelf all the way round the edge
- Blend in – The first two stages leave a lump all the way round which is easily knocked off with a curved plane
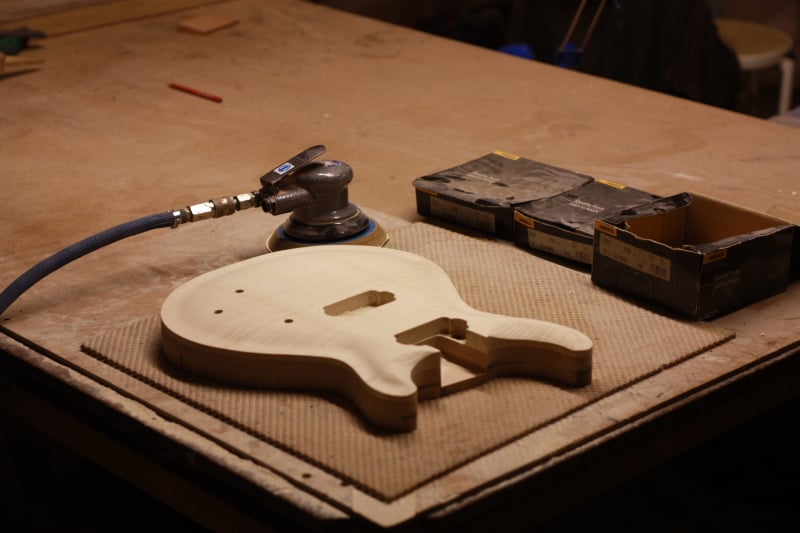
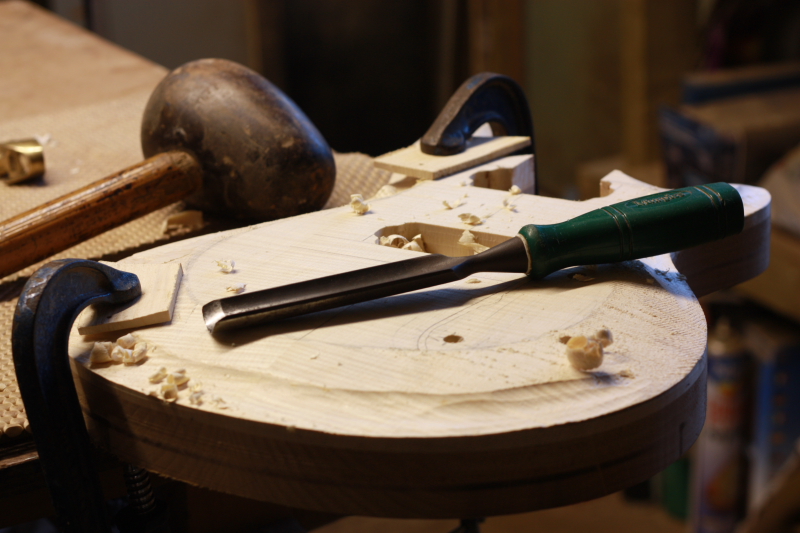
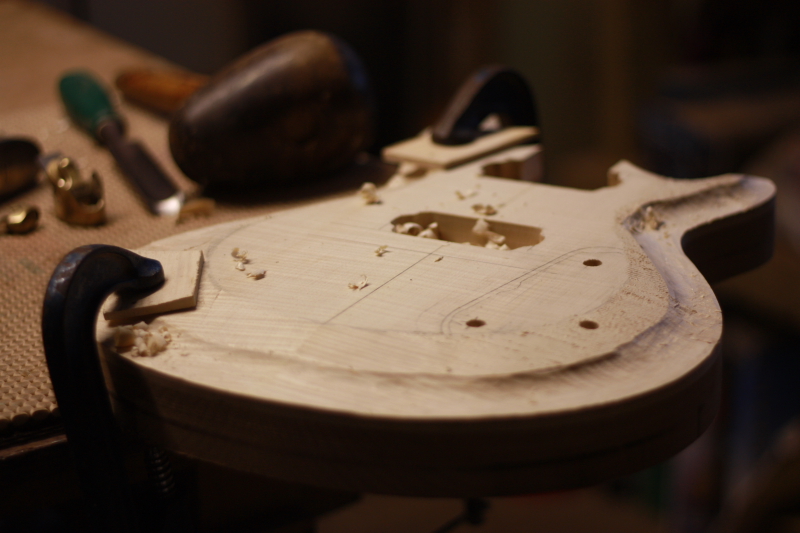
The belly carve was roughed out with the gouge then tidied up with a rasp before sanding.
The air sander certainly saves a lot of time 🙂
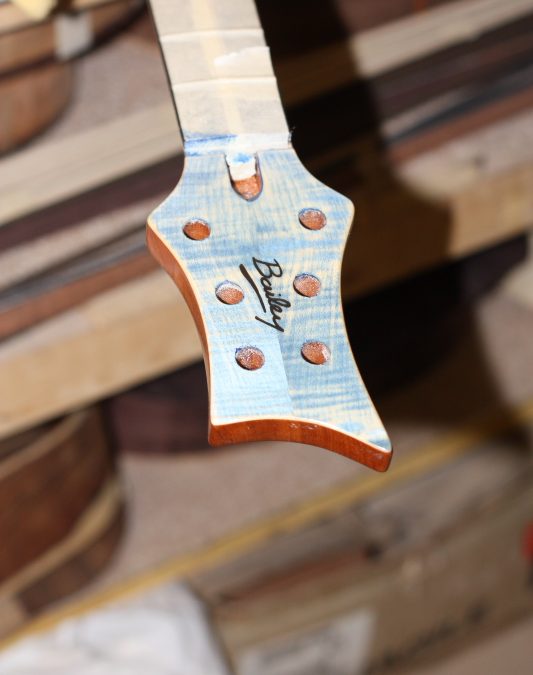
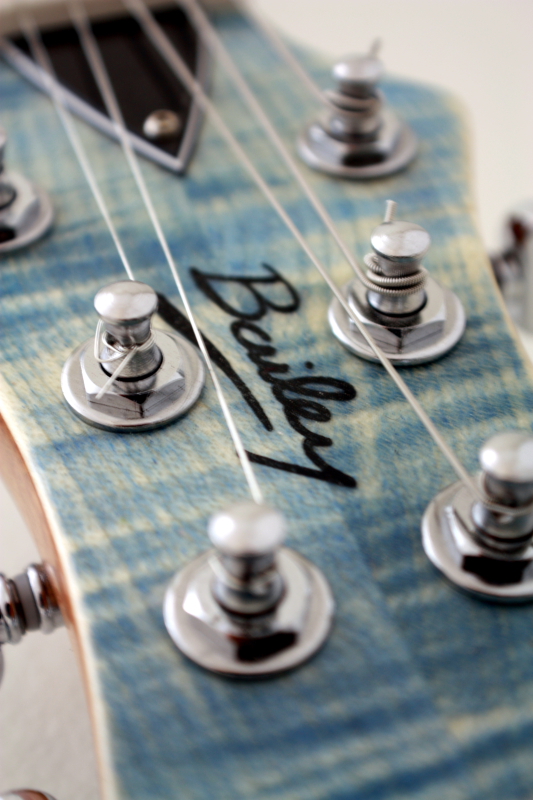
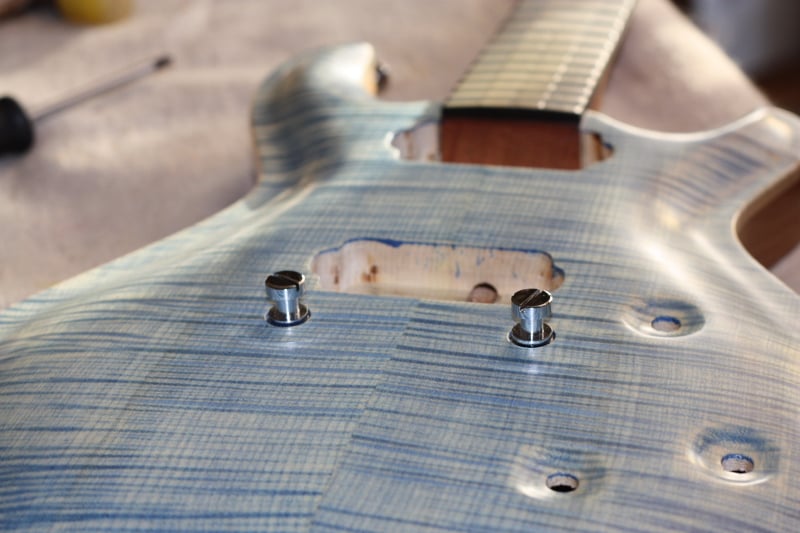
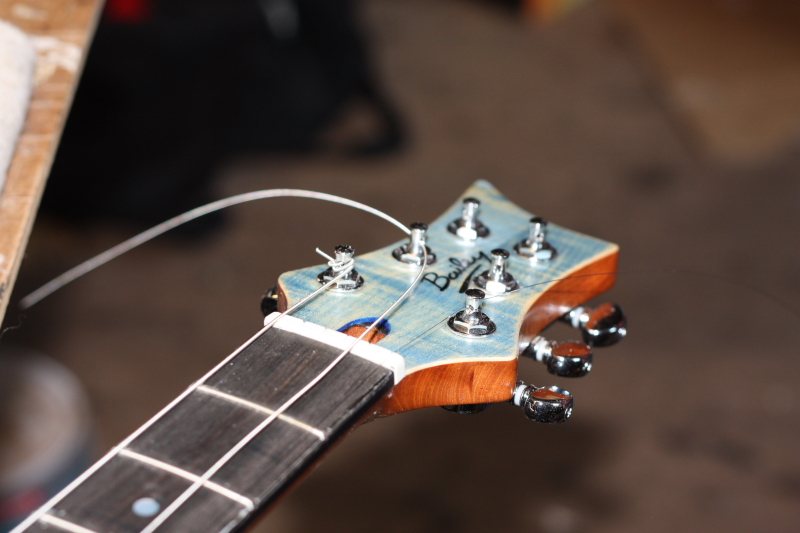
Bailey Custom Carved Top – faded blue denim – 3/4
…This colour is very cool and quite easy to do…


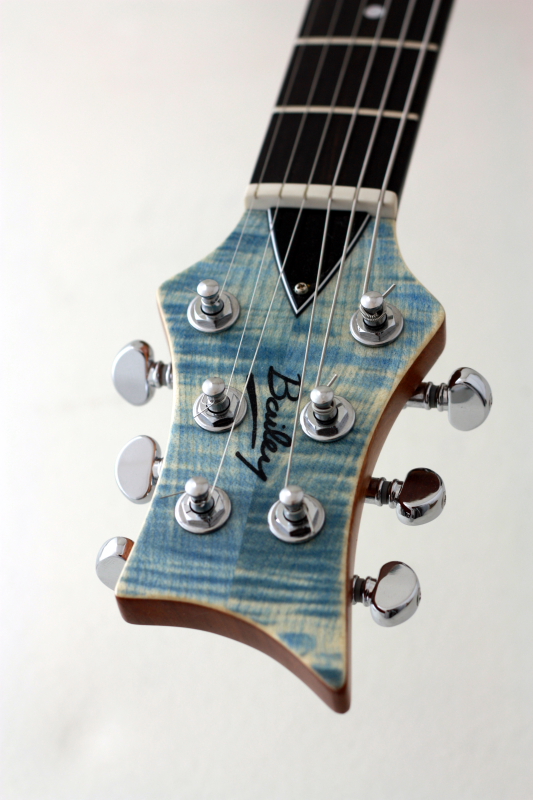
The back and sides were first sealed so if any colour runs onto these areas it will easily come off. Then colour is applied to the front of the body and the headstock. In this case it is just ordinary water based blue dye. After it has dried it is carefully sanded with fine (320g) sandpaper. This removes most of the blue but some of it ‘sticks’ in the figure of the wood because the stain penetrates deeper in these areas. The tricky bit is getting it all to look nice and even with no dark or light patches. The more highly figured the wood the better the result. It works on both flamed and quilted maple. You can also use black for this.
The colour is protected with a sealer coat which must be dry before the logo is applied to the headstock.
The guitar was then sprayed with a couple of coats of matt lacquer.
All this happened last week so it has had enough time to dry before assembly next week.

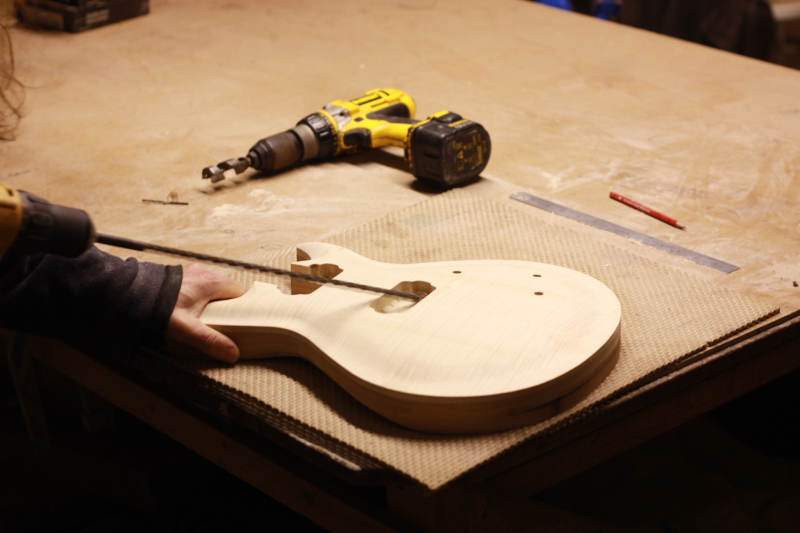
Bailey Custom Carved Top – Faded denim – 1/4
…Tony’s Custom Bailey Xmas Special….


This is a custom job for Tony – he came on the course a couple of times and saw one of my guitars which is now sold. Now he wants me to make him one just like the one he saw and tried last time he was here.
I started this a while ago but I have been so busy that I haven’t had much time for blogging – now trying to catch up!
It is going to be a double cut with a carved top, two humbuckers and a wrapover bridge. The colour will be faded blue denim with a matt finish.
At this stage the truss rod was ready to install and the fretboard ready to be glued on…..It was then left for a few weeks to relax but I was not so lucky…..
The guitar has to be finished next week so it can be sent in time for xmas!
No pressure……

Martin Taylor’s guitar – ‘The Chet’ – Last Train to Hauteville
Martin using the guitar to record his latest album Last Train to Hauteville
Recently I refurbished Martin Taylor’s guitar which was signed by Chet Atkins. This video shows him using it to record his latest album.
The guitar is also on two album covers:
Before I got my hands on it!


I did a quick search to see if there were any pictures on the net of the guitar before I got hold of it and loads turned up. There are many videos of it being played pre-baileyfied and one of when he used it to record his latest album – Last Train to Hauteville. I will add some more pics when I can. What an honour to work on such an instrument – THANKS MARTIN!

This is the best pic I could find of the finished job

The Chet – Part 10/10 – Signed, sealed and delivered…
Aug 11, 2009 @ 14:09

Before.......
Me and Carol delivered the guitar to Martin today. To be honest I was still not sure about the magnets holding on the truss rod cover and the knot-work panel on the side of the guitar. I had left this unglued because it was the only access to the inside if there was any problem with the electrics. I had thought that I would show him the guitar and he would say ‘hmm.. I like it but can you do this… or that to it’. I was expecting to take the guitar away with me for some last minute tweaks but he sat and played it for ages and didn’t seem to want to part with it again.
He did say he would rather have the side panel glued in and luckily I had brought some glue along because I thought that might be the case. So I glued the last piece in right there in his living room and left it with him.
Big THANKS to Martin and Liz for their hospitality and a great evening – and for giving me the Chet Project. I thoroughly enjoyed every bit of it.
(Foolishly I forgot to take any pics of the finished article but I’ll post them as soon as I can get hold of some…….)