Blog
The Ricken’cracker’ Part 1
Duncan’s Ricken-cracker

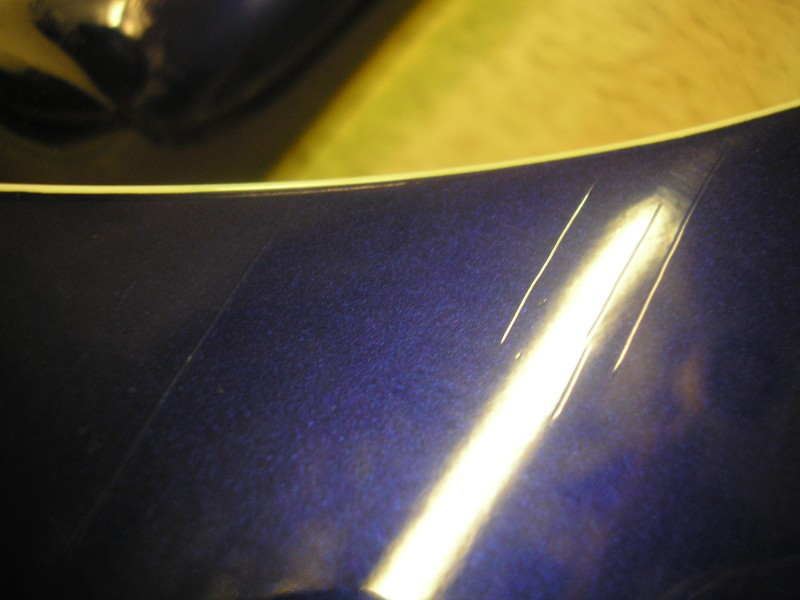
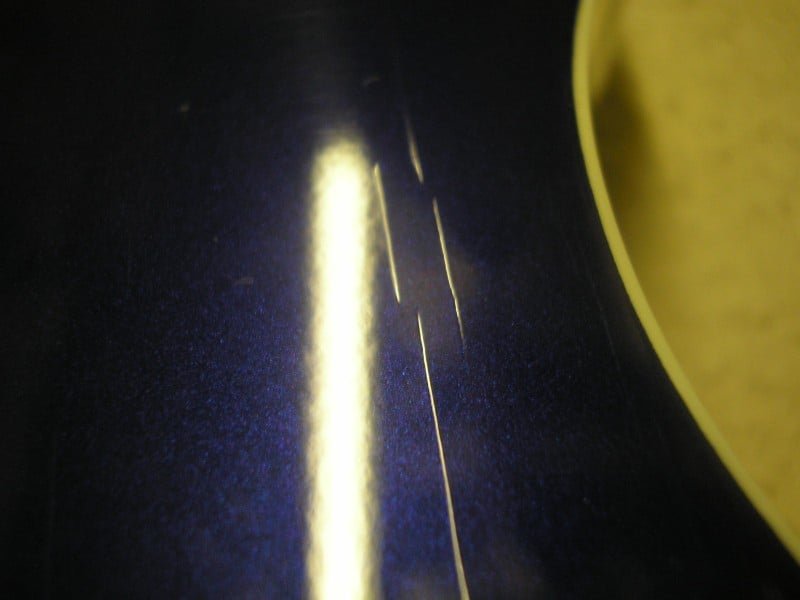
Duncan brought this guitar to us to be resprayed as the lacquer had started to split. Made by a popular and respected manufacturer, it had been purchased brand new, but started to deteriorate almost immediately – and this was the second time it had happened. He sent the old one back and they replaced it with this one but it had the same problem. It had been happening over a period of months and was getting worse. The guitar has great sentimental value so he was bitterly dissapointed when they refused to do anything about it saying it was caused by leaving it in a cold car which Duncan vigorously denied. It did look a bit like ‘cold checking’ but not quite.
Duncan is a good mate so we said we’d take a look at it. The colour layers underneath appeared okay, but something was causing the lacquer to split. The only option was to strip the guitar back to the bare wood.
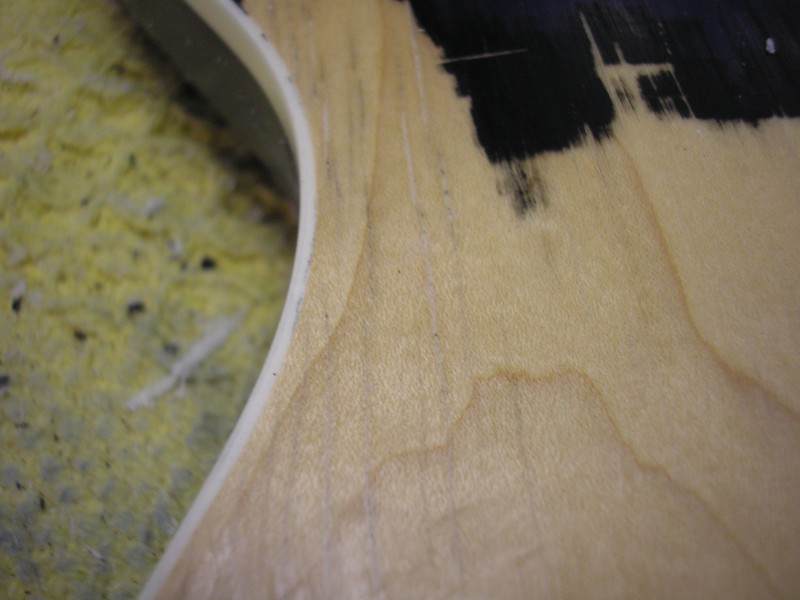
After removing all the hardware and wiring I started to remove the paint using straight edged and curved metal scrapers. The top coats scraped off okay but then I came to a very hard layer of sealer coat, this lay on top of the bare wood. It was cracked and crazed and covered with splits that mimicked the splits in the lacquer. The colour coats must have been flexible enough to withstand the movement and sink into these cracks which was causing the splits in the lacquer top coats.
This is was the problem – but what caused it is still a mystery. We are pretty sure it’s not cold checking though, as that would affect the top coats a lot more – the problem was with the sealer coat. Anyone got any ideas let me know!
The sealer coat was quite hard and took a bit of effort to remove. The guitar was finally sanded with 180 thru 320 grit paper and left in the drying room to let the wood settle for a few weeks before re-spraying.
Alone in the Workshop – Part 13 – Fretting and Going Dotty
or ‘Putting in the dots and the frets…….’
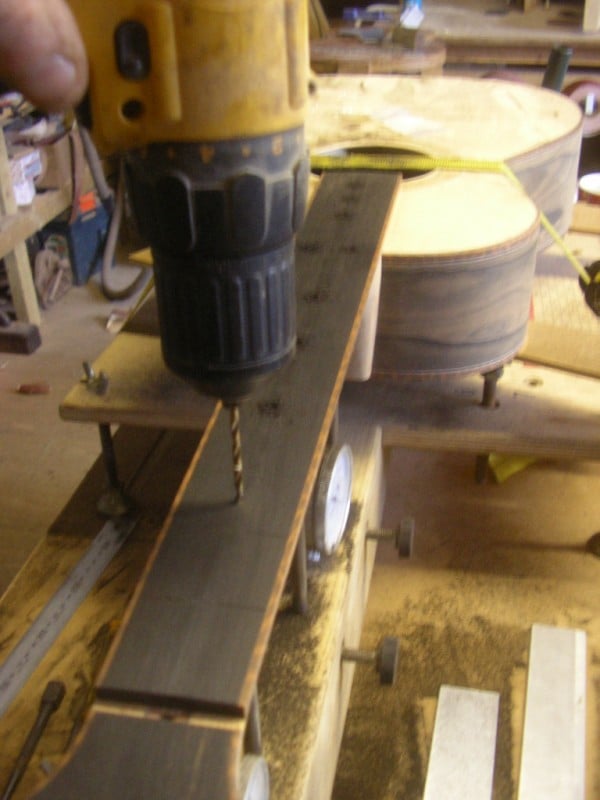
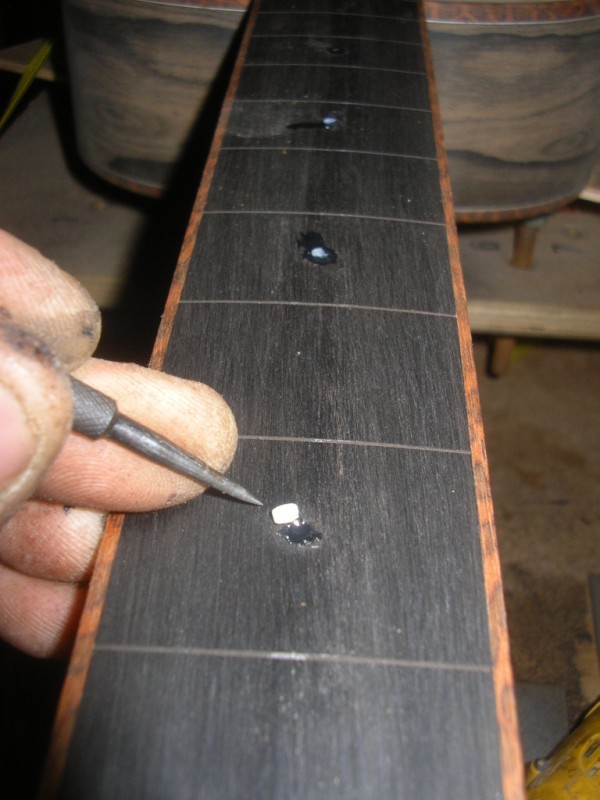
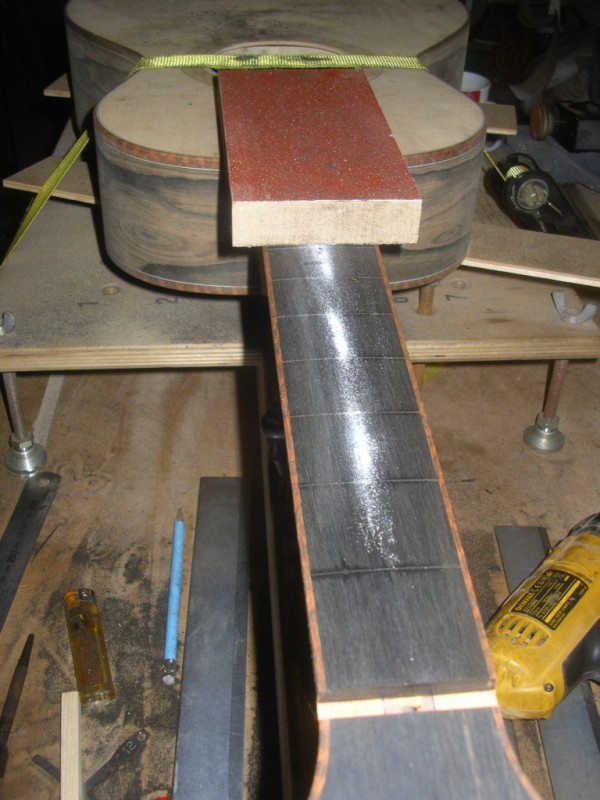

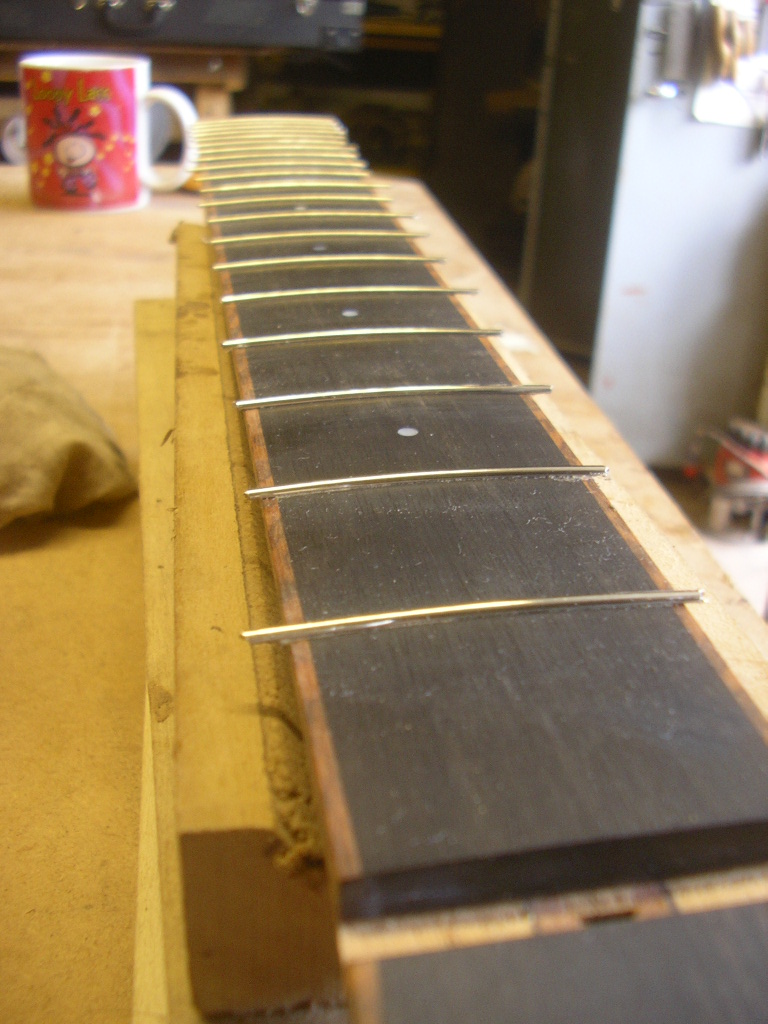

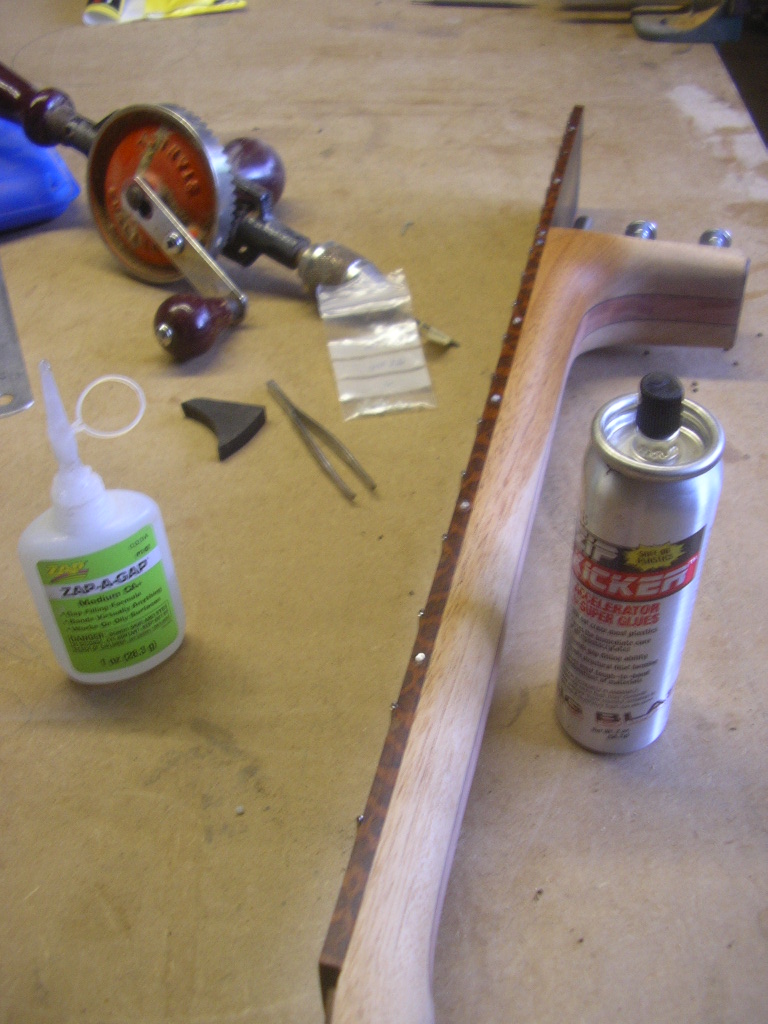
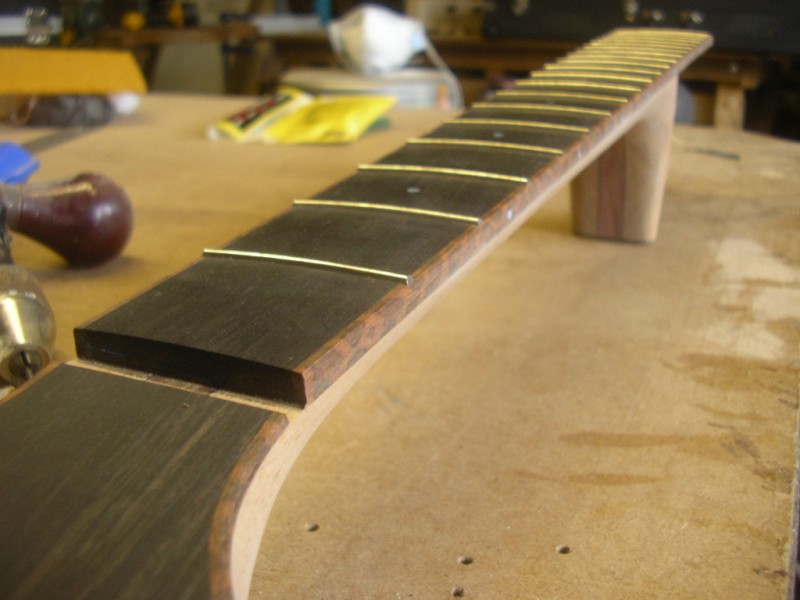
Putting the dots in is easy just drill a hole the same diameter as the dot (size for size) and glue them in. I Used 3mm Mother of pearl for the front dots – I think they look really classy. The dots sit slightly proud and are sanded flush after the glue has dried. The fretboard is then fine sanded ready for fretting.
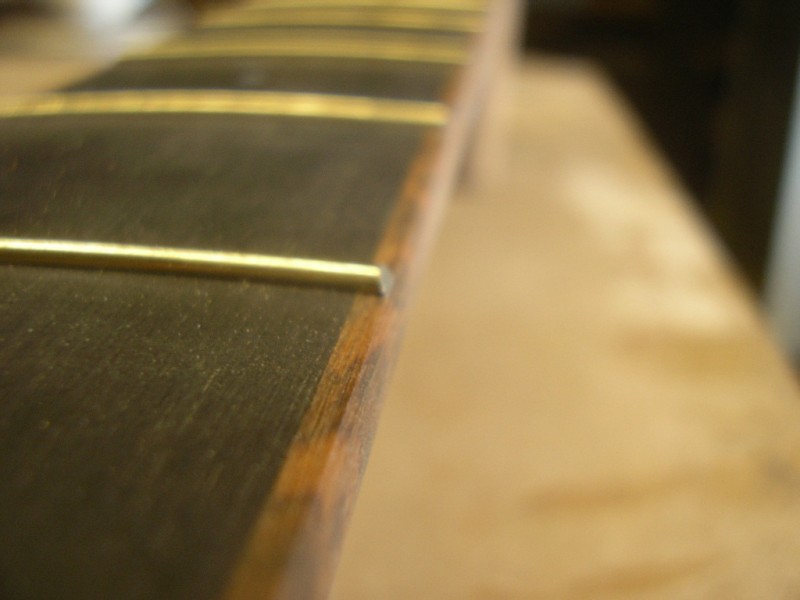
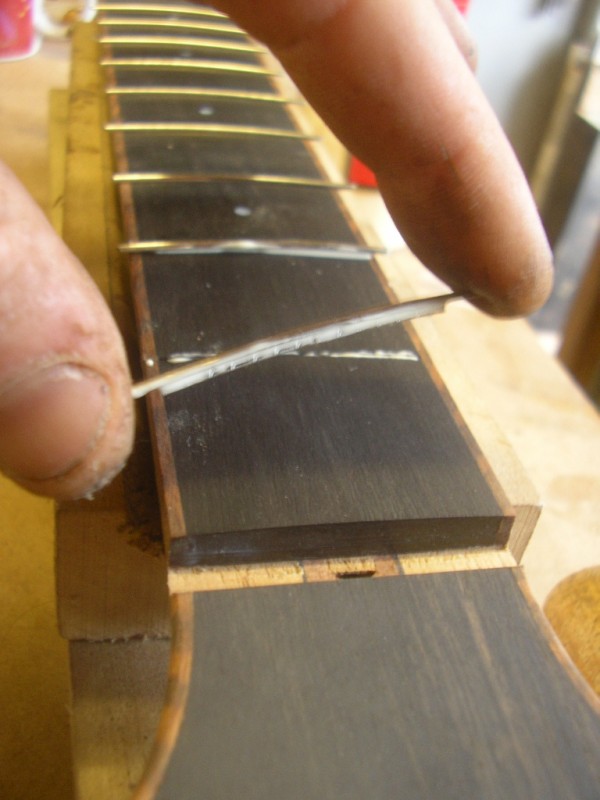
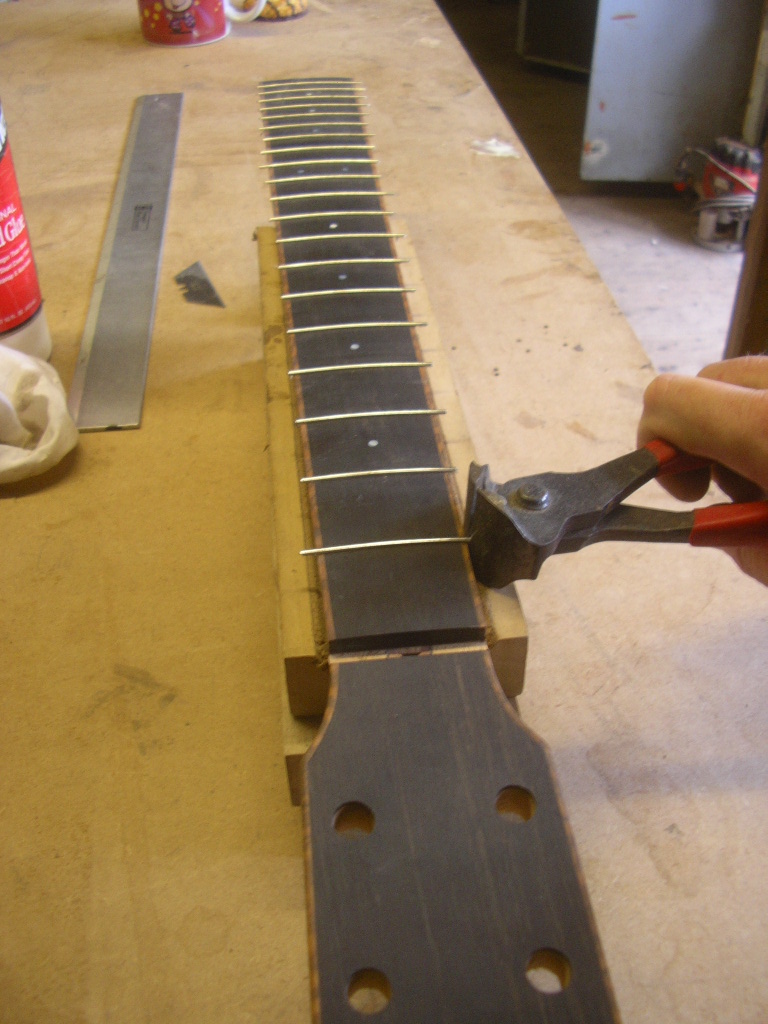
Binding the neck makes fretting slightly more tricky. Each fret must be undercut at both ends so it fits over the binding. To make sure they don’t work loose I run a bead of woodglue along the tang of the fret before hammering or pressing them in. Usually I would run a few drops of superglue under the fret ends but this is not possible on a bound neck.
I put the side dots in the same way as the front dots and then clean up the sides of the fretbaord with a file and a sanding block. This cleans up the fret ends and dots at the same time instead of doing it twice. The fret ends are still quite sharp at this point. There is still a couple of hours work to do on the frets but this will done the same day I put the strings on.
Alone in the Workshop – Part 14 – My name in lights
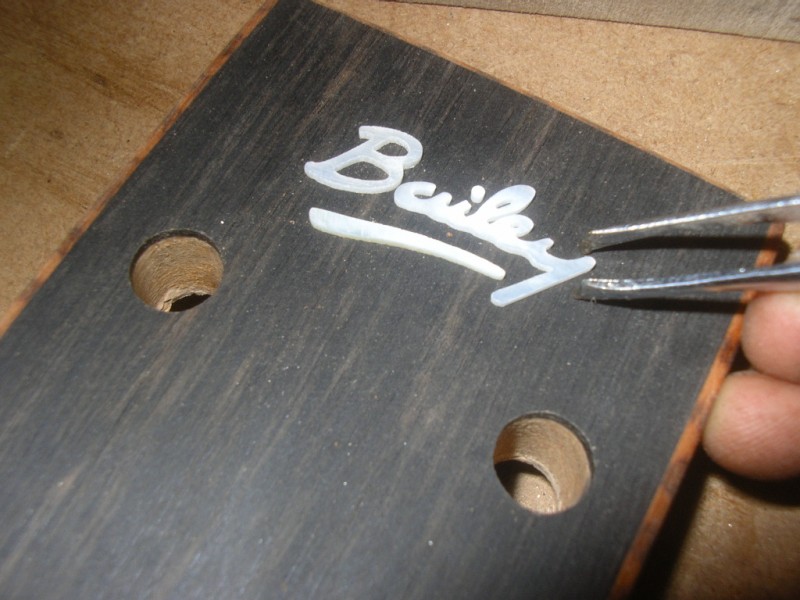
How to inlay a mother of pearl shape
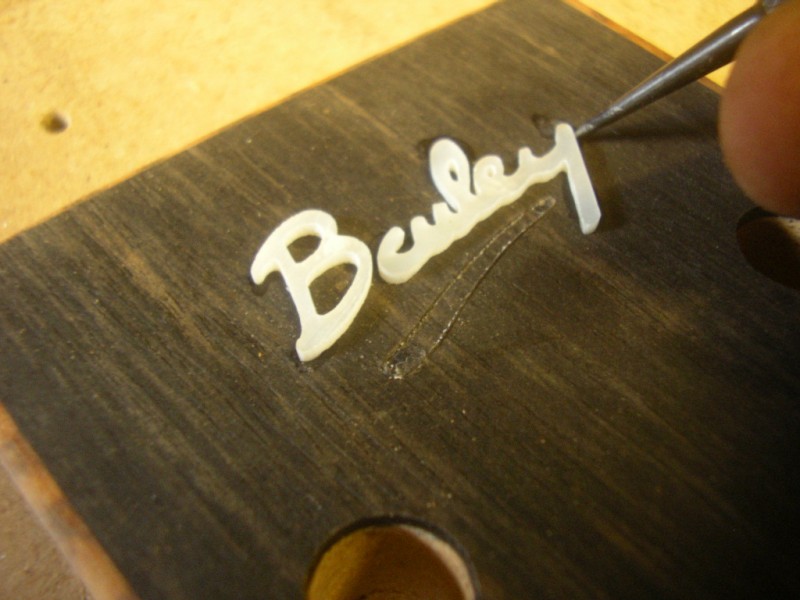

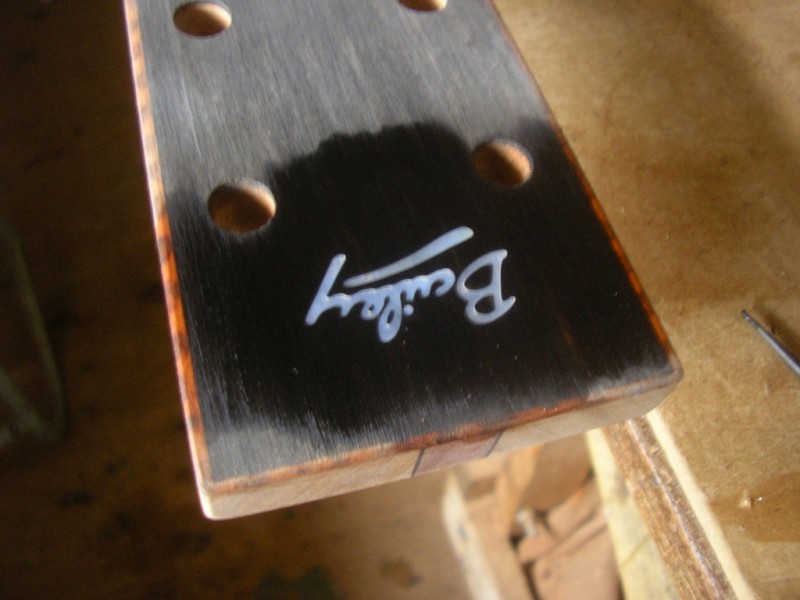
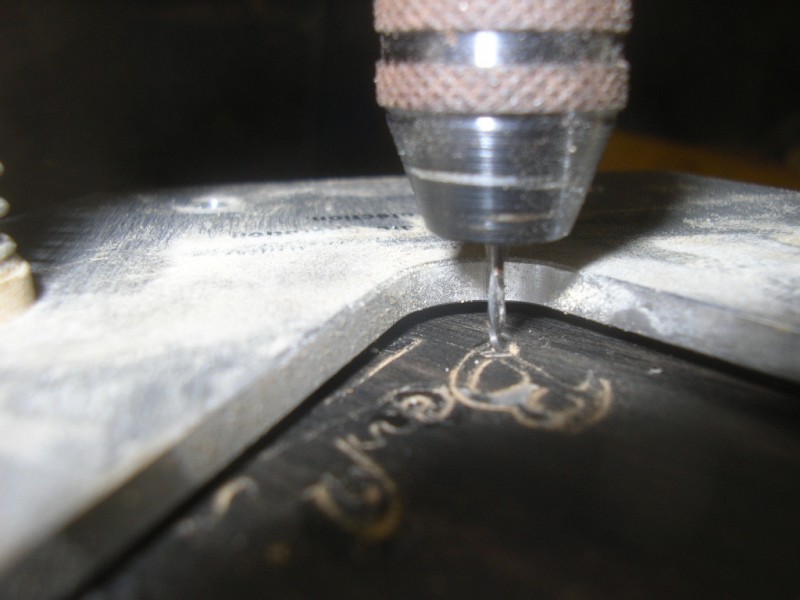
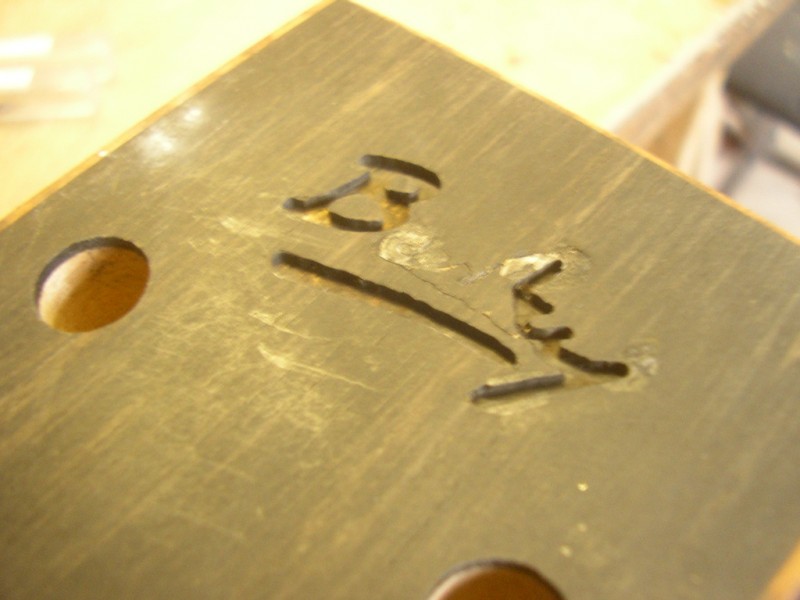
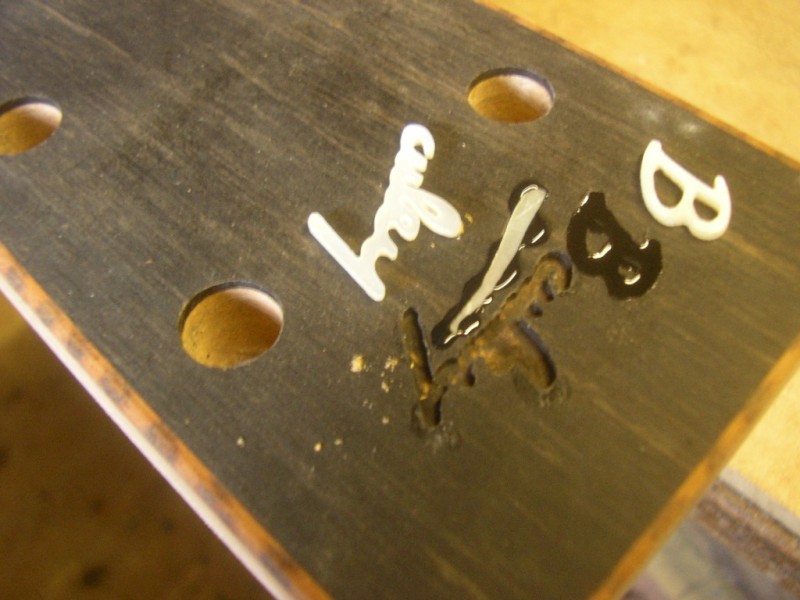
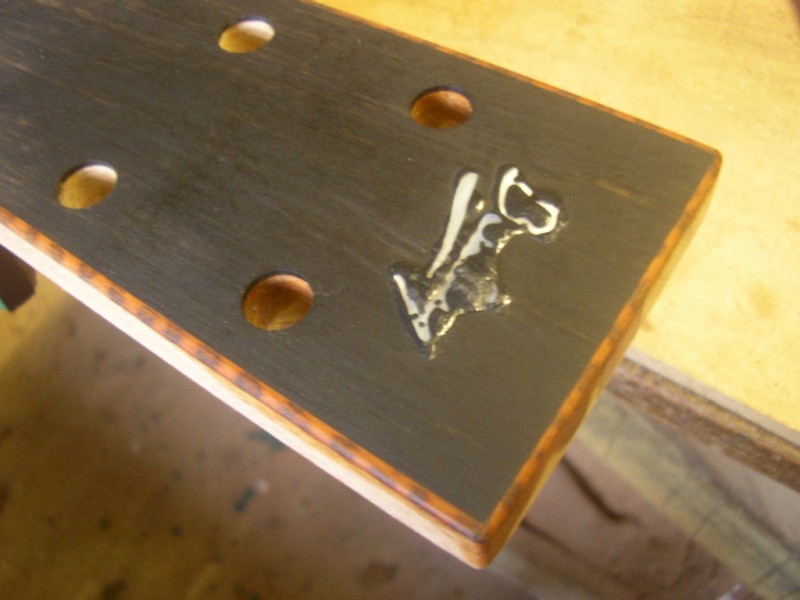
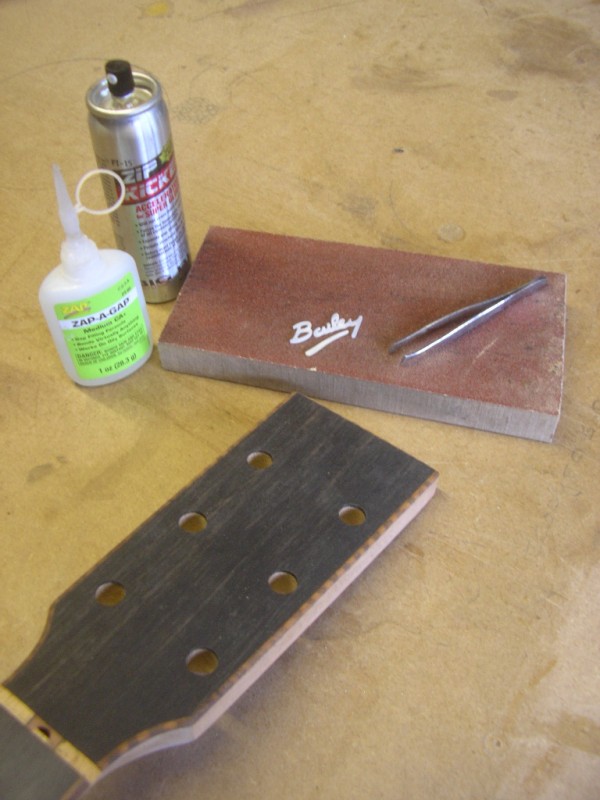
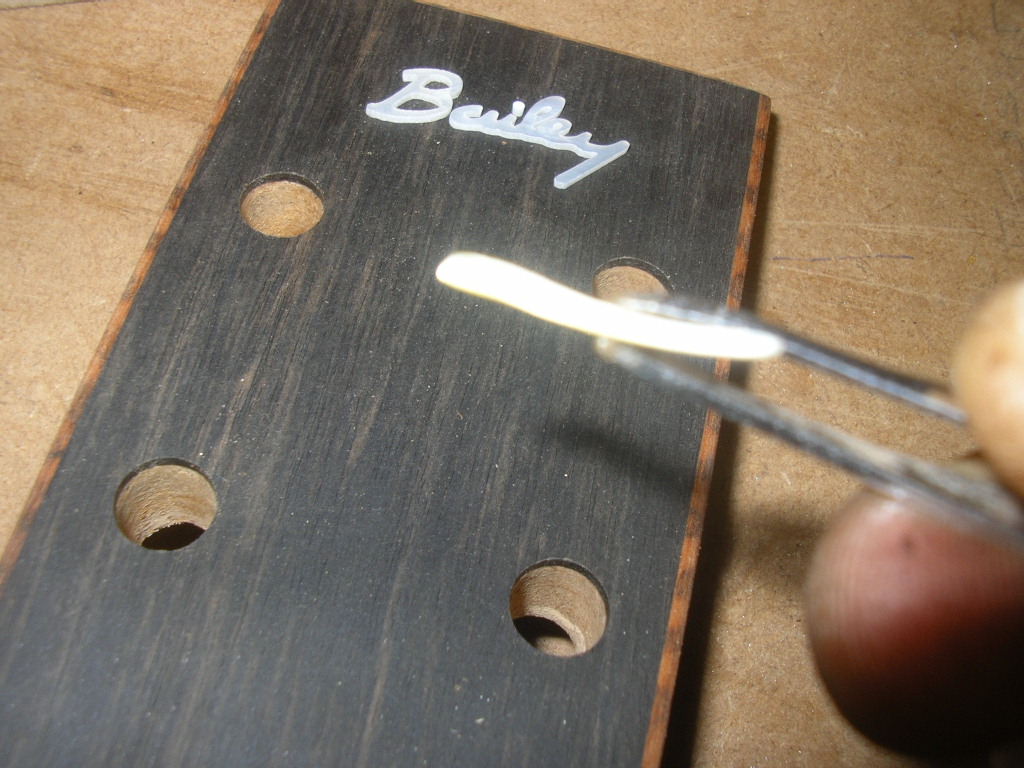
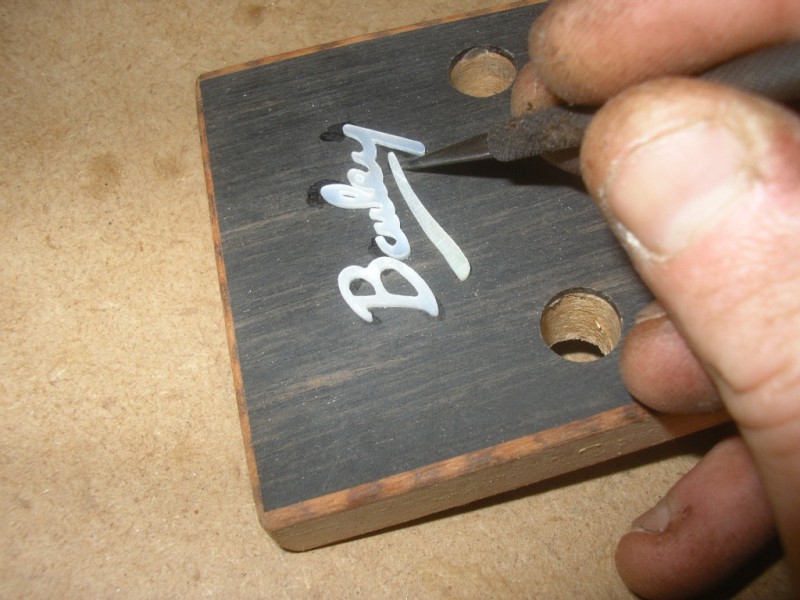
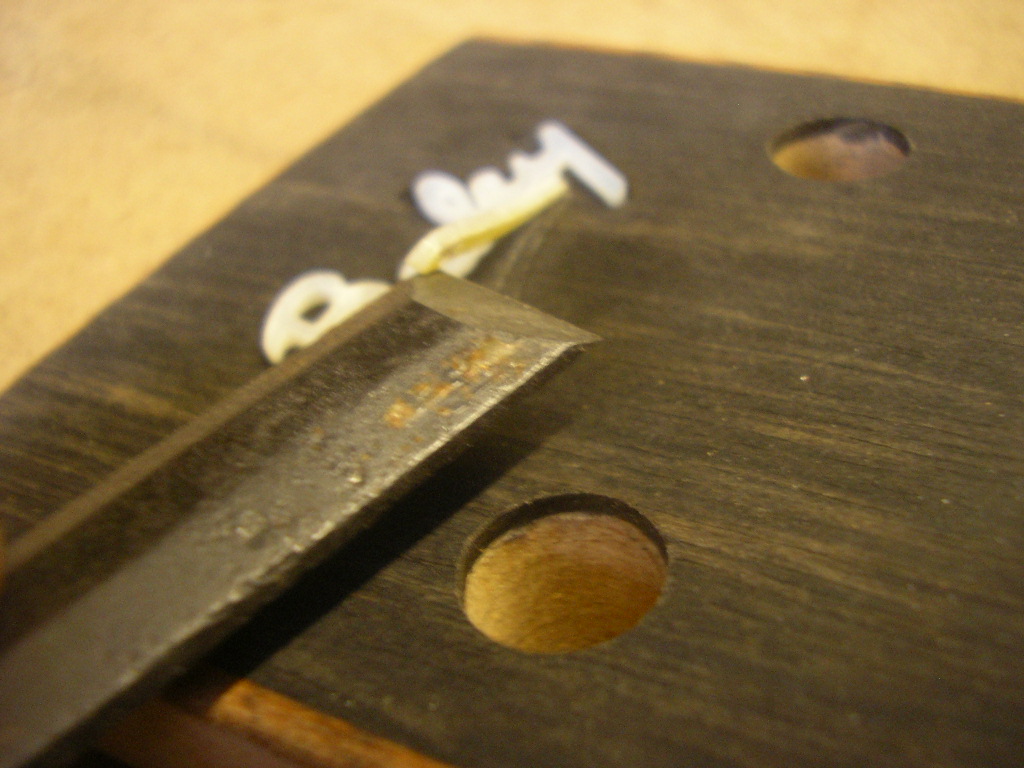
I get the logo’s made by Mike Reid at Small Wonder. Sometimes I make them myself but it does gets a bit boring after you have done a few and sometimes I need them in a hurry. He is the UK inlay specialist so does a great job and is very fast. I will do a post on how to make an inlay one day………

Alone in the Workshop – Part 11 – more neck stuff
Not long to go now!
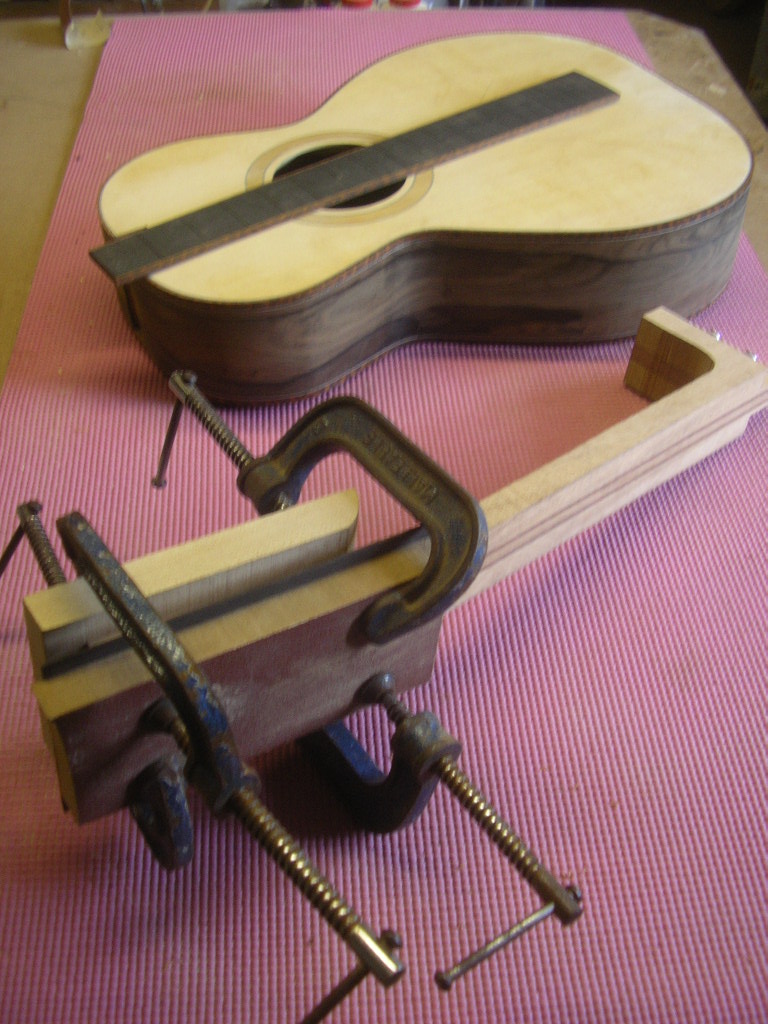
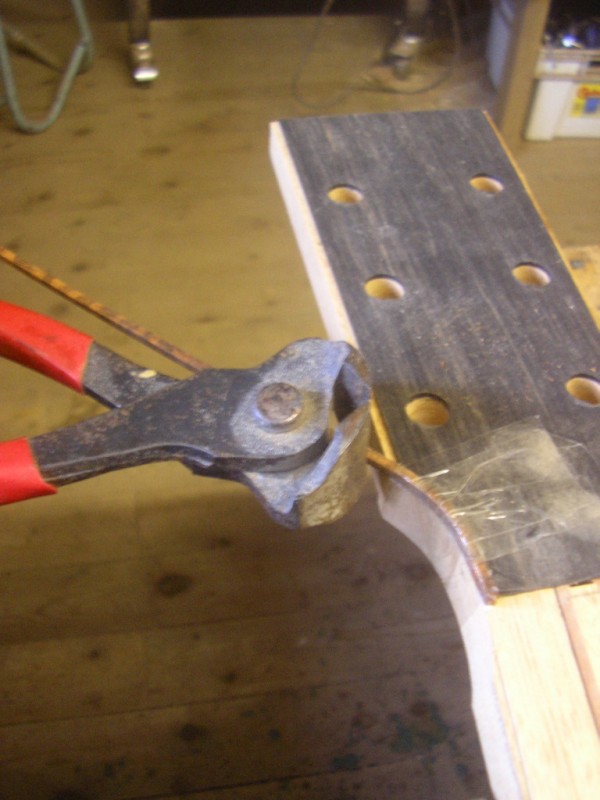
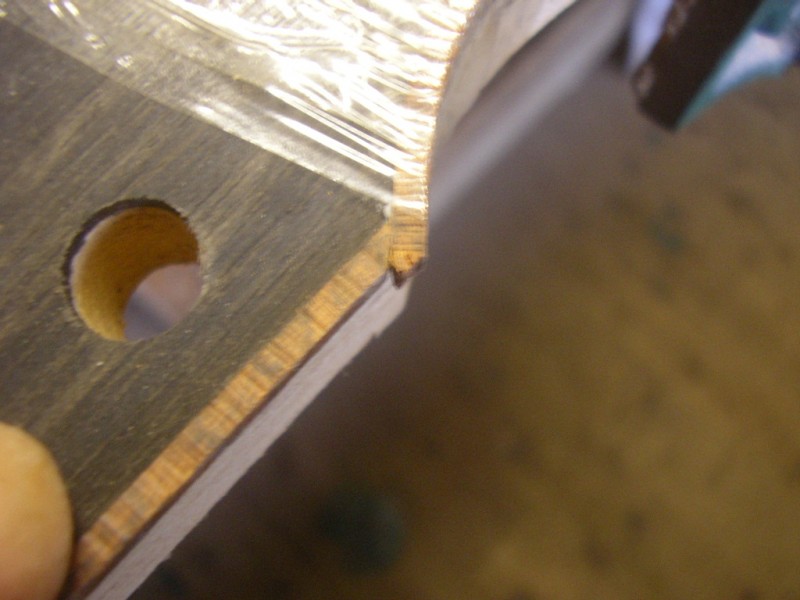
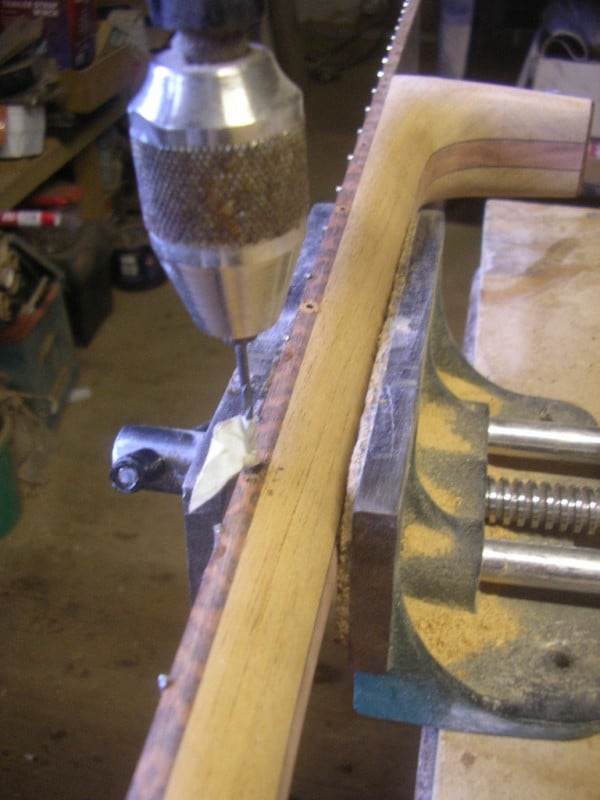
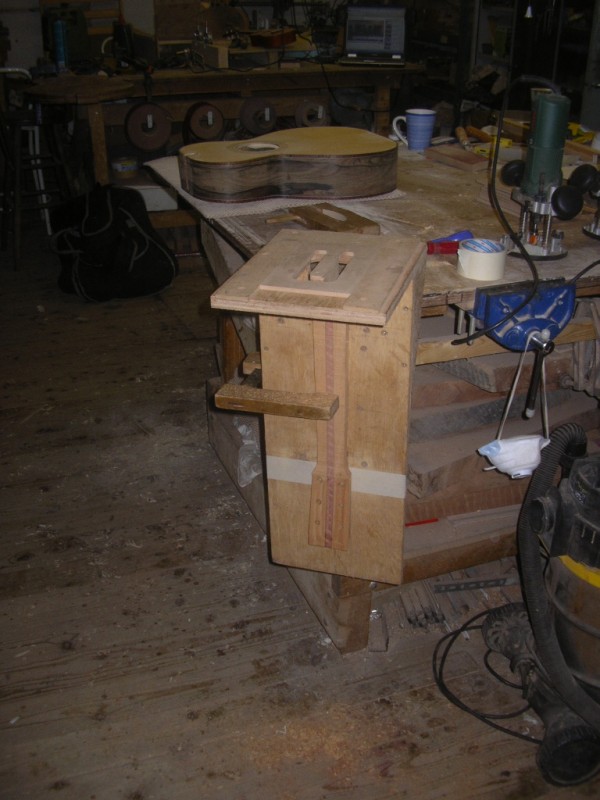
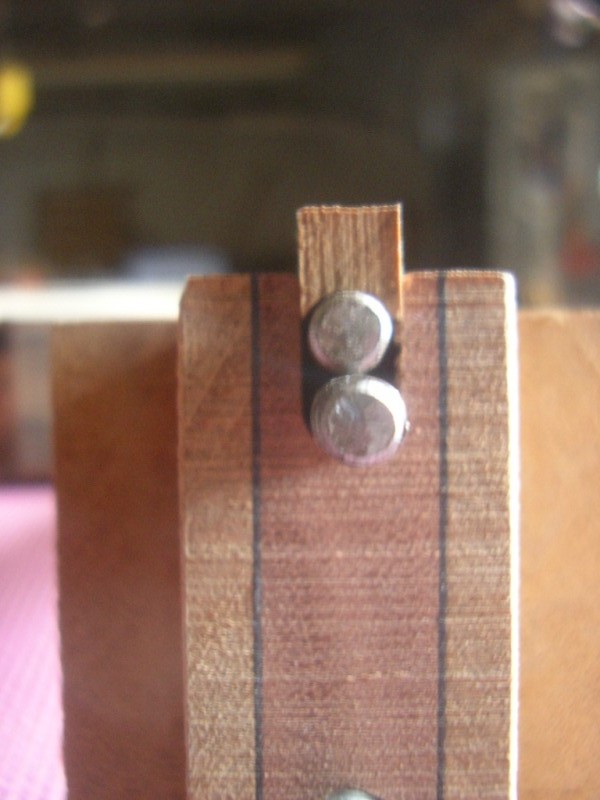
I decided to carry the binding through to the headstock becuase it just looks great! And I love doing the fiddly bits. It is easier to do this before the fretboard is glued on so that was the plan. The headstock veneer was glued on then cleaned up with a sanding block. The holes were drilled through and then I cut the binding channel with the router. The cutter has a bearing which is smaller than the cutter – the bearing guides against the side of the workpiece so it cuts the perfect size slot. This bearing is changeable to make different size slots if needed. The first and last piece of the binding was bent over a hot iron before gluing them on. The last thing To do was glue on the fretboard. Two pins hold it in place while the clamps are applied to stop it from sliding about on the wet glue.
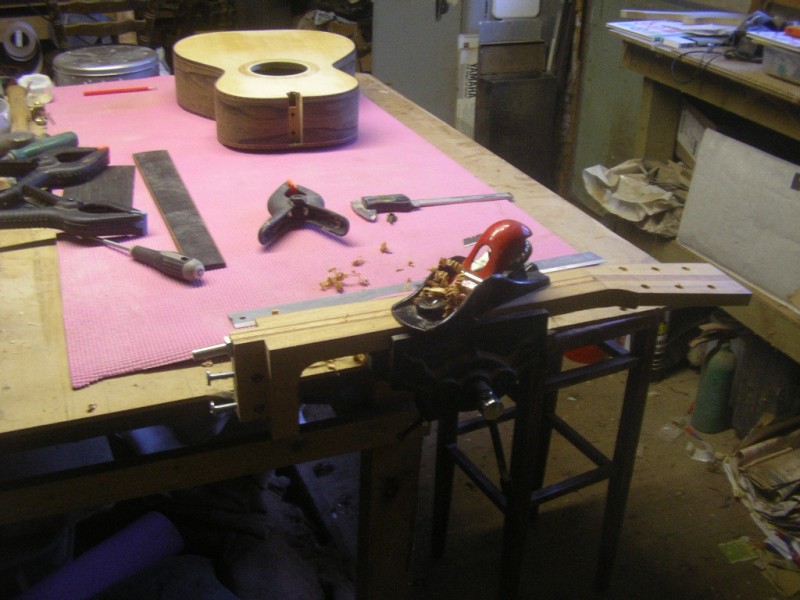
Alone in the Workshop – Part 12 – Pink gripper mat invades bench
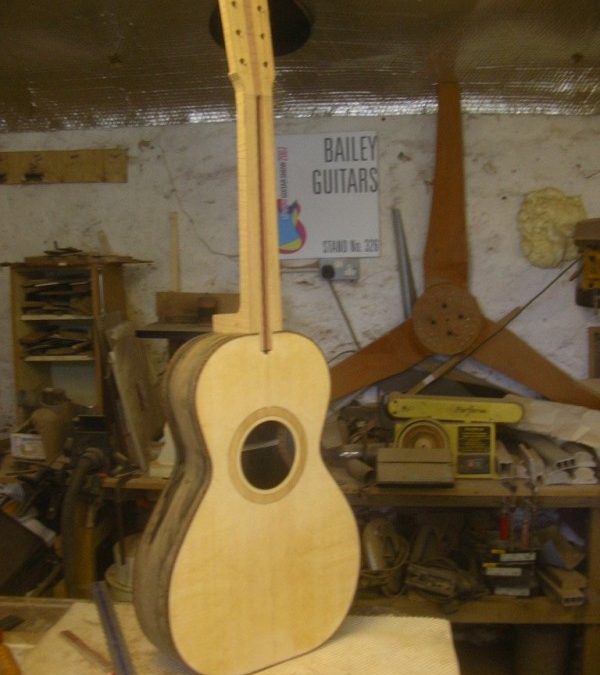
Doesn’t it look lovely? And the guitar too….


I got a bit carried away today and forgot to take any pics while I was carving the neck – not to worry I’ll do a post on neck carving one day……something for Kenny to look forward to there…..
The guitar is nearly ready for spraying now – just the frets and inlays to do. Hope to be doing that tomorrow.
You may have noticed my fetching new matt in the last few posts – Carol found it at Maybole charity shop. 50p. Do you like it? – It won’t be that colour for long…
Alone in the Workshop – Part 9 – The Angle of the Dangle
Using a router to make the headstock and neck angle’s……

I’ve been cracking on with the neck for the ziricote guitar – I want to get the fretboard glued on tomorrow so there is lots to do.
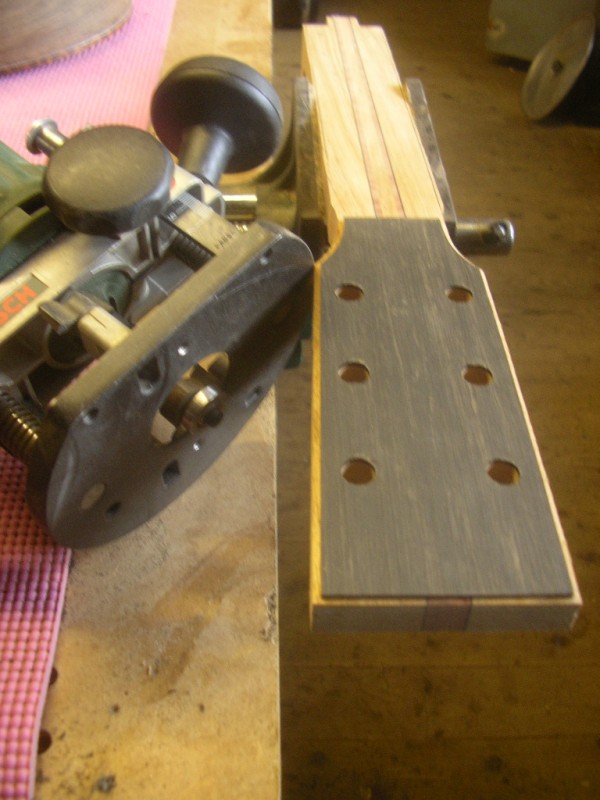
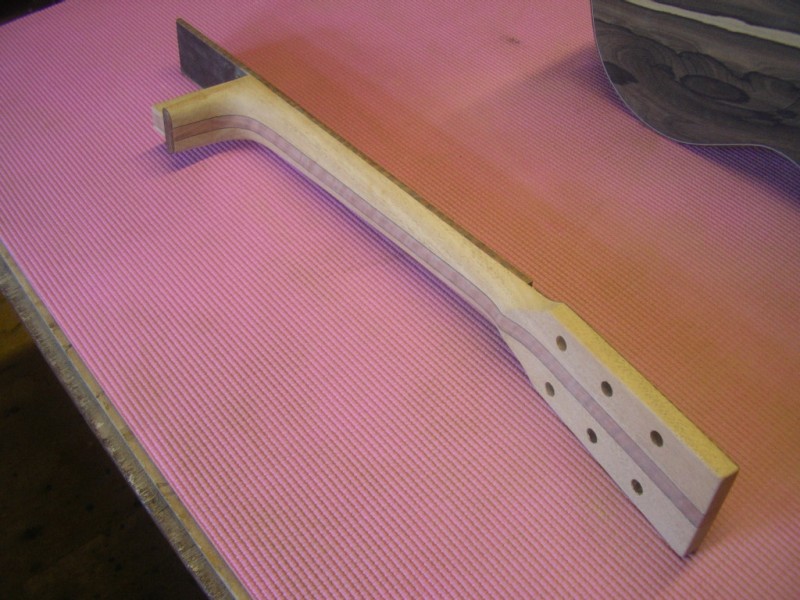
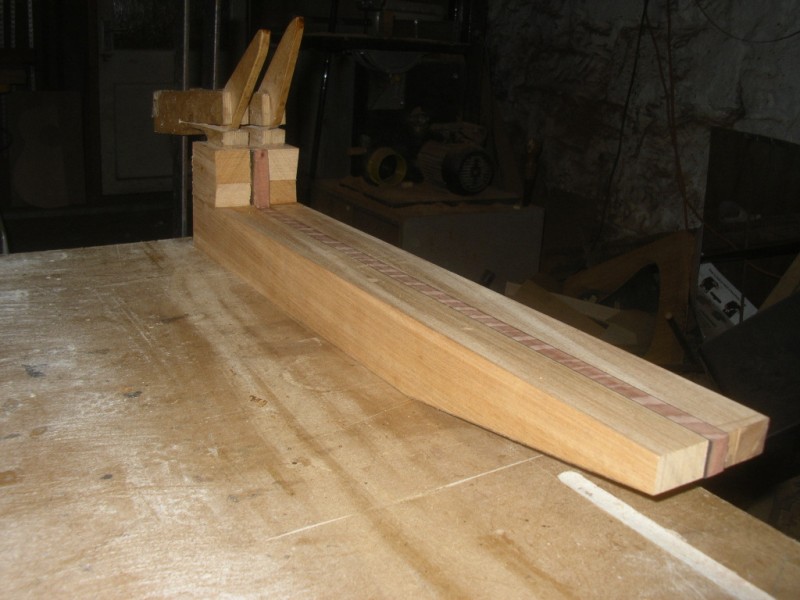
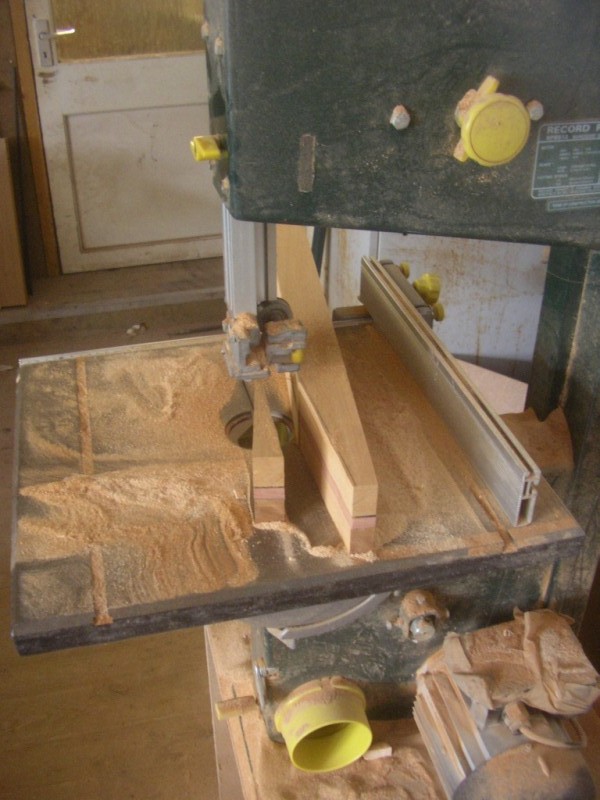
I cut the headstock angle very roughly on the bandsaw, and then the router takes off the excess to leave a very flat, smooth surface. A little rub with a sanding block easily cleans off any router marks. It is easier to do this while you still have a square block to work on. After the heel block is glued on the neck becomes a little more awkward to hold. It is roughly cut out on the bandsaw and then the headstock is routed to thickness using a similar method to routing the headstock angle. This headstock will eventually have an 1mm ebony veneer on the front so I thicknessed it to about 15mm(most of the tuners I use allow a max thickness of 16mm). This allows a little for sanding.
To cut the neck joint the neck is clamped at an angle into a jig while the router cuts the tenon onto the heel. It is usually a bit of trial and error – the strings must arrive at the right height for the bridge and the neck must also be straight down the centre of the body. I mark the sides of the neck onto the jig so when it is replaced I can adjust it accordingly. The angle can be changed by placing diffent thicknesses of veneers under one end.

Alone in the Workshop – Part 10 – Trussed Up and Bent.
Making the truss rod – obviously!

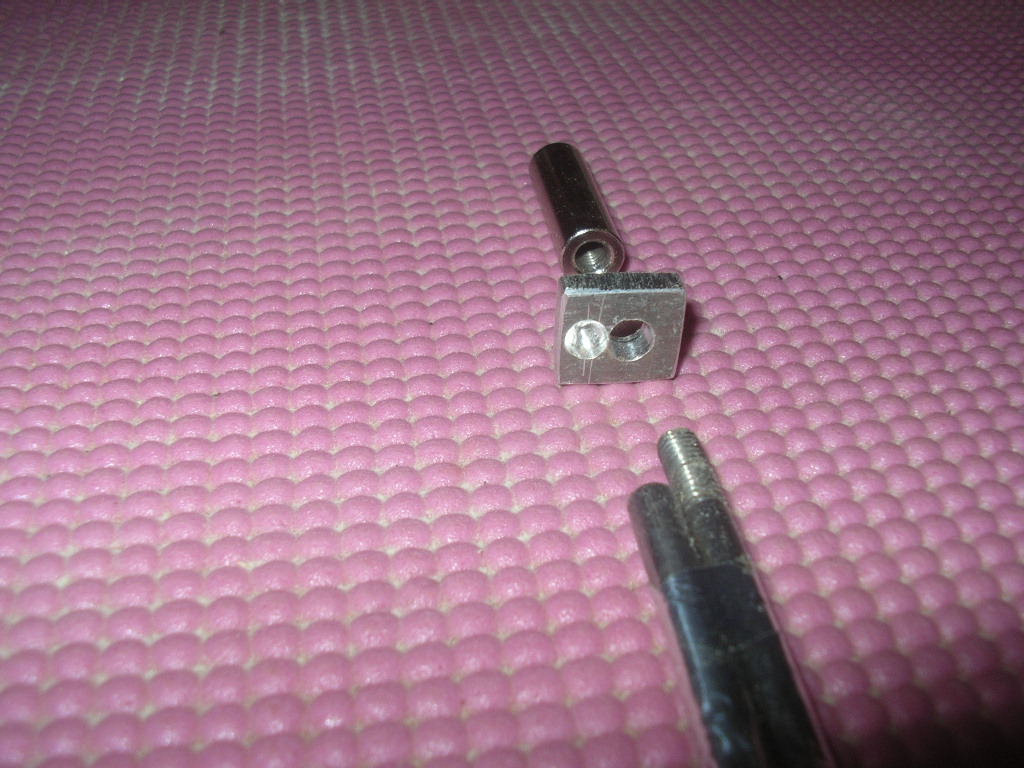
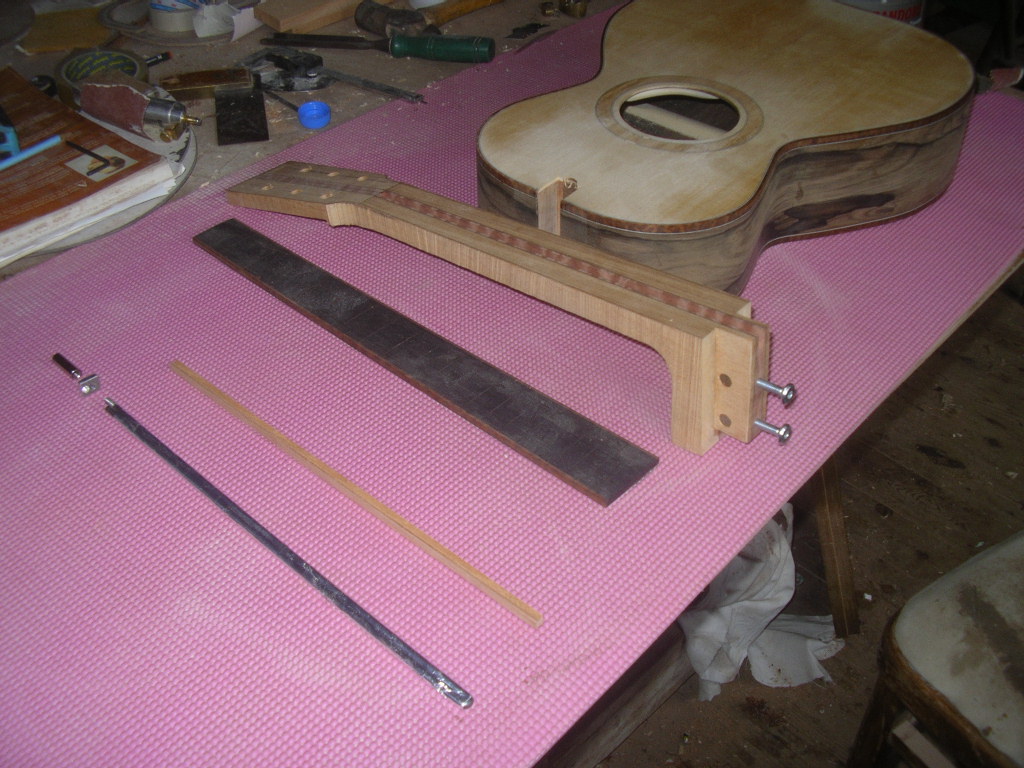
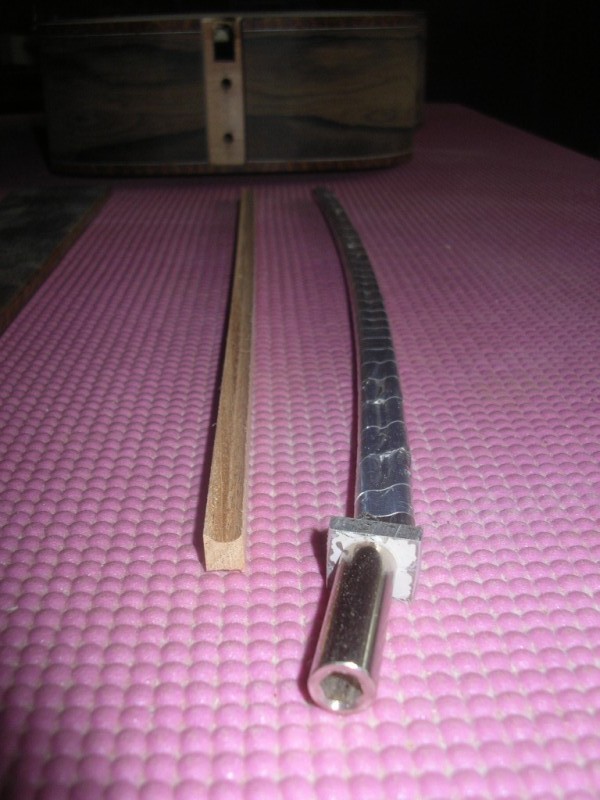

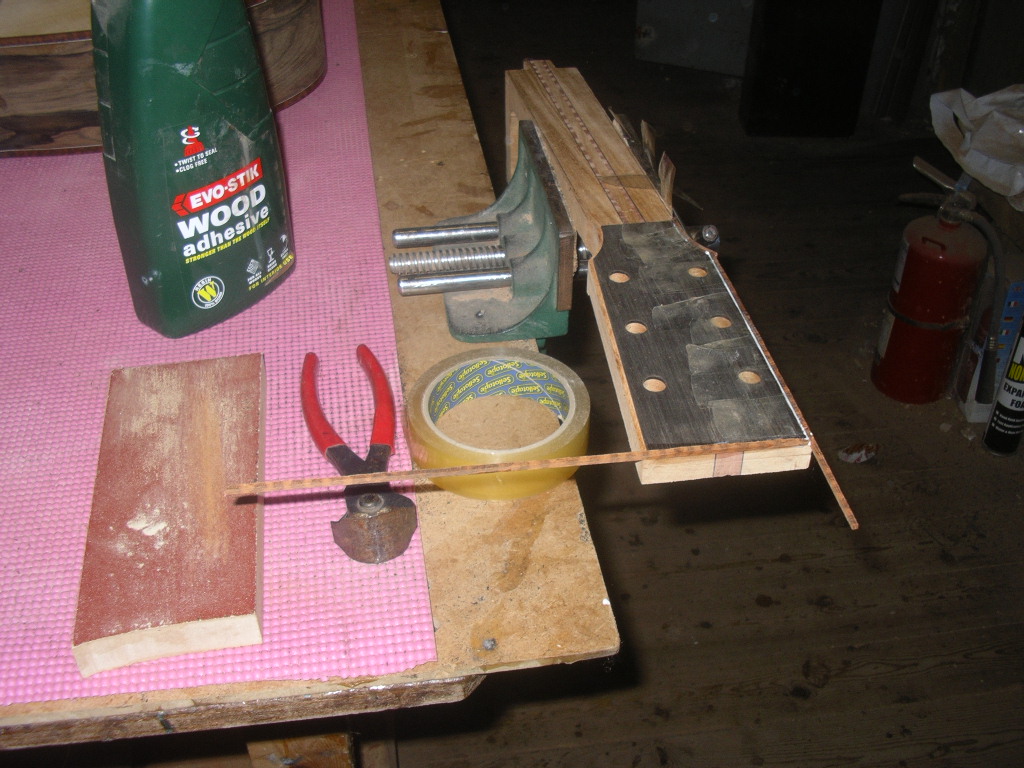
The truss rod is there to counteract the bending effect of the strings under tension. There are loads of different types of truss rod but I make my own like this. The threaded part of the rod goes through the hole so the nut can tighten down on it. The other hole only goes halfway through and the other end of the rod goes into it. When the nut is tightened it tries to compress one side and stretch the other side of the rod which causes it to bend. This type of rod makes a very smooth even bend and is very strong and responsive.
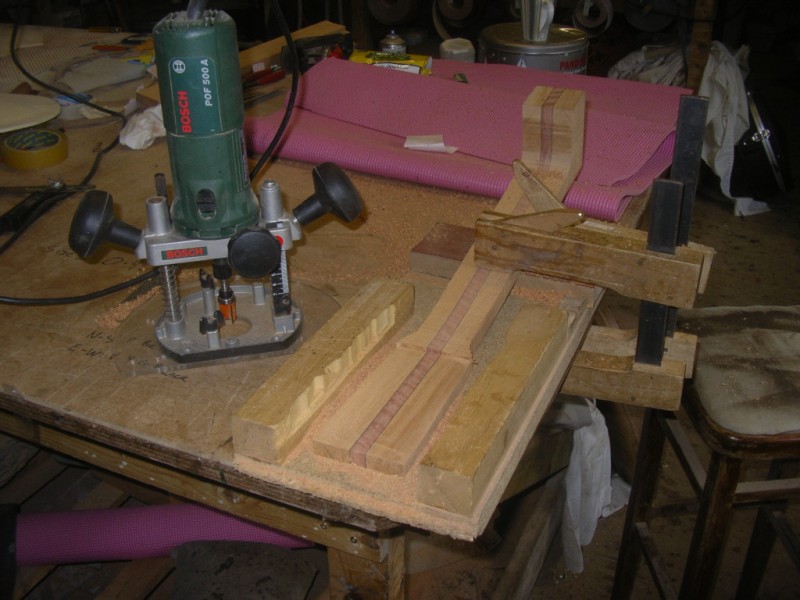
The slot for the truss rod is made with a router cutter with a round bottom to match the rod. The fillet also has a slot cut into it with the same cutter. When the rod is in place this fits neatly around it making it very strong and …if I may say so….. elegant.
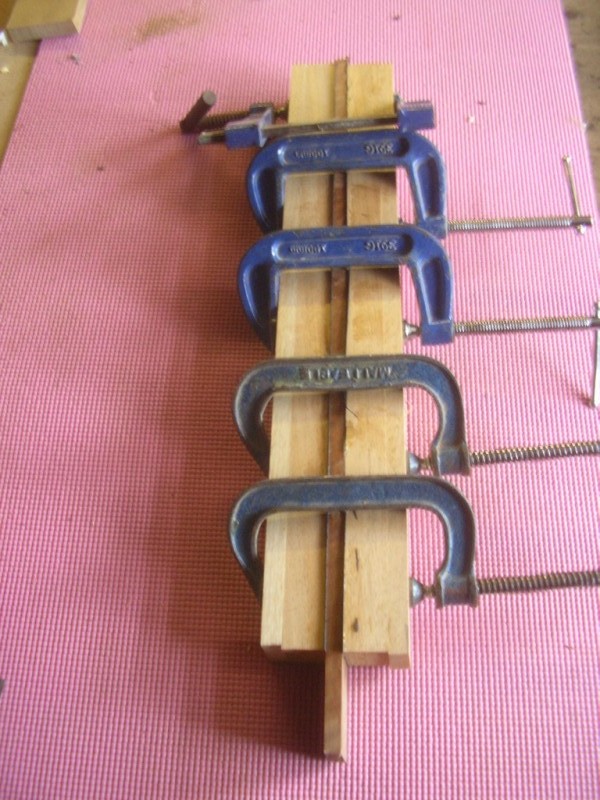
The fillet is glued in place over the rod and spring clips hold it in place while the glue dries. Another advantage of this type of rod is that it can be easily replaced – it just slides out. Of course you would have to take the neck off first…..

Alone in the Workshop – Part 8 – Neck ‘n’ Neck
OK….. just Neck……..
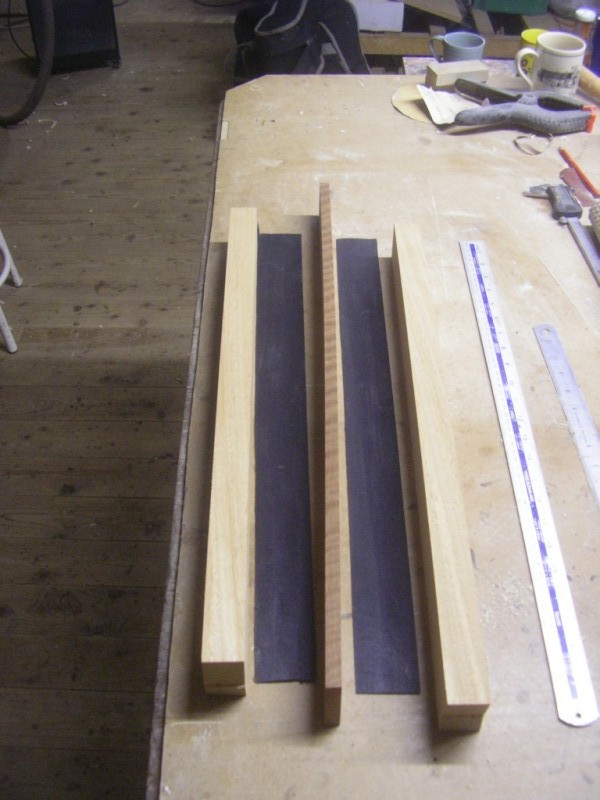
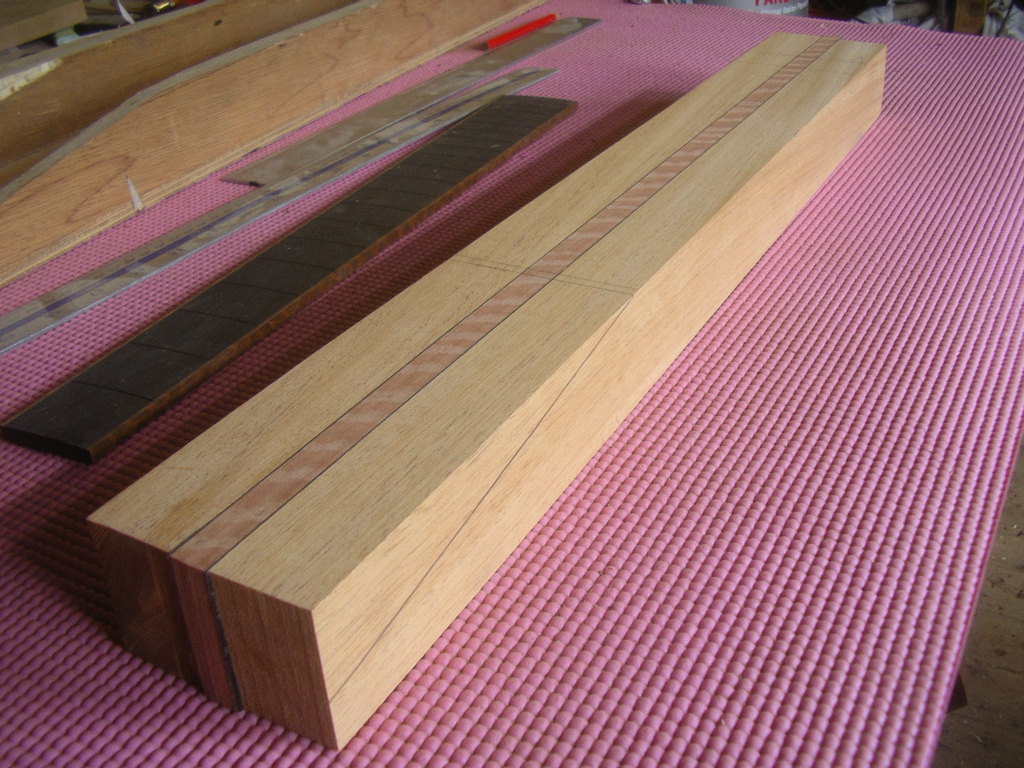
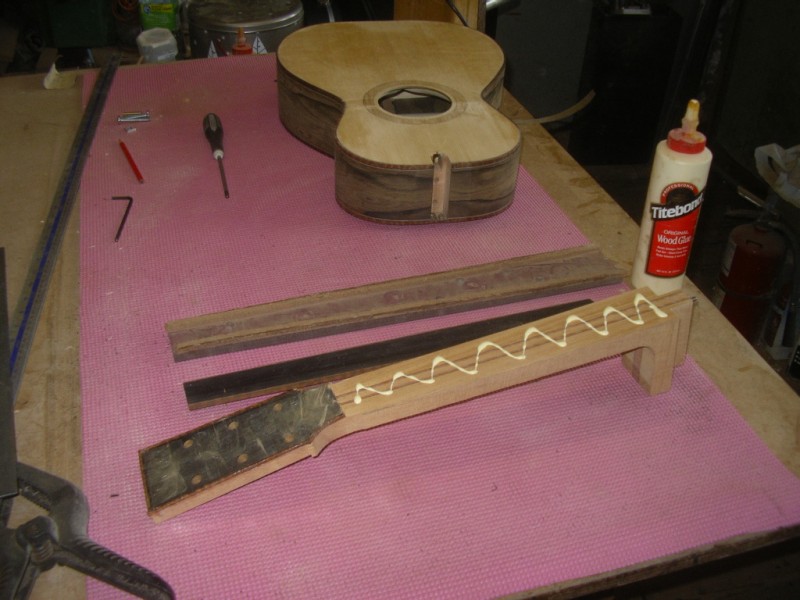
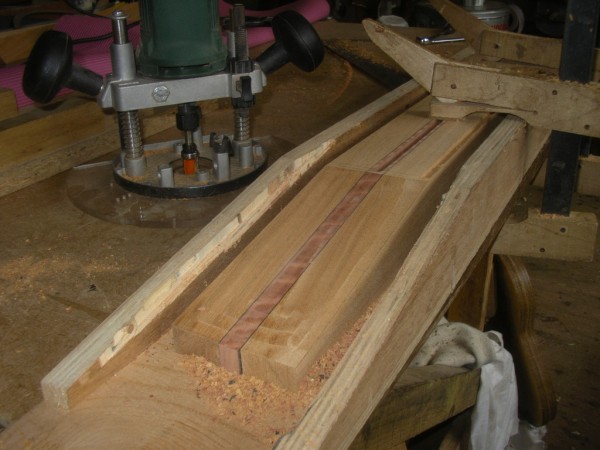
The neck is laminated to make it strongerer. For this guitar I used strips of Mahogany for the outside and Jarrah for the centre strip. I also used a black veneer (pressure dyed maple) for a pinstripe either side of the Jarrah. It’s blooming lovely. After gluing it together and cleaning it up flat and straight the first real job is to route the truss rod slot. I find it easier to do this when you have a solid lump of wood to work on. Once you start cutting out the shape it becomes a lot trickier to hold. This way I just stick it to the bench and use a router with a fence guide to make the slot.