Blog
Alone in the Workshop – Part 7 – Gagged and Bound
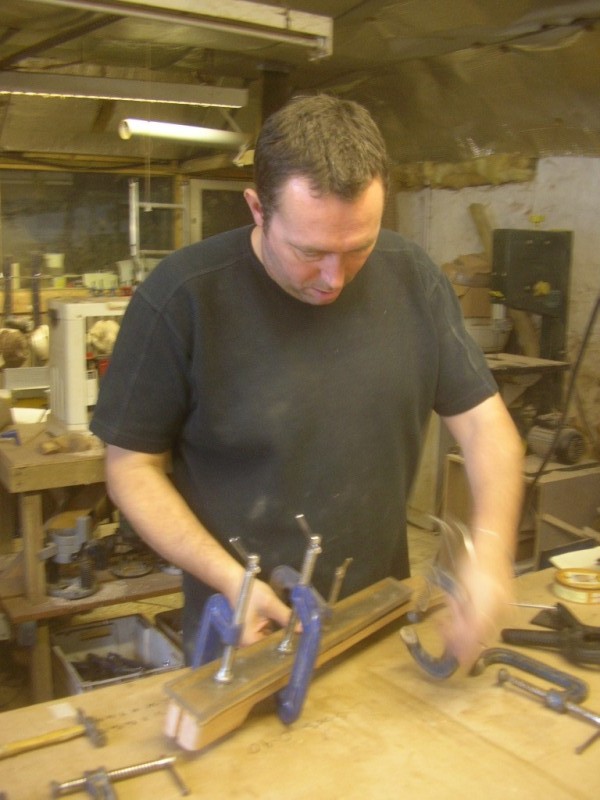
…….OK, I lied about the gagged part…….
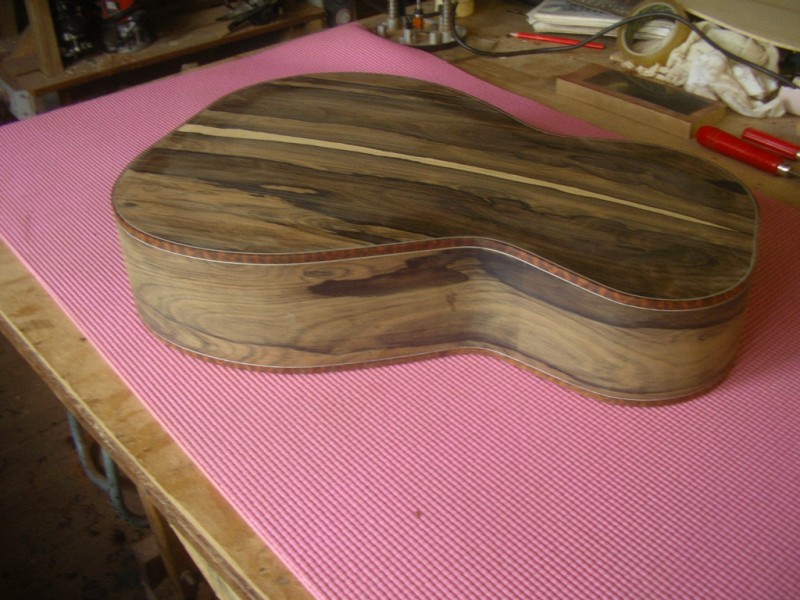
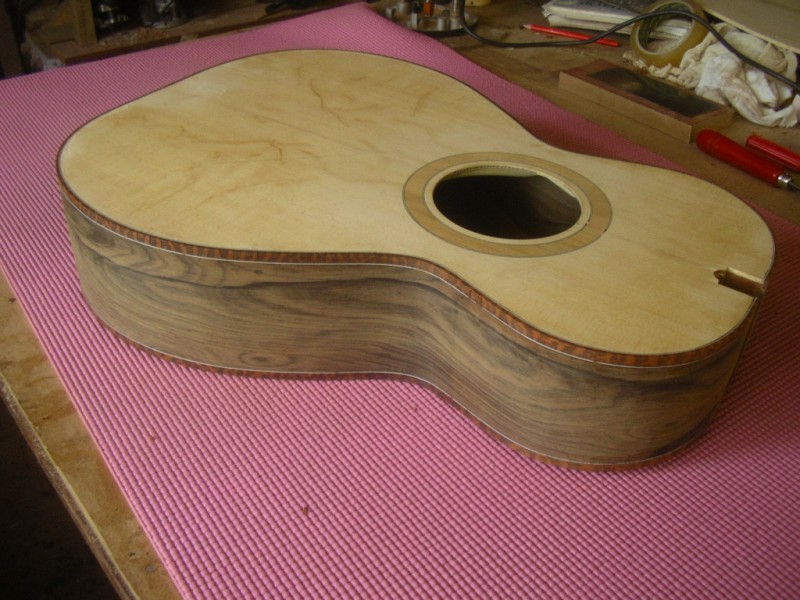
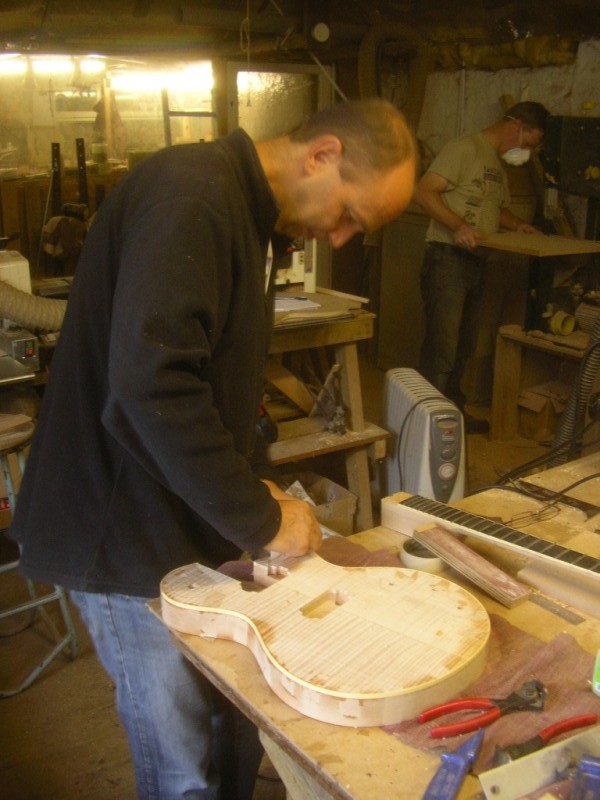
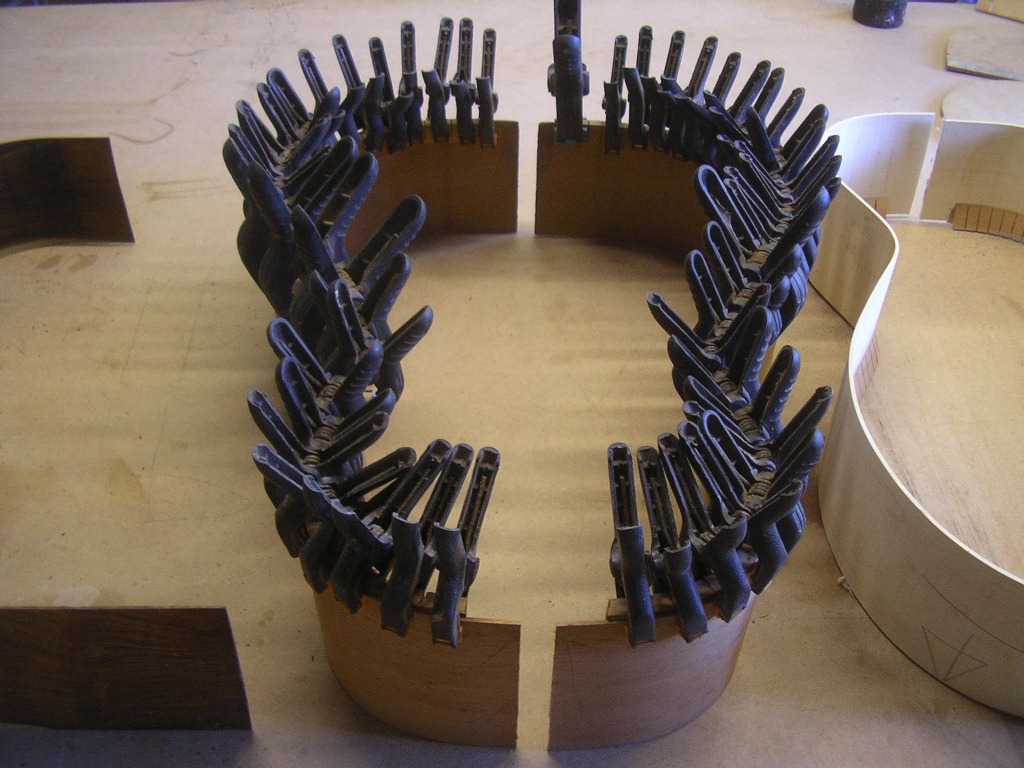
…….I have just finished binding the body though which is quite exciting.
I have been concentrating on the ziricote guitar because that one has a deadline – it’s for a birthday present so I have to make sure it’s on time!I will get this one ready for spraying then work on the other 3 while the paint is drying.
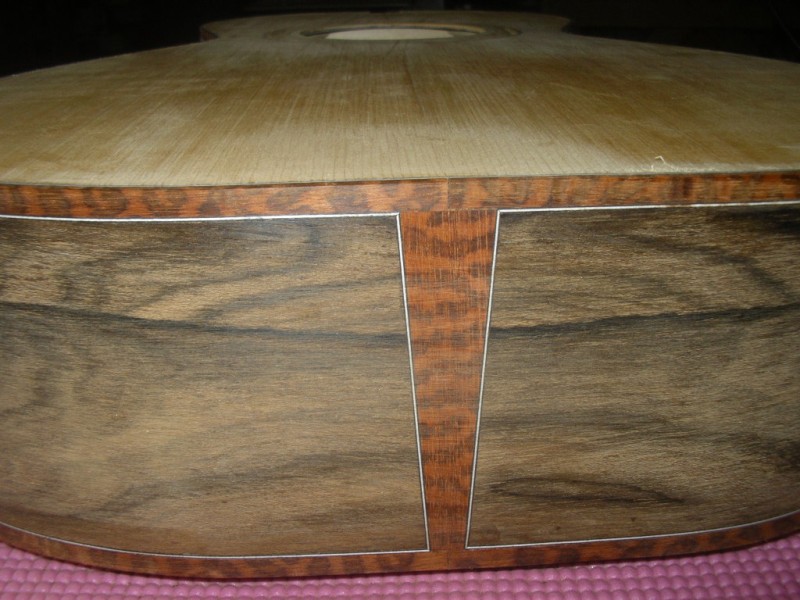
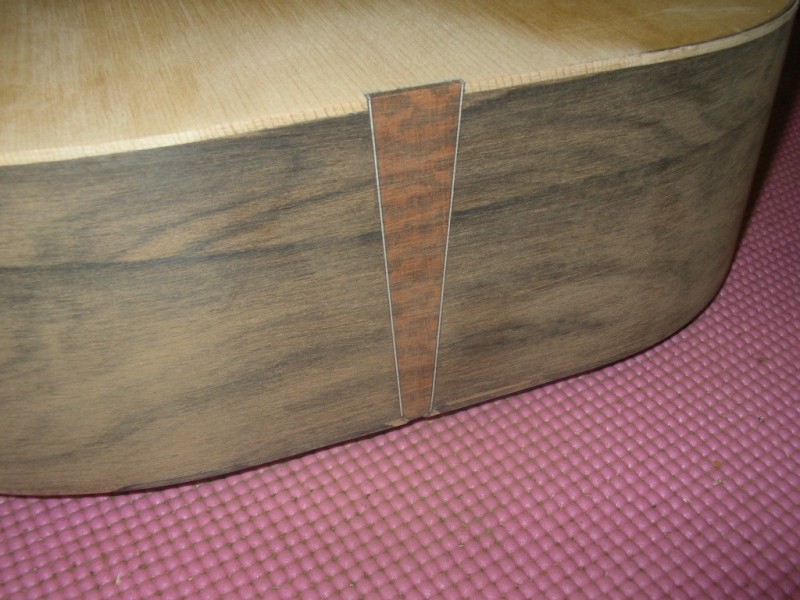
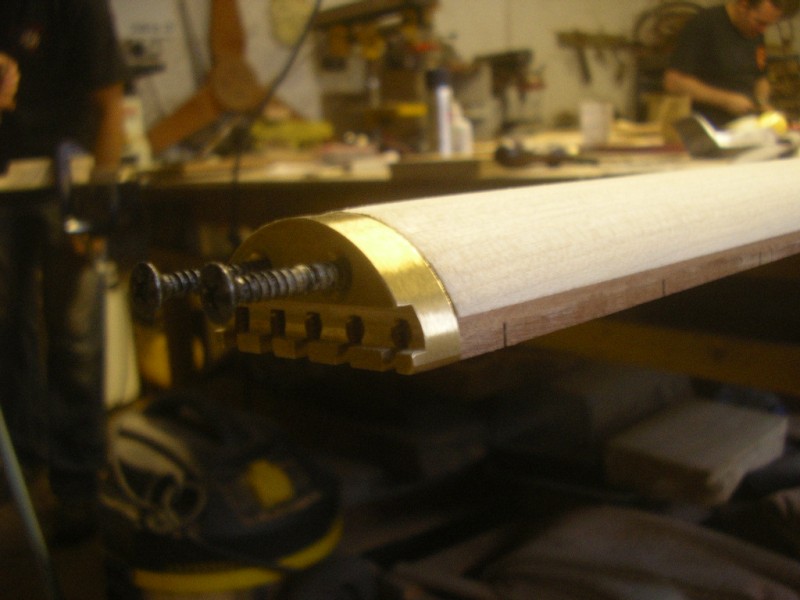
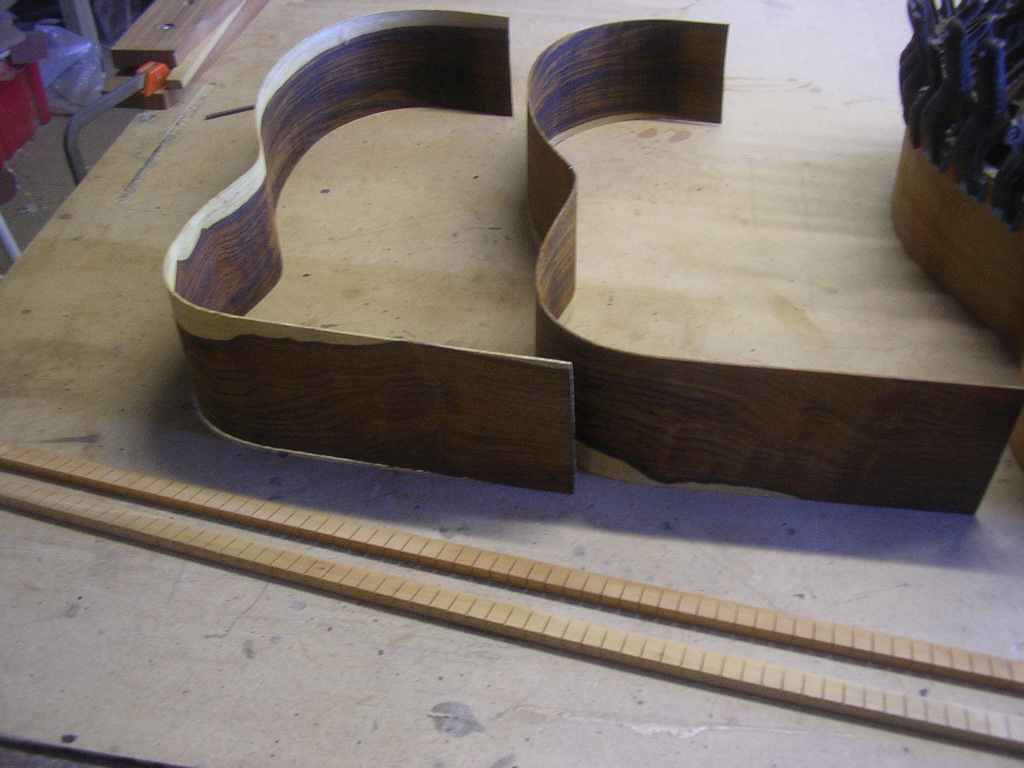
The binding strips are made from Snakewood – you can see how it gets its name – how cool is that. When I first saw Snakewood I fell in love with it so I bought a log and I’ve got half of it left. I have used it for a few fretboards in the past but in large areas it does look a bit over the top……Carol says it reminds her of a Ford Capri with leopard skin seat covers……I had to agree with her….So now we use it in small doses mainly for binding where it looks stunning, and sometimes rosettes.
The binding sits into a slot routed around the edge of the body. Because it is wood (gorgeous!) and not (eugh) plastic (ugh. spit…uck) it must be pre bent before it can be glued on. I also used a strip of ‘black white black’ aroung the inside edge.
Hope you like it Rich – I do!
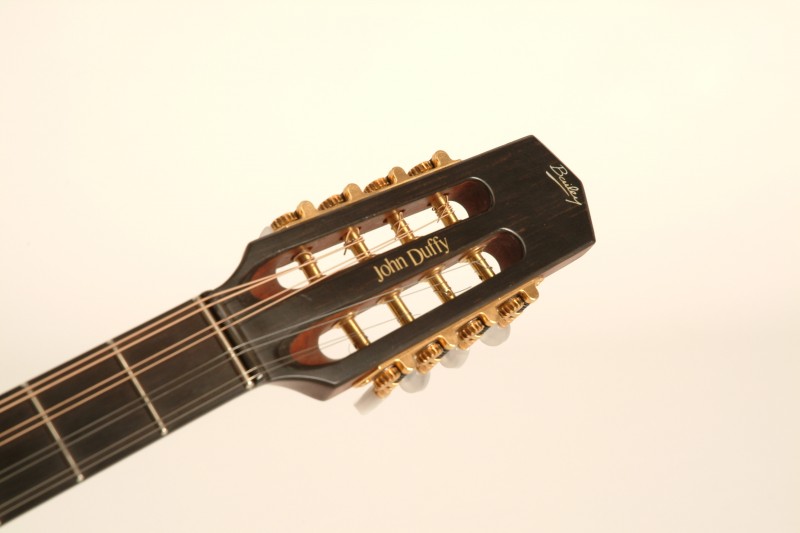
Bailey Custom Handmade Bouzouki – ‘little big mouth’
A Blast from the past

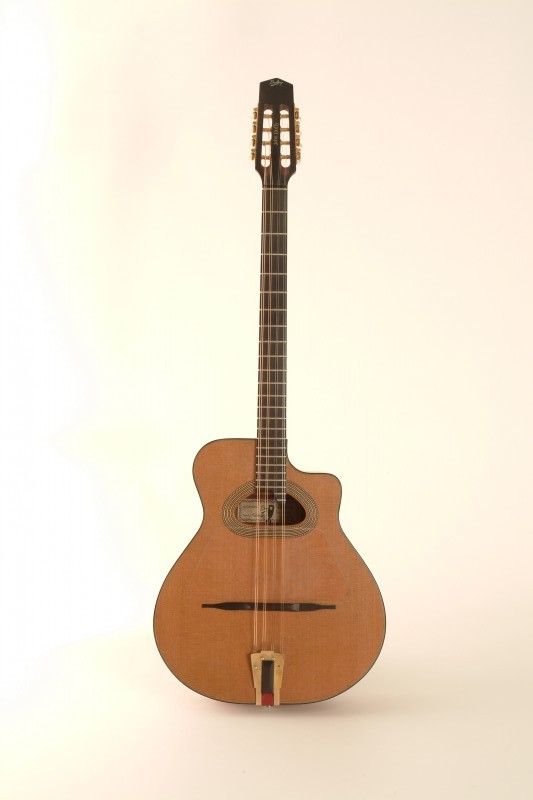

This is a very special custom acoustic I made a few years ago for a good friend of mine ‘Duffy’. It has always remained a favourite as it’s so different from anything else I have built – a mixture of gypsy guitar and bouzouki. It has a 24 1/2″ scale length and 8 strings (4 pairs) so comes into the Bazouki family. It has a mahogany back and sides with a ceder top. The neck is also mahogany with an ebony fretboard.
This bouzouki is now Duffy’s main instrument. He uses his own tuning and plays a wide range of stuff which sounds amazing – click here to hear it played or here to see The Fabulous Duffy Gibbons, with Gibbons also playing his Bailey custom dreadnought.
Build your own custom guitar – Part 2 of 2
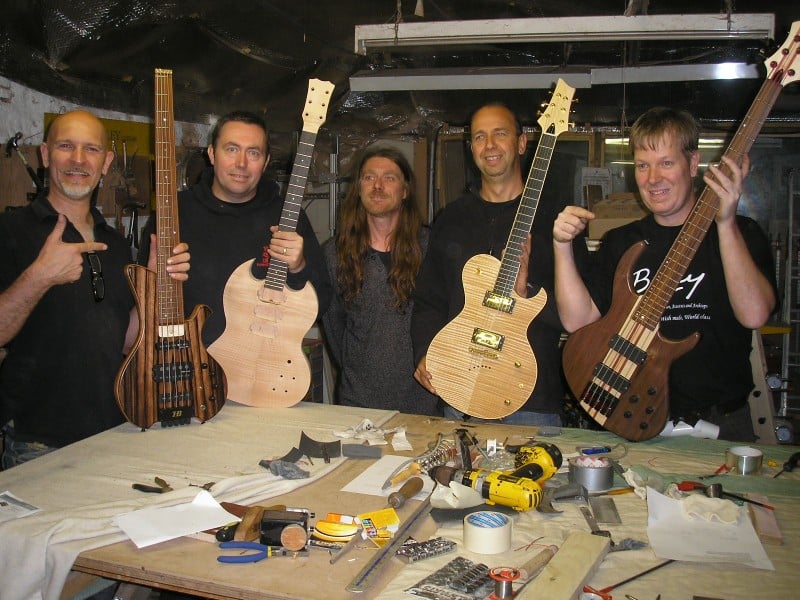
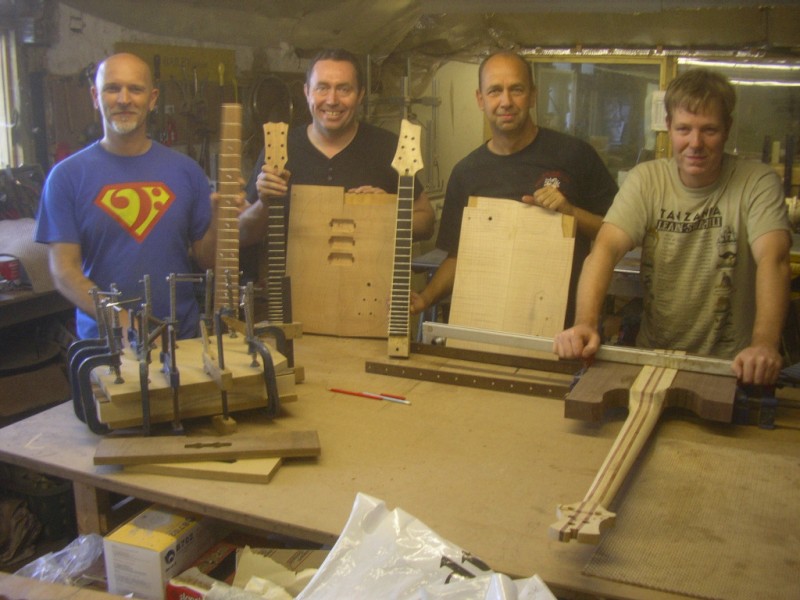
We got there in the end!
It was not easy though, the last 2 days were especially hard work. With hindsight I wish we had worked a bit later on previous days, so I will bear this in mind for the next ‘custom’ course.Headless Hans, Paul and Luc complete their custom instruments. Steve finished the woodwork but left his with us for spraying as he wanted the full gloss.
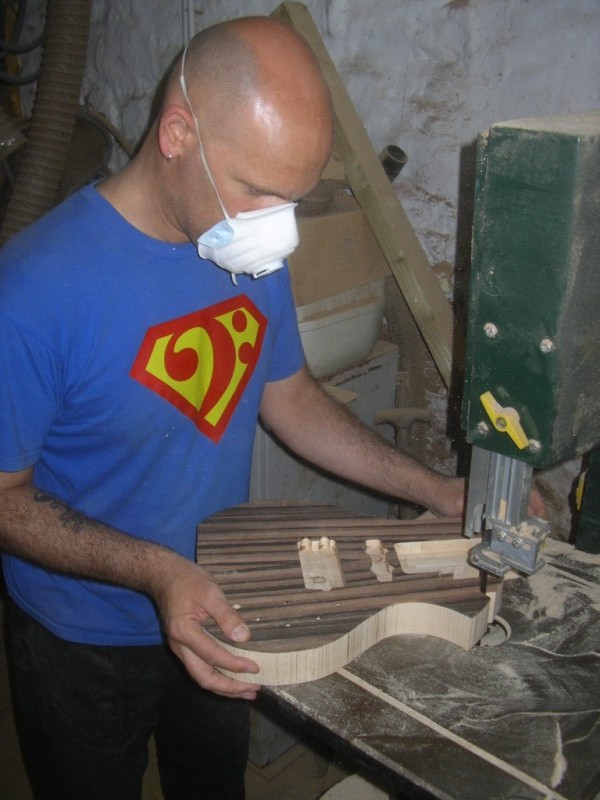
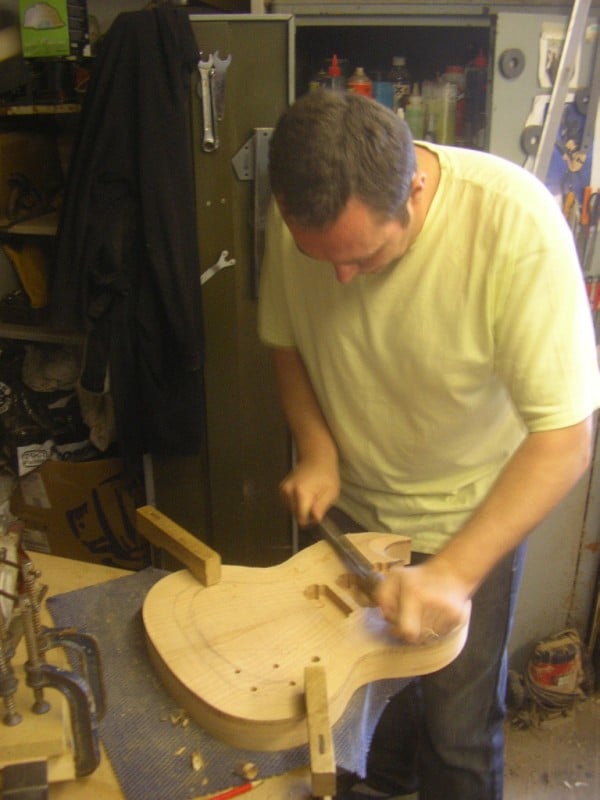
Day 6: The calm before the storm……most of the day was spent working on the bodies. Hans’ body was quite complicted and very small with not a lot of room for error. Paul spent a long time time carving the neck join on his thru neck bass. Luc did the binding on his body. Steve finished carving his body. All fairly stress free……
Day 7: Sanding storm! Also drilling the holes to mount the hardware and checking the fit of all parts. This is where time started to run away with us. Steve and Luc had to glue their necks in before handing the guitars over to Billy for spraying. The guitars are left overnight to dry ready for assembly tommorow. Lets just say we worked late…….But not as late as Billy who worked into the night to get them sprayed ready for the morning. Thanks Billy!
Day 8: LAST DAY! When making guitars, every job you do can make the next one easier or harder, depending on how well it is done. This is crunch time when you find out if all the checking and double checking along the way has paid off. If all is well it should fit together with no problems and only a fret dress and set up are left to do. The frets are levelled before being reshaped, and then sanded and polished. The ‘set up’ is basically three jobs: Set the truss rod, Set the action, and finally the intonation. We worked late again to finish the guitars before heading straight for the pub to celebrate with a much needed and well earned drink. Cheers All!
The course is very intense – I liken it to climbing a mountain….It can be very difficult at times – there are certainly some scary parts along the way. By the end of it, although it is just over a week, it seems like we have all known each other for a long time. But check out the view from the top……The lads have made 4 fantastic instruments – I wish them all to live long and prosper.
Build your own custom guitar – Part 1 of 2
2 Dutch guys, 1 French and an Englishman walk into a bar……..eventually.
Hans is making a 5 string headless bass, and Paul a thru neck 5 string. They are our Dutch guys…..both are first timers. Luc and Steve are building 6 string set neck guitars and have both been before – Luc is on his second course and Steve his 3rd.
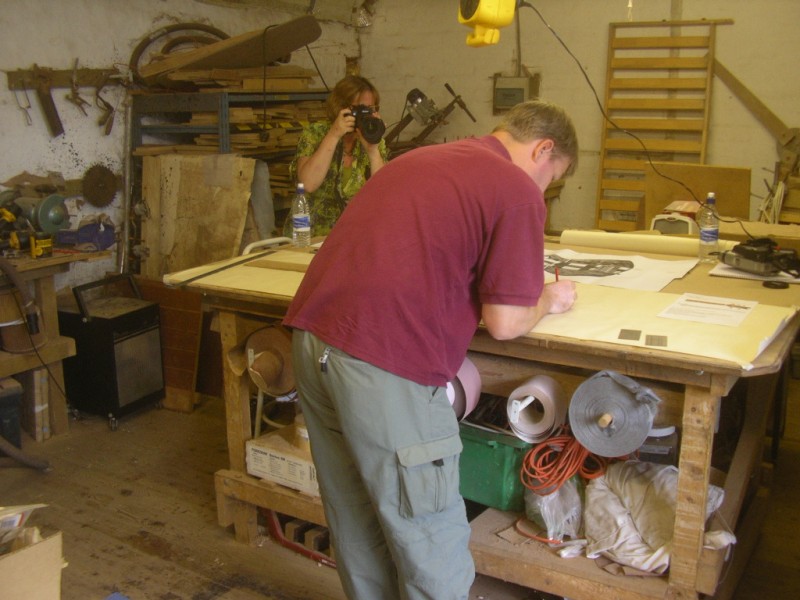
Day 1: 3hr design and prep session. The guys arrived about 3pm Saturday and started straight away making full size drawings of their instruments so we could select their wood and get all the parts together. The lads are treated to Carol’s health and safety session, then we hit an Italian restaurant before heading off to play some music at ‘Acoustic Bliss’ – an open mike night that we run at the Burrowfields Bar in Ayr every Saturday and Thursday – all welcome!
Day 2: Making sawdust! The neck is the hardest part, so we always start with that first. The main task on day 2 is to install the truss rods and glue the fretboards on, so by the end of the day they all have something resembling a neck. Paul’s Thru neck is a little different, although he has done all the necessary work he won’t glue his fretboard on today as he has an extra job to do first – cutting the angle onto the body so that the strings arrive at the right height for the bridge. ‘Headless’ Hans was probably in the lead at this point as the others had tuner holes to drill and headstock shapes to cut out.
Day 3: Most of the day is taken up carving the neck, inlaying and levelling the fretboard. Hans had his work cut out – he needed to fit special hardware for his headless bass. By the end of the day the necks are ready for fretting. Luc decided to bind his neck which added a lot of time.
Day 4: Bashing the frets in is easy as long as the preparation is done right. Then side dots are installed and the necks are more or less finished. A little shaping around the heel and sanding is all that is left to do, but this is best left until after the neck is fitted to the body. So work on the bodies started today. Steve stormed into the lead managing to get all three (yes three!) of his humbuckers routed out. ‘Headless’ Hans wanted sound chambers routed into his body, so that had to be done before the cap was glued on. Paul also finished the main part of his Thru neck bass and managed to get the body wings glued on.
Day 5: Phew….Day off!

Alone in the workshop – part 6 – Assembly 2
Today we will mostly be…..gluing the back on……


The back should fit like a glove. There is a satisfying ‘thunk’ as the lid goes on, almost like closing a jewellery box, as the brace ends tuck into the notches on the lining. This prevents them coming away from the back if the guitar gets a knock, it also serves to stop the sides from collapsing in when the rubber clamp is applied. The rubber strip is cut from an old car inner tube!
I’ll have to pack it all away now as very soon the folks will arrive for our new week long ‘build your own custom guitar’ course…
Alone in the workshop – part 5 – Assembly 1
So far so good….
-

-

-
-


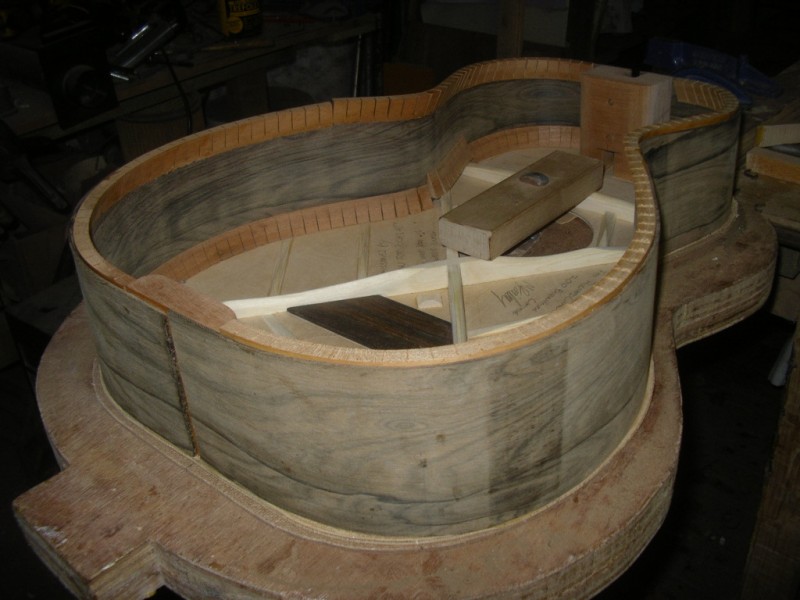
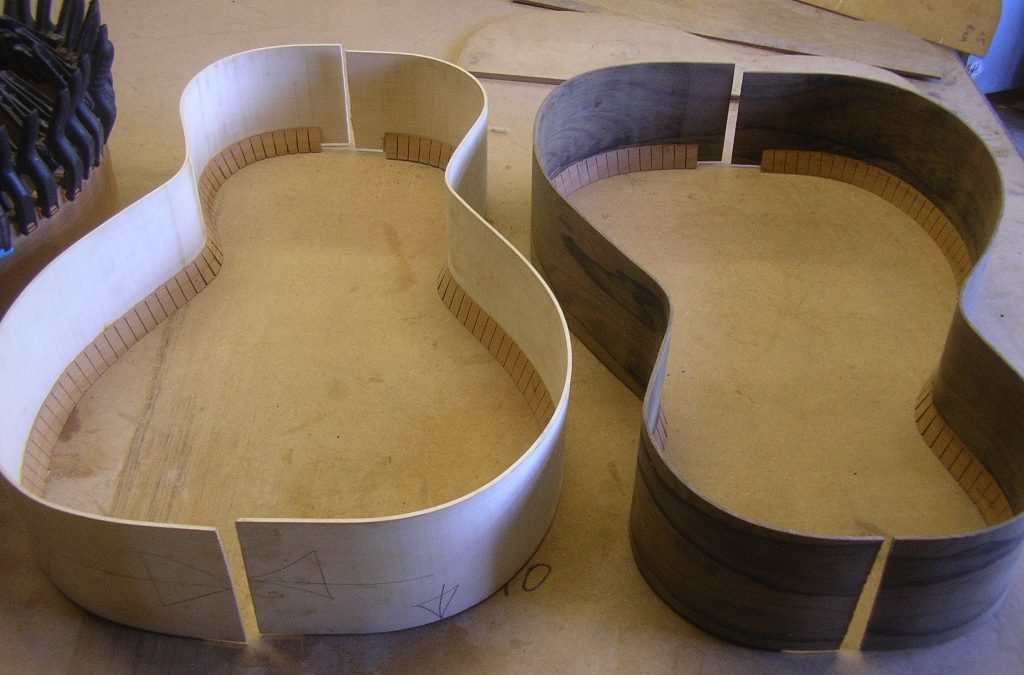
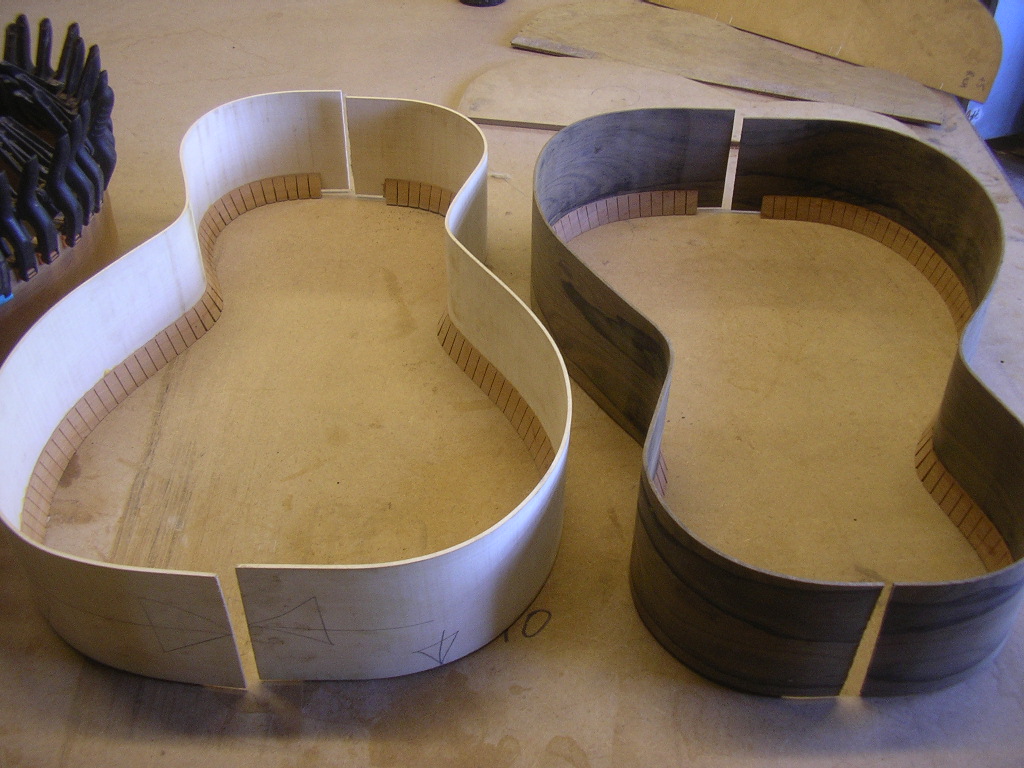
The tail block and heel block are both glued and clamped in the same way, then the sides can be glued down. There is a bit of work in fitting the sides- The kerfed lining is removed where it touches the bracing, and the brace ends are trimmed to length. Extra bits of kerfing are glued back on later to strengthen the brace ends.
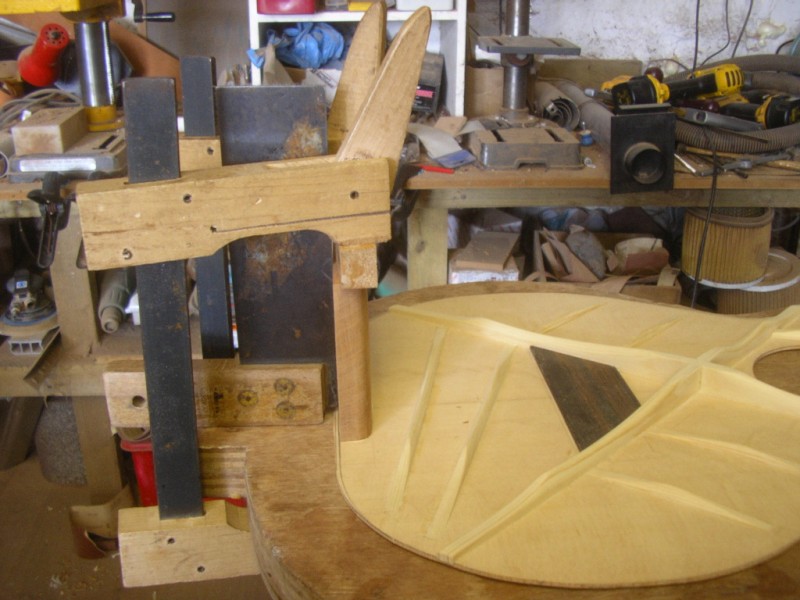
A graceful arch is cut onto the back of the body so that when it is fitted the back will bend over this to form a rounded shape. Then more kerfed lining is glued around the top edge. The lining is left sticking up slightly and will be cleaned up when I am fitting the back…..

Alone in the workshop – part 4 – The black art of tap tuning
A functional work of art – ‘scalloped’ bracing brings out the tone of the guitar

scalloped braces
It’s a shame that most of the really important work on an acoustic guitar is never seen, as it is on the inside…..The braces are carved roughly first, then graduated to weaken them and ‘loosen’ the top, so it becomes more responsive and even sounding.
Tapping the soundboard during this process determines where to remove the material from. You can hear the change in character as this happens. The sound changes from a short high pitched ringing note to a lower, louder, longer vibration with far more power and sustain.
Alone in the workshop – part 3 – Evil magician visits workshop!
Bending the Sides – Uri Geller? Eat your heart out mate!
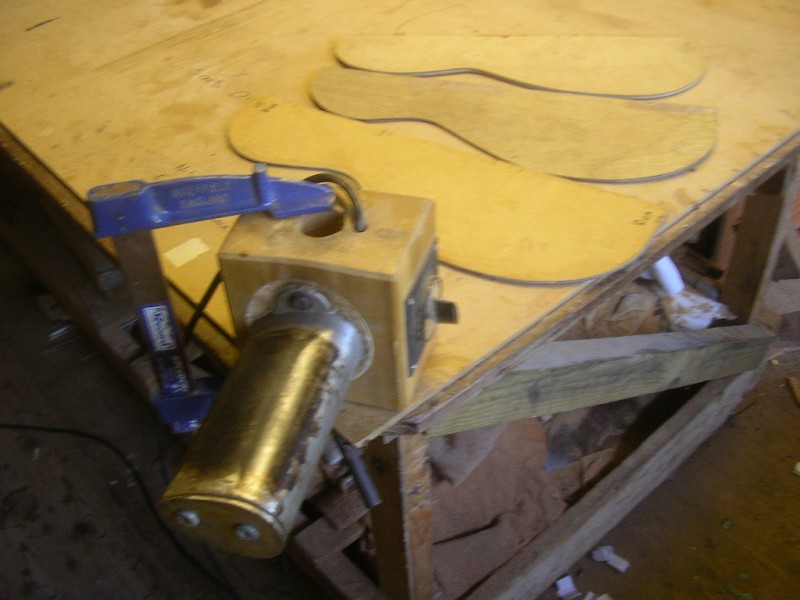
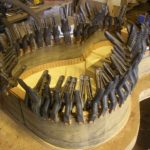
Thought I’d update you on progress of the four guitars I started last week. The side bending went well – as you can see they are all roughly guitar shaped. It is a great feeling when the wood bends – it should snap! But it doesn’t!
The sides are soaked in water for 10-20mins then applied to the hot bending iron with a little gentle pressure. The heat creates steam which does the work of softening the wood. You can feel it ‘go’ almost like it’s softening like plastic would……Except it’s wood…….Now That’s Magic……(guitar magic-DVD’s are available)…..You can choose to believe all that but really I bent these sides using only the power of my mind. ….wooha…..wooha..woohahahah…(coff)…