
…Fitting the controls and gluing in the neck (or the fiddly bits)


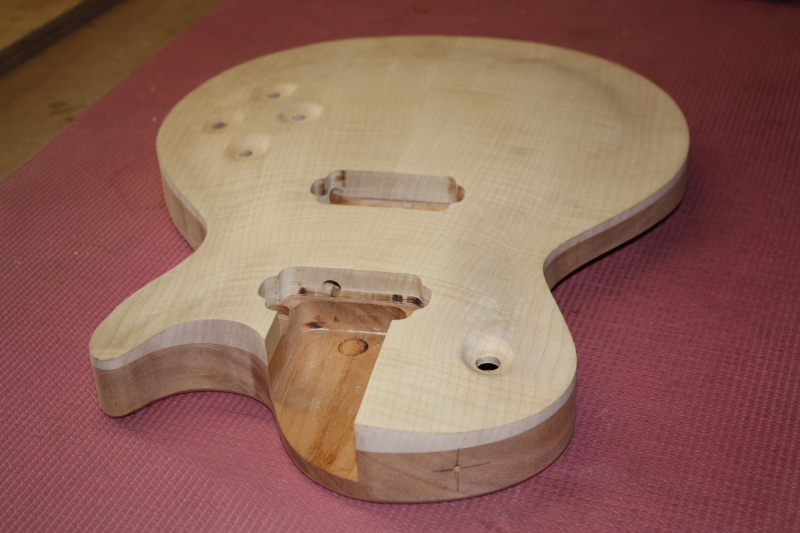


The woodwork for the guitar is nearly done now, just a few finishing touches before the neck is glued in, then it is ready for spraying….
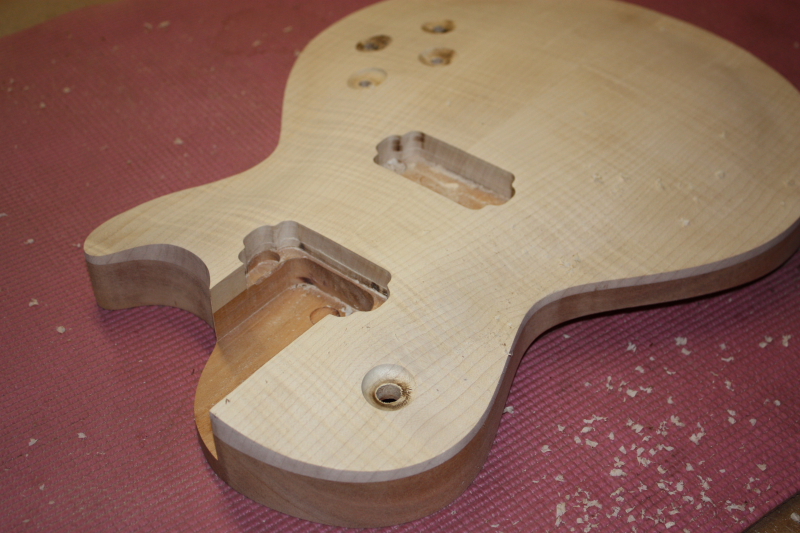
First the pots and switches were fitted….
A ‘pot’ is a volume or tone control – short for potentiometer – pots is quicker to say….guitar makers are not lazy (always) – we just don’t like wasting time….or showing off with big words (lie).
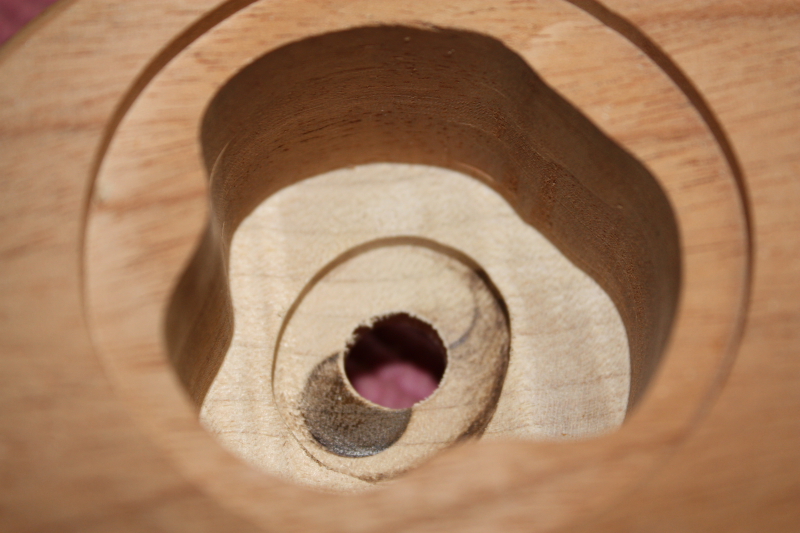
Because the guitar has a carved top this is slightly more tricky as each control must be fitted individually. A flat top is much easier – just route the control cavity for one and they will all fit. This doesn’t work on carved tops because of the curve – the nut and washer need a flat spot to tighten against so the control sits straight.
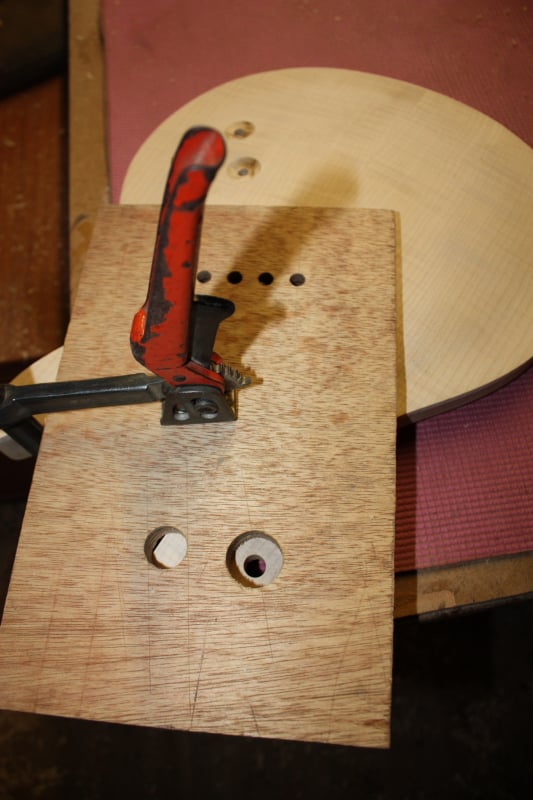
There are several ways around this – some makers angle the control cavity the same as the front so the nut and washer will sit flat. I prefer to make small dishes for each one – I have a round bottom router cutter with a bearing which follows a pattern to make them.The pattern is just a piece of scrap plywood with a large hole (28mm in this case or as big as you want them) which is lined up and clamped so that the control hole is in the centre. Then the round shape is copied into the guitar with the router. I cut just deep enough to leave a large enough flat spot for the nut and washer. It leaves lovely little round dishes which I think looks a lot more classy. It takes a bit more time to sand them but I think its worth it.
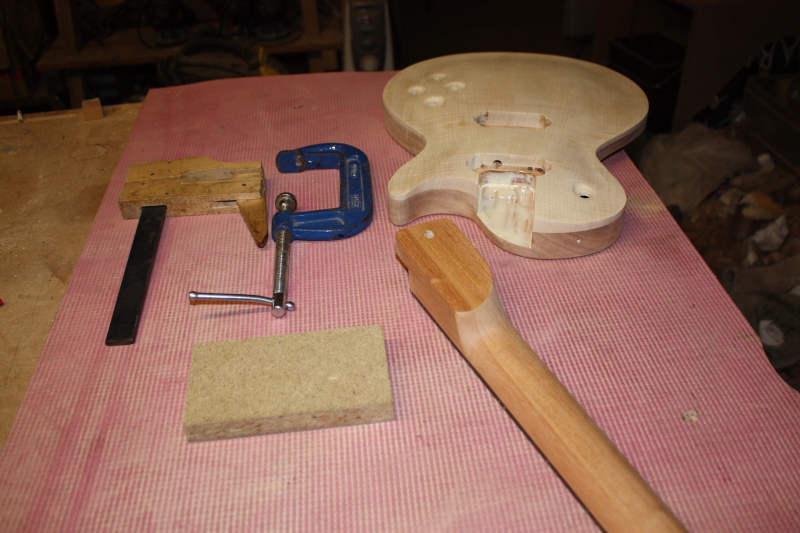
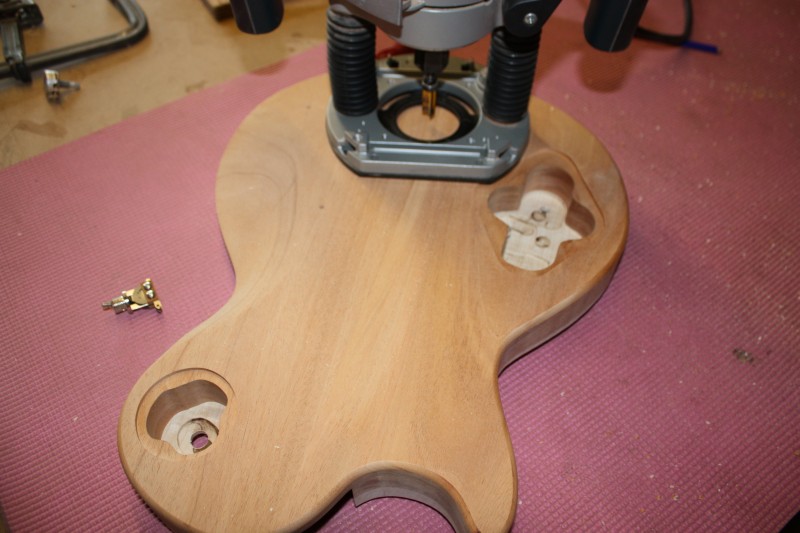
Then the holes are drilled…
A very long 10mm drill is used to make the link holes for the pickup wires – mine is a auger bit. This screws itself through as it drills (also the cheapest way to get a very long drill bit). The pickup link holes must be drilled before the neck is glued or it may be (nearly) impossible.
A 22m Auger is used for the jack socket and a standard 2.5mm is used for the strap studs.
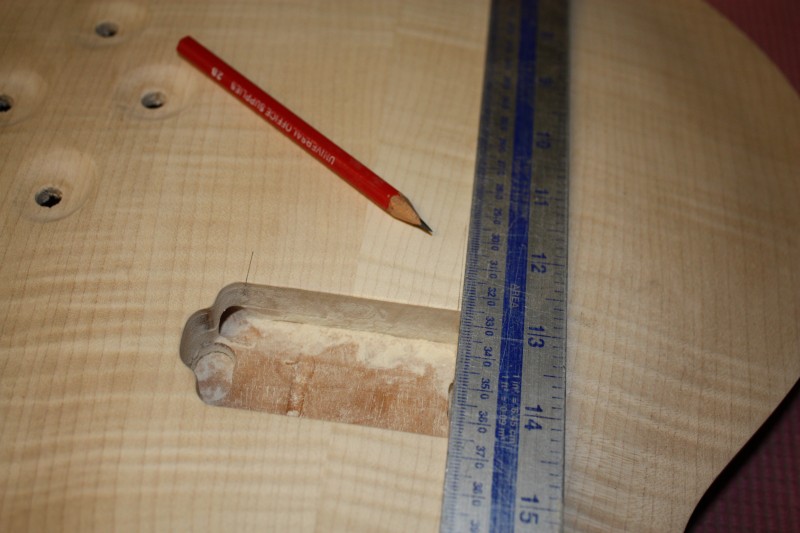
This done, it is time to glue the neck in…..
I always dry clamp it first (no glue) so I can check its position. The neck must sit centrally or the strings might not line up with the pickups.
To check this I lay a long (1m) ruler along one side of the neck, mark where it crosses the back of the bridge pickup, and then repeat on the other side. These marks should be an equal distance from the centreline – in most cases this is the glue line down the middle.
This checked out OK so I went ahead and glued it in. The glue is applied to the body and the neck is pressed in and clamped in place. It is worth checking that the neck is still aligned correctly – you can lay a ruler down one side of the neck and check it still lines up with the marks made earlier. The other side is blocked by clamps, but if it lines up on one side you can be sure it will still be the same on the other, so you don’t have to worry.
The guitar was then left overnight to dry……
0 Comments